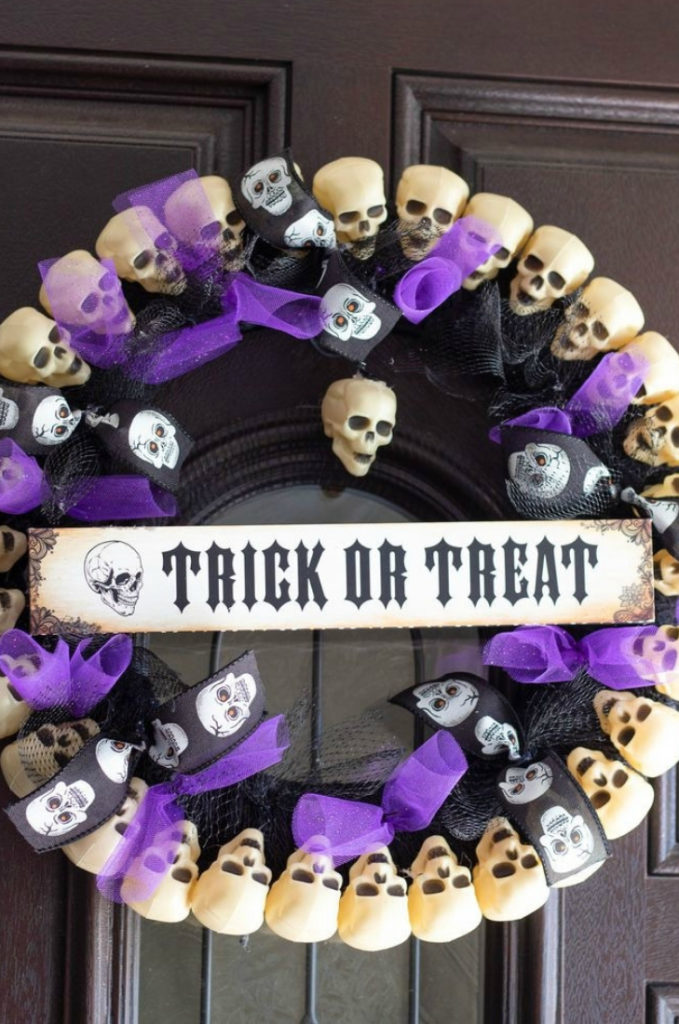
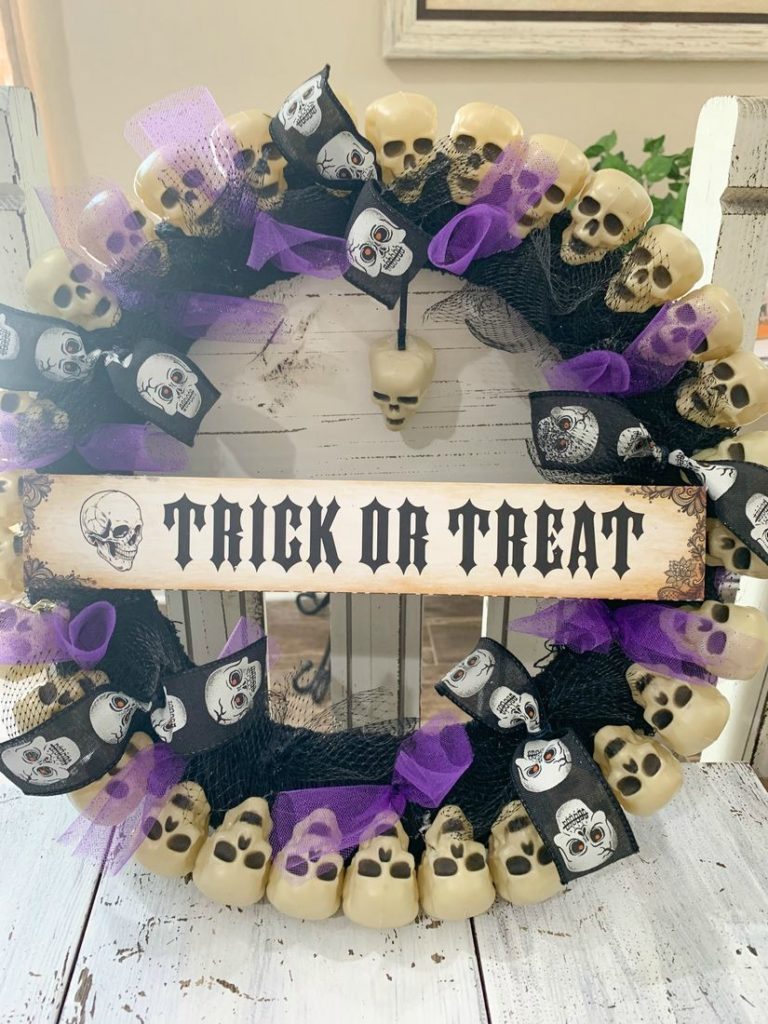
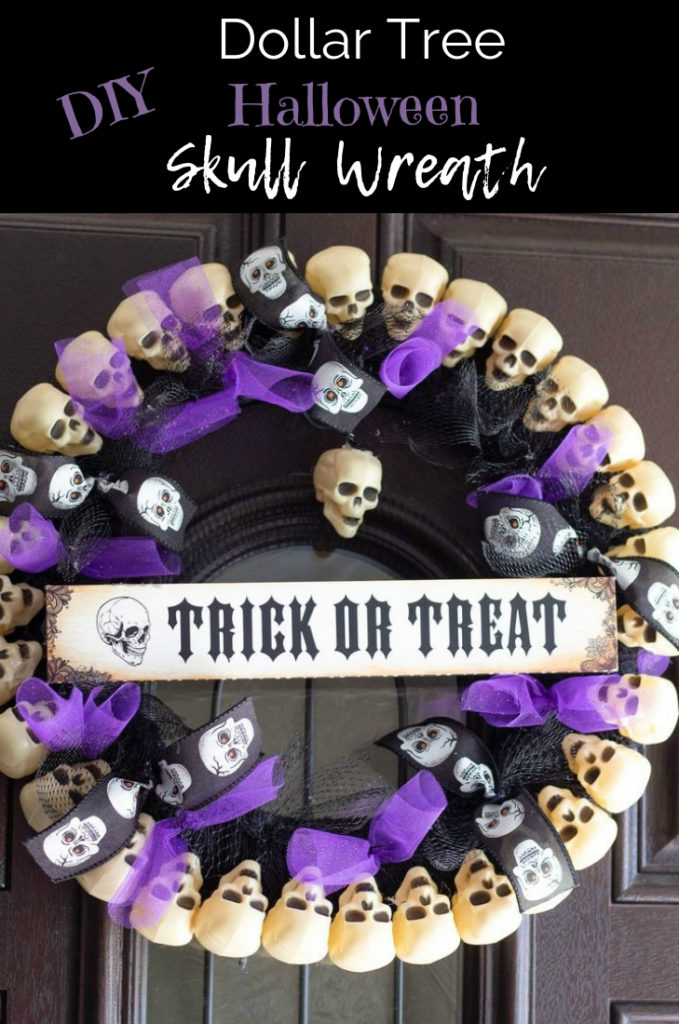
Learn how to make this spooky and fun Dollar Tree Halloween Skull Wreath. It’s the perfect wreath for your door to greet Trick or Treaters Halloween night!
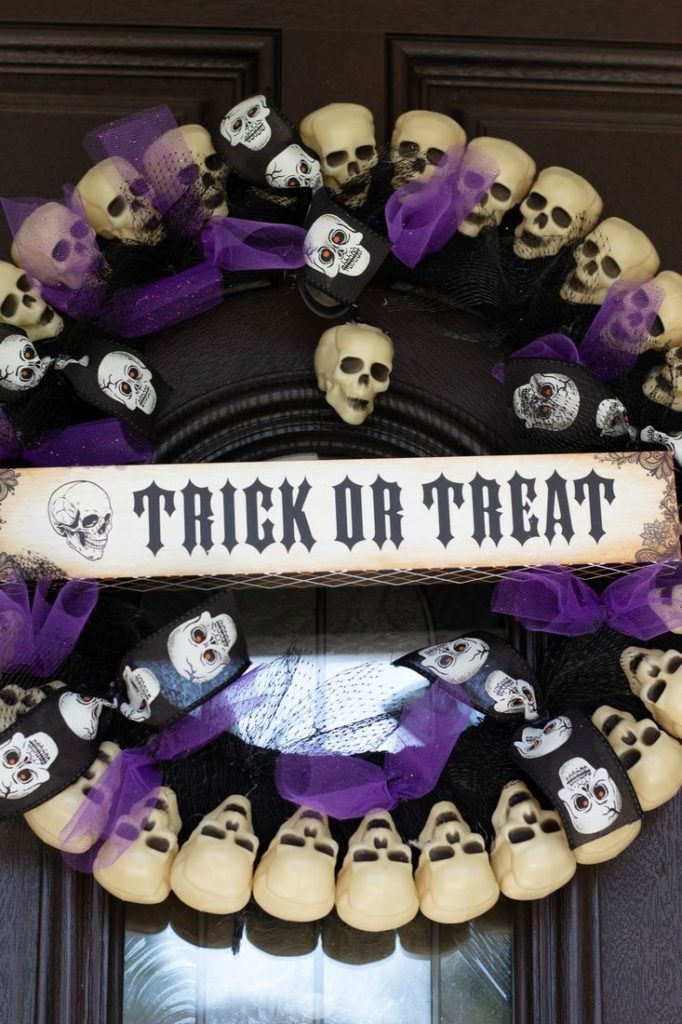
This Dollar Tree Halloween Wreath will be the envy of neighborhood when your neighbors see this festive and frightfully fun wreath hanging on your front door.
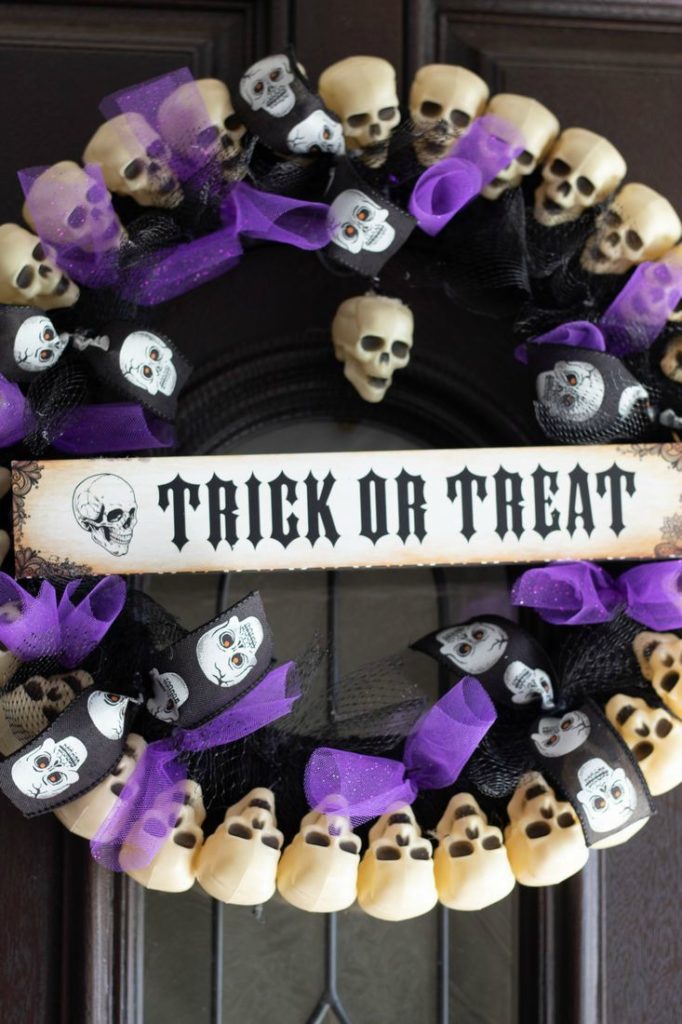
I’m not much into gory Halloween decorations or Horror Movies, though I do love Halloween. I look forward to October each year and always decorate the inside and outside of my home.
Usually, the decorations consist of pumpkins, witches, goblins, and sometimes zombies. This year my family wanted to do something different so, we decorated our front yard and porch with skeletons and skulls!
We decided to come up with a budget for our halloween decorations and make as many of them as possible.
Of course, the Dollar Tree was the first place on my list to look at items for my DIY skull wreath and some of the other halloween decor.
It was exciting to see all the Dollar Tree Halloween craft supplies. I found everything I needed and more. I even found purple string lights to wrap around the Halloween wreath.
Supplies for Halloween Skull Wreath
Everything for the skull wreath came from the Dollar Tree except the Makers Halloween skull ribbon, which I bought from JOANN Fabric and Craft Store.
- 1- 14.25 in. Metal Wreath Form
- Purple String Lights
- Purple Sparkle Tulle or Deco Mesh
- 3-4 Bags of Mini Skulls
- Netted Bags from Skulls, cut in half
- Decorative Sign
- Black Thread or String
- Skull Ribbon
- Small Piece Black Ribbon
- 1-2 Packs of Creepy Cloth
- Small Zip Ties
- Hot Glue
How to make a skull wreath
First of all, you’ll need a clean and flat work surface. Gather all your craft supplies, and make sure to plug in your glue gun and have plenty of glue sticks handy.
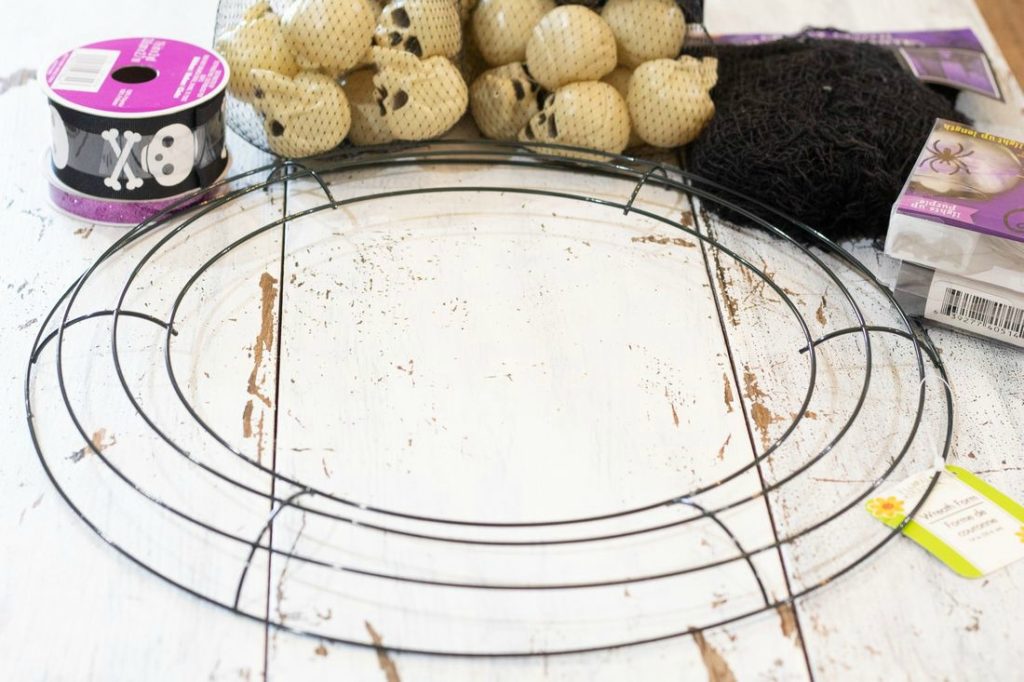
As you can see in the above picture I decided not to use the black and white skull ribbon or the purple sparkly ribbon I bought from Michaels.
I will use those ribbons for another Halloween craft project.
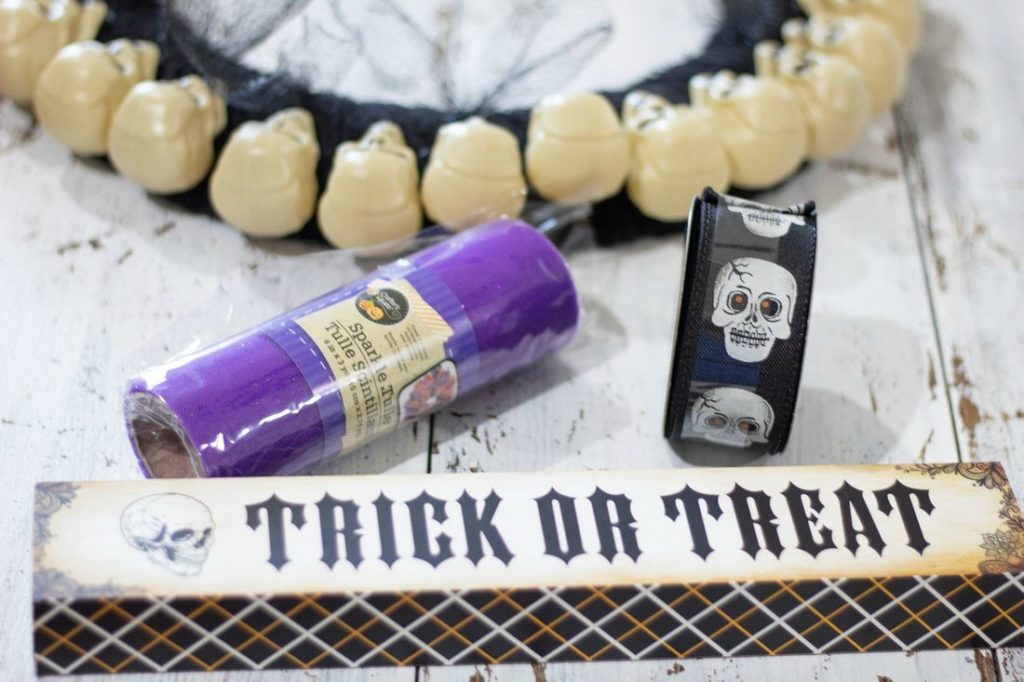
Once you have all your craft materials ready you can began making your diy wreath.
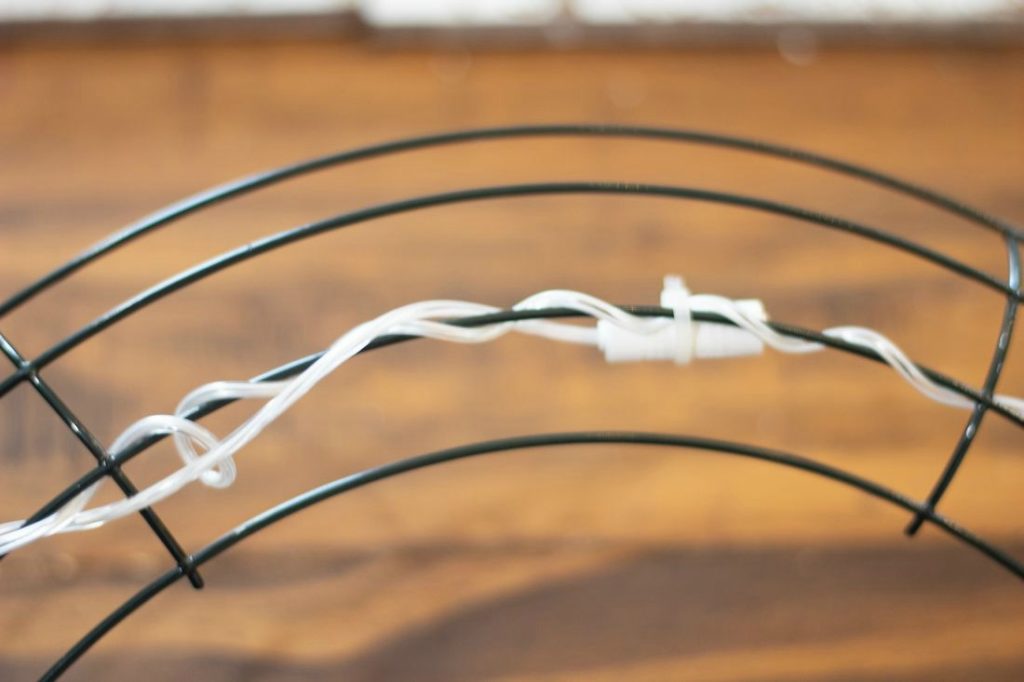
The first thing you will need to do is secure the battery pack for the lights to the metal wreath with a zip tie. Pull the zip tie tight and cut off to the desired length.
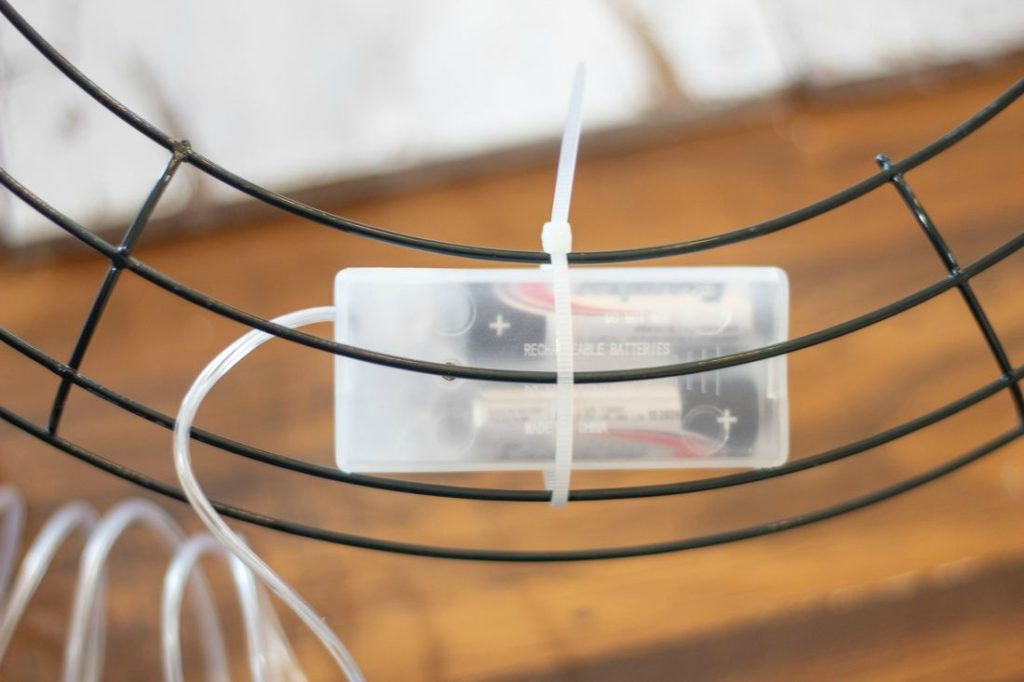
Second, weave the lights around the inside of the metal wreath form. Attach the end of the string lights to the wreath with a zip tie.
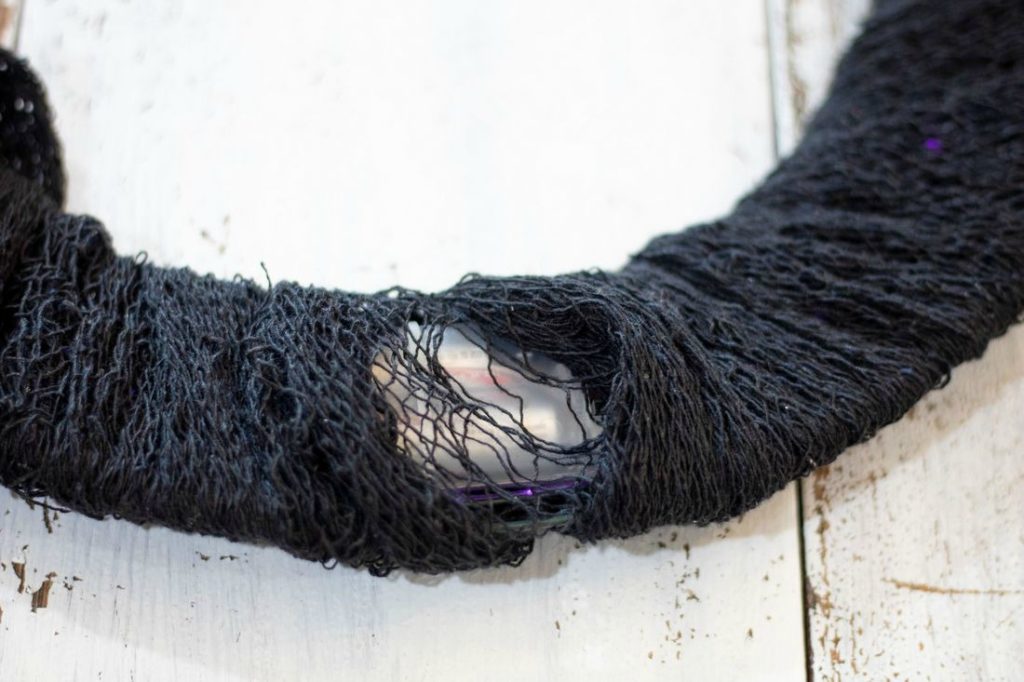
Third, wrap the black creepy cloth round the entire wreath form. Make sure to leave an opening in the back by the battery pack to turn the lights off and on.
Next, glue the end of the creepy cloth to the wreath with hot glue. You can turn the lights on and adjust the fabric so you can see the purple Halloween lights through the black material.
Fourth, once the cloth is attached to the wreath, start gluing the plastic skulls around the wreath with hot glue. See the photo below to see how I glued each of the heads to the wreath.
How to Attach the Deco Mesh and Ribbon
Once the skulls are attached to the wreath, cut the black netted bags in half that the skeleton skulls came with when purchased. Cut and discard any plastic pieces off the netted bags.
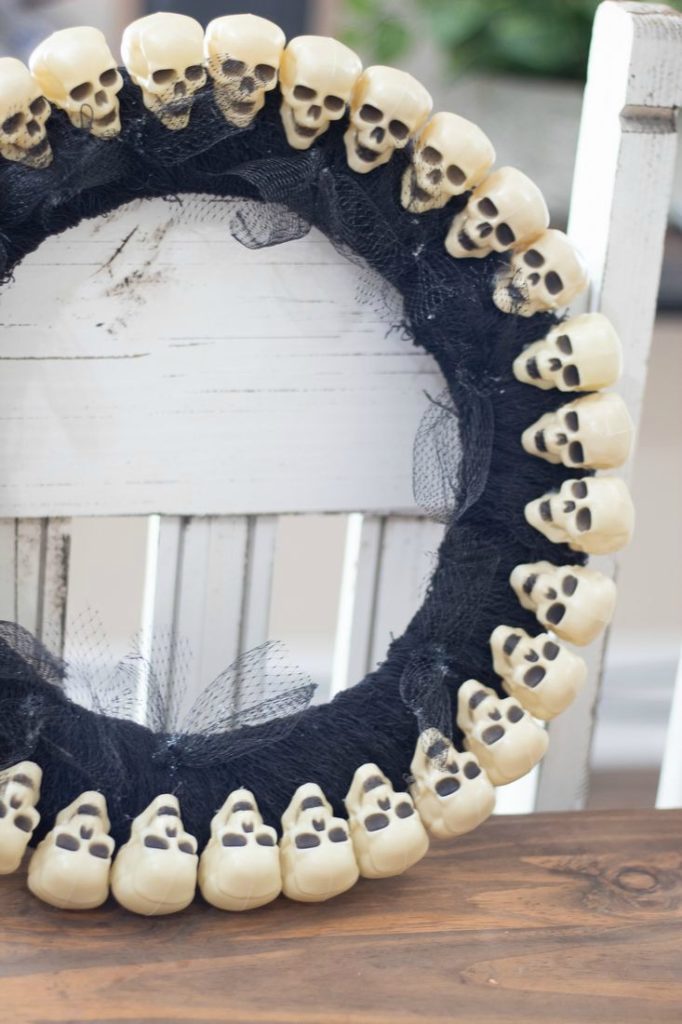
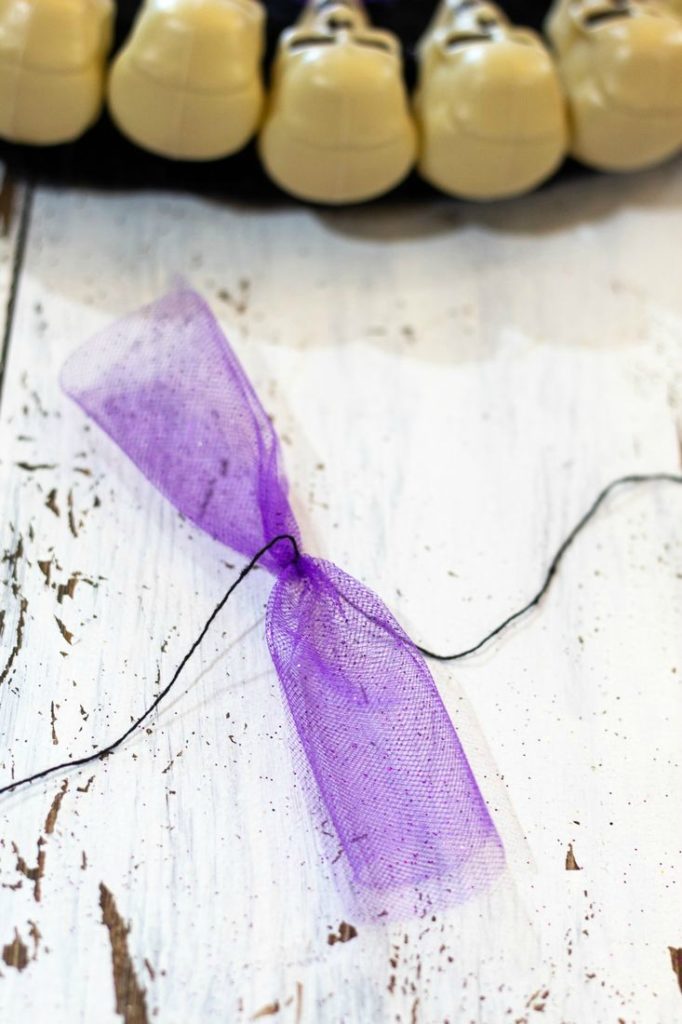
Fifth, fold the netted material, tie with black thread and glue it to the wreath. Repeat for the purple tulle or deco mesh.
Furthermore, once the netted material and tulle is attached glue your sign in the middle of the wreath. Make sure to use lots of hot glue for all the heavy objects.
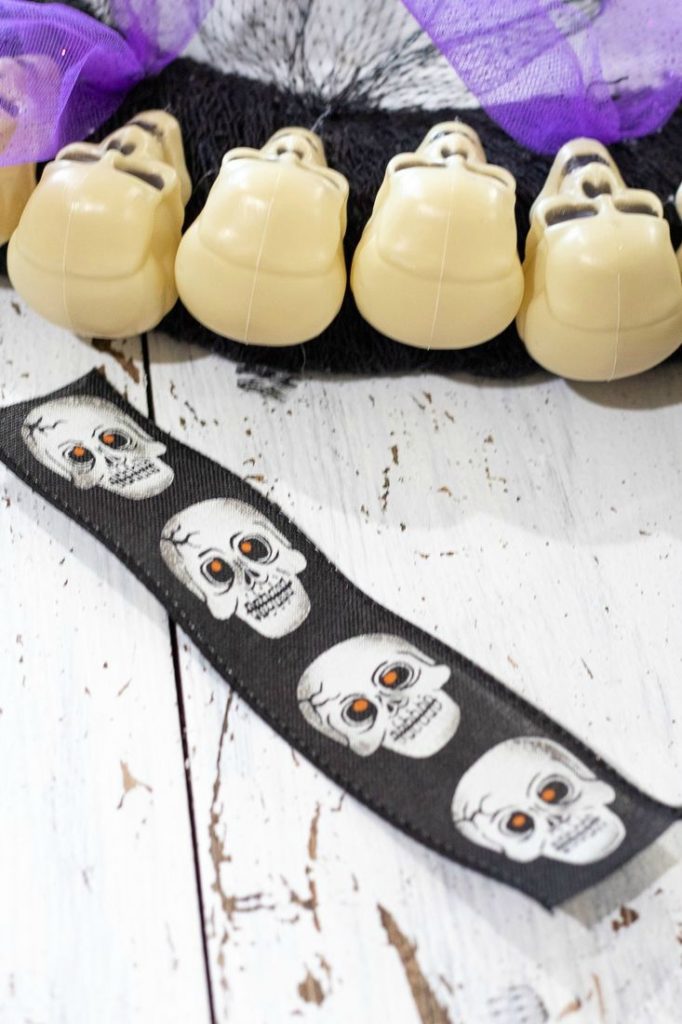
At this time, cut the skull ribbon(we used 5 pieces of ribbon). Follow the steps below for attaching the ribbon to the netted bag material.
Before you finish the wreath you need to attach the ribbon to the netted material by using small black zip ties. If you do not have black zip ties use a black permanent marker to color the zip ties.
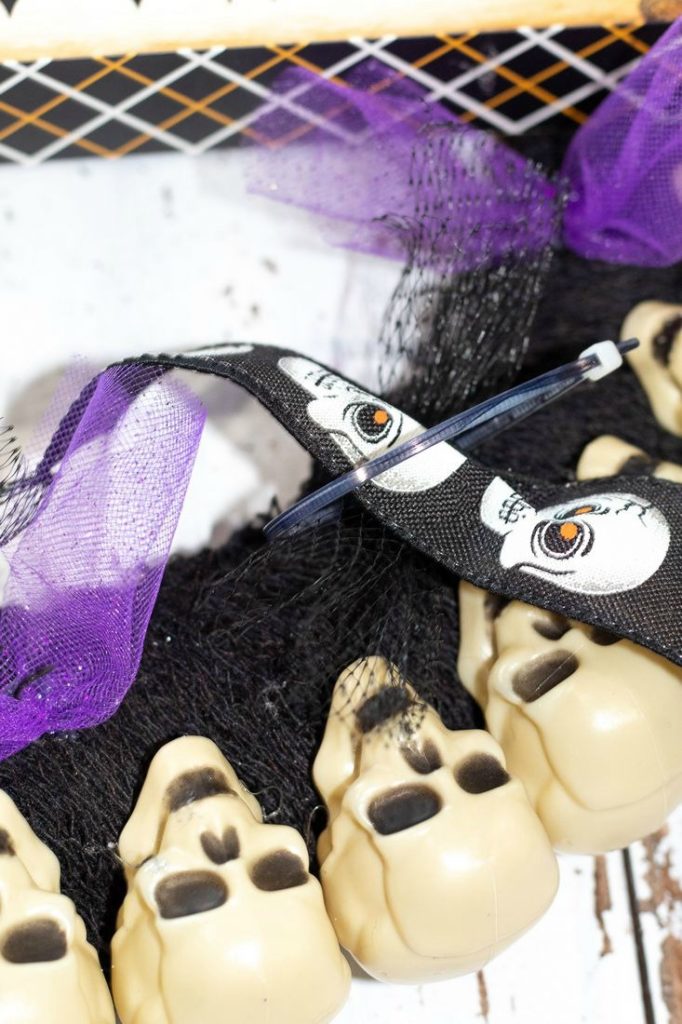
Nonetheless, attach the ribbon by passing a zip tie through a few holes in the netted bag material.
Place the ribbon on top of the zip tie and pull the zip tie tight. Color the rest of the zip tie, cut off excess plastic, and turn the zip tie so you can’t see the square fastener. Don’t forget to bunch up the ribbon to hide the zip tie.
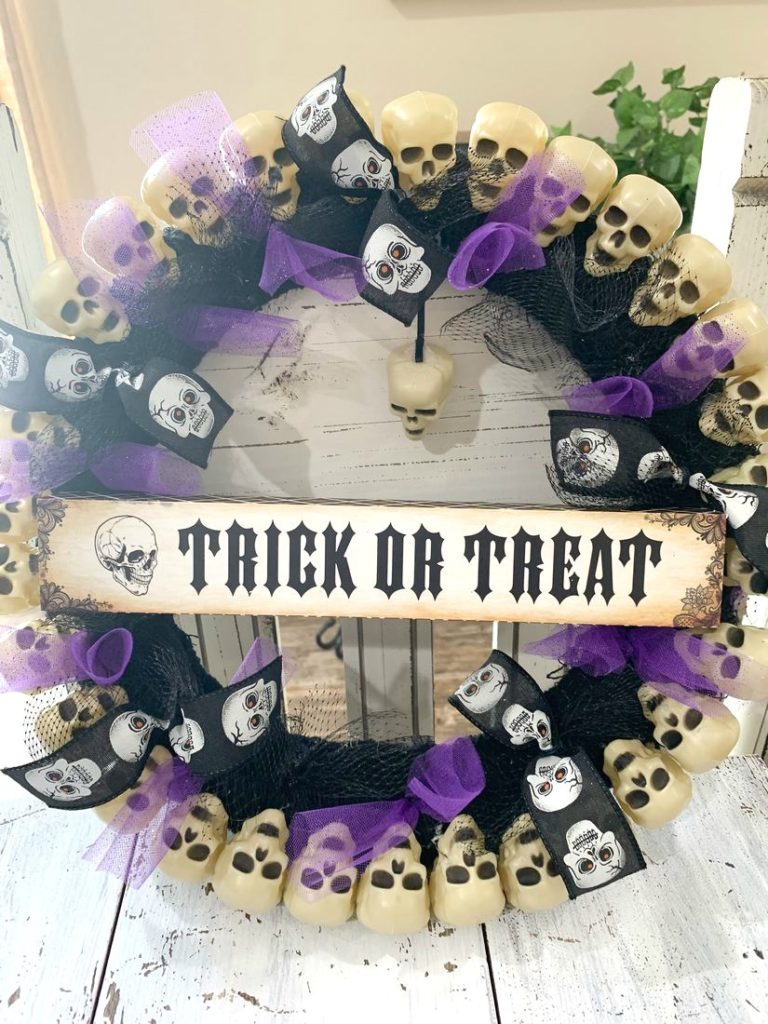
Last but not least, glue one end of a skinny piece of black ribbon to the top of the skull with hot glue and the other end of the ribbon in the middle of the wreath.
Where to Put the Dollar Tree Halloween Wreath
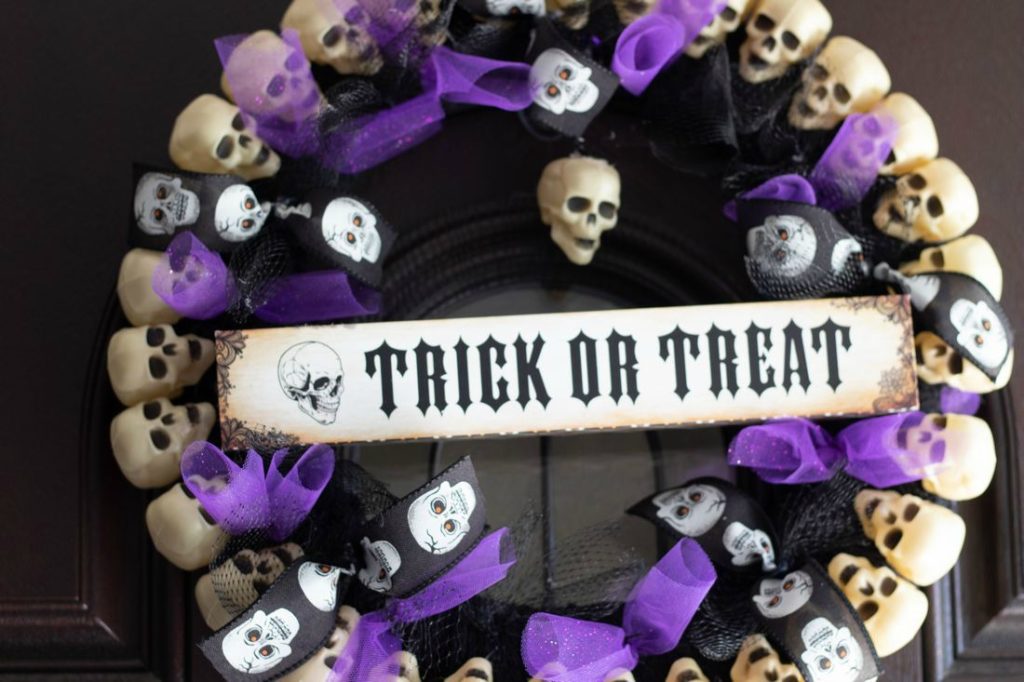
Hang your Halloween wreath where people can admire it! Isn’t it spooktacular? Don’t forget to turn the lights on when it gets dark.
The diy light up wreath is perfect to hang in an entryway, front door, porch, or sit on display on top of a fireplace mantel.
For some reason though, the wreath reminds me of the Skull Ghost from an episode from Scooby-Doo ..LOL!
pin me or Share with a friend
Jenne Kopalek says
What a cool skull wreath! I just love Halloween.
Kim Seghers says
Thank you so much Jenne! It was fun to make and I also love Halloween! Enjoy your evening, KIm