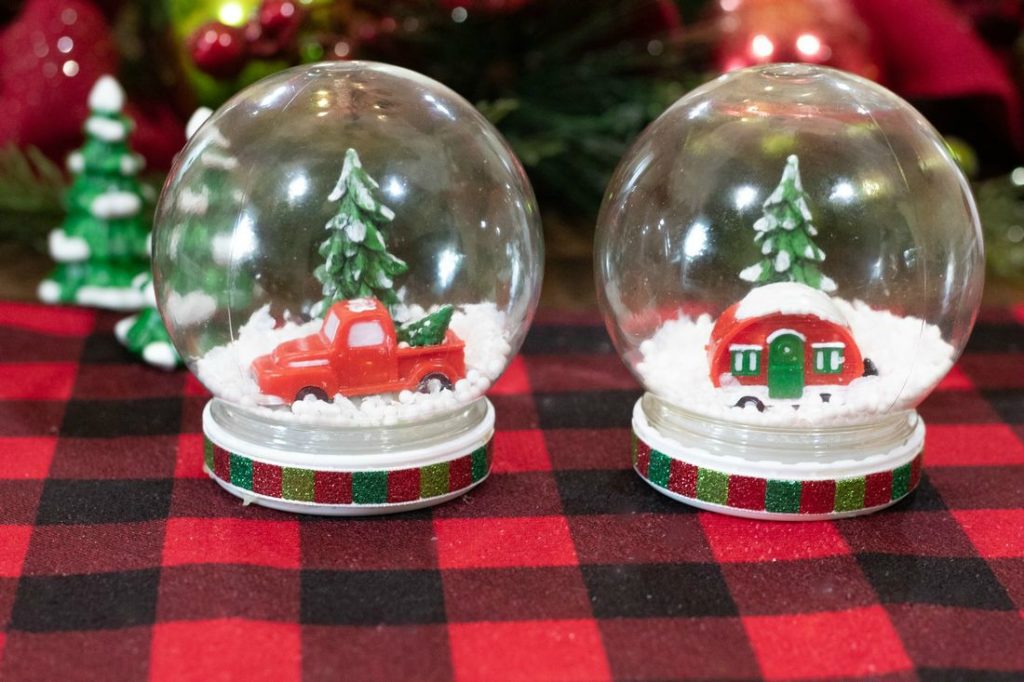
I enjoy so many things about the Christmas holidays, and making fun crafts with my kids is at the top of that list. Particularly, fun and festive crafts like these DIY Waterless Christmas Snow Globes.
These Christmas snow globes are inexpensive to make and perfect to give as gifts to loved ones on your Christmas shopping list.
For as long as I can remember, it’s been a tradition in my family to make crafts for the holidays.
First of all, my kids love going to the store with me and picking out crafting supplies to use for our holiday craft projects.
After we get home from the store, we make hot cocoa and homemade Christmas cookies to enjoy while we’re crafting. Besides enjoying hot cocoa and cookies, we spend the evening listening to Christmas Carols while working on all our DIY projects.
Lately, my favorite store to shop at for holiday crafting supplies is the Dollar Tree because they have so much Christmas stuff to buy for crafting.
Even though everything in the Dollar Tree costs a buck, I probably could spend a thousand bucks or more every time I go shopping in that store!
Waterless Christmas Snow Globes
Waterless Snow Globes are so fun to make. The great thing about them they’re waterless! In other words, you don’t have to worry about your kids dropping and breaking the snow globes and having water spill all over.
The waterless snow globes are also fun for kids to play with and look great displayed on an entryway table. You could make as many snow globes as you want with different scenes inside them.
What do you need to make the snow globes
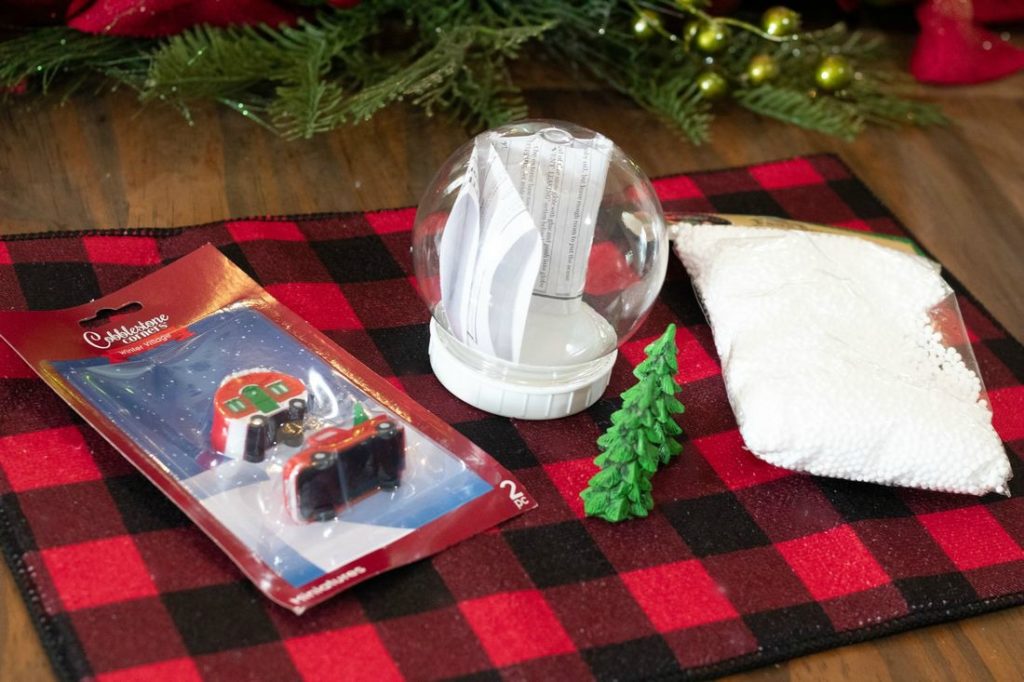
- Jars or Plastic Snow Globes (ours from the Dollar Tree)
- Bag of Snow Flakes (ours from Dollar General)
- Bag of Faux Snow (ours from The Dollar Tree)
- Ribbon (optional)
- Minatare Figures
- Miniature Trees
- Hot Glue Gun
- Glue Sticks
- White Paint
- Paint Brush
How to make DIY Waterless Christmas Snow Globes
To make the waterless Christmas Snow Globes make sure to have all your supplies together and your hot glue gun in a safe, secure place away from small children.
Step 1
Untwist the plastic lid from the bottom of the snow globe. After that, pry the plastic insert from the snow globe. This part is a little tricky.
Step 2
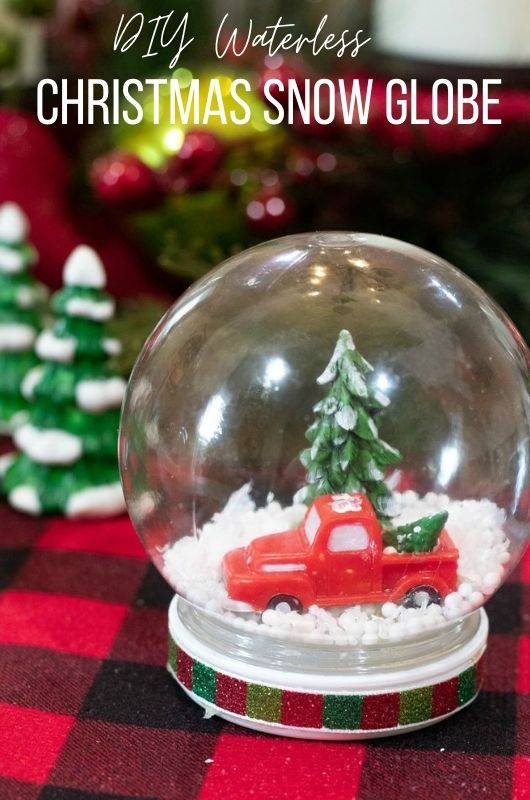
If your figures need snow, use white paint. We painted our bare green ceramic Christmas trees to make them look like they have snow on them. We also added a bit of white paint color to our red pick up truck.
Note- You could use bottle brush Christmas trees if you want. We already had the ceramic trees.
Step 3
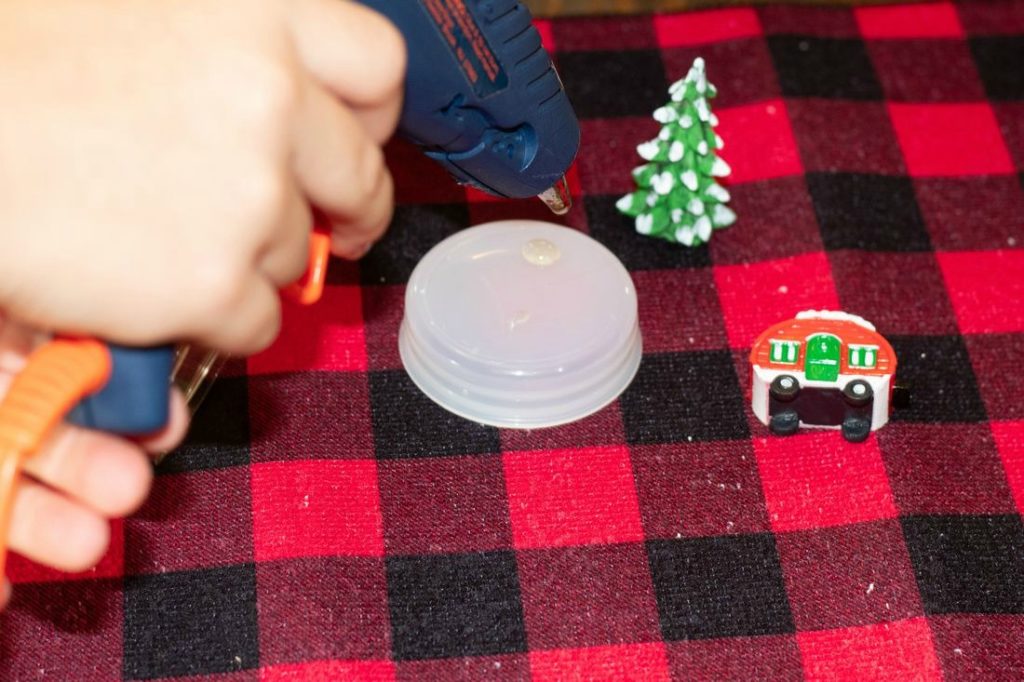
Once your paint dries on the figures, place your plastic insert on a hard flat surface facing upwards. Next, glue your figures onto the insert using hot glue (adults only do this part).
Step 4
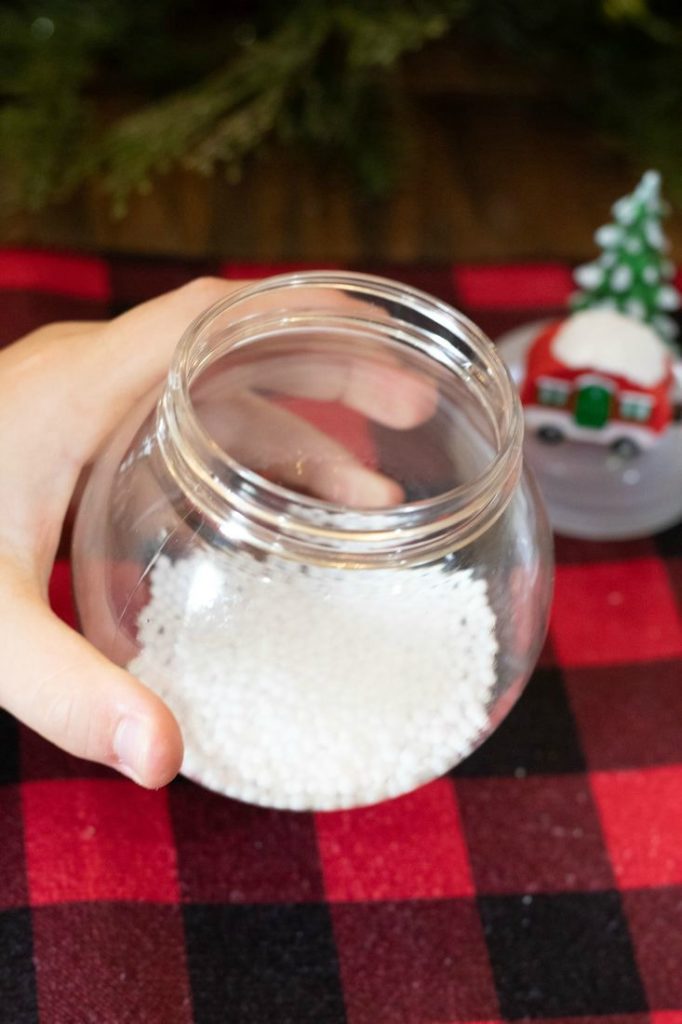
Turn the top of the snow globe upside down (the big round part) pour a little bit of the faux snow and some of the snowflakes into it.
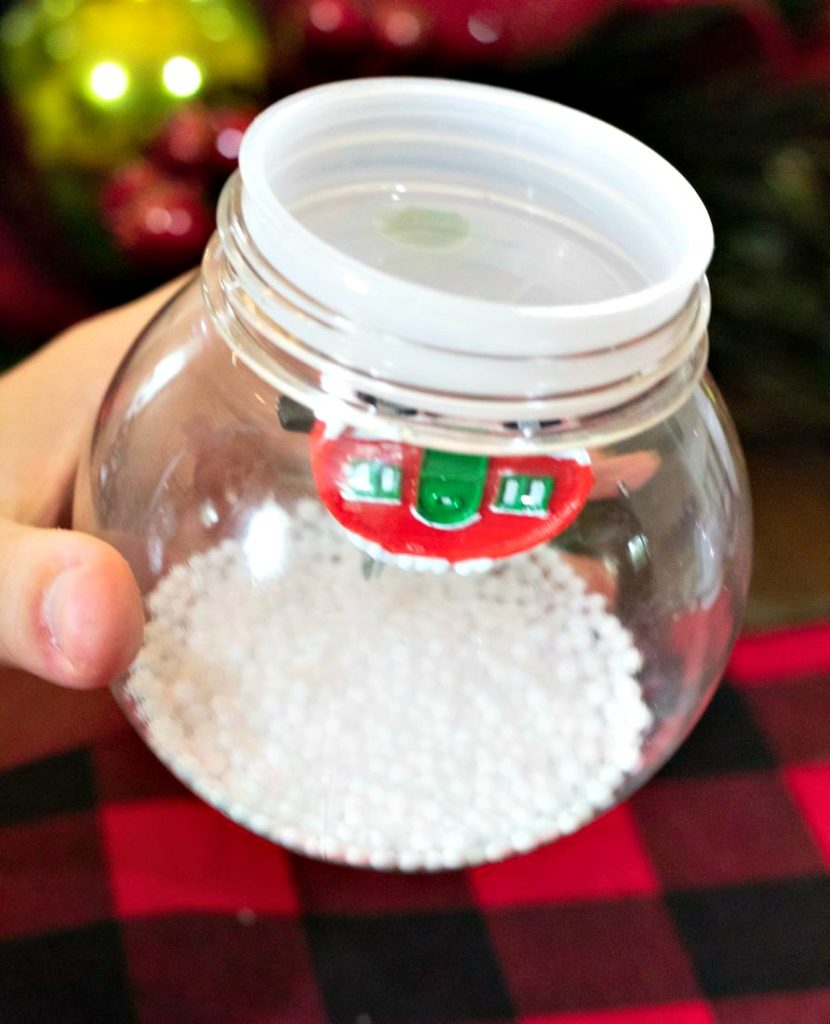
After that, leave the snow globe upside down put the piece with the figures onto the snow globe.
Step 5
Finally twist the lid back on tightly and turn the snow globe over. Give it a shake to even out the snow. Then have an adult hot glue a decorative ribbon around the base of the lid.
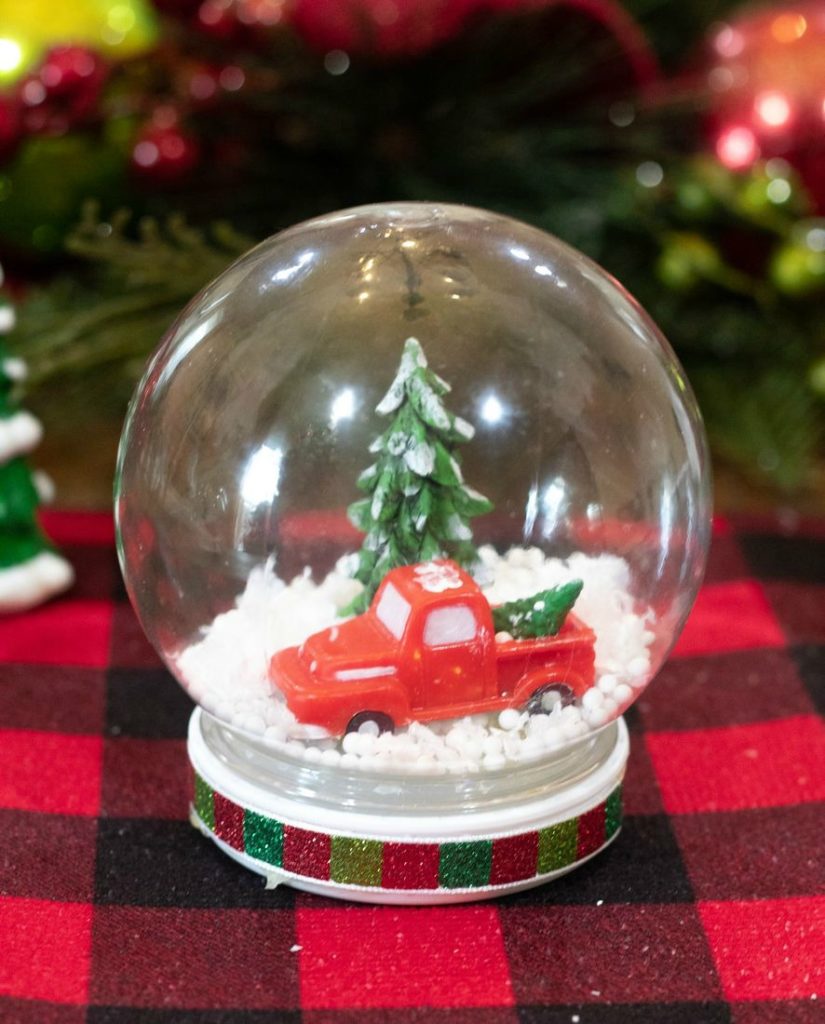
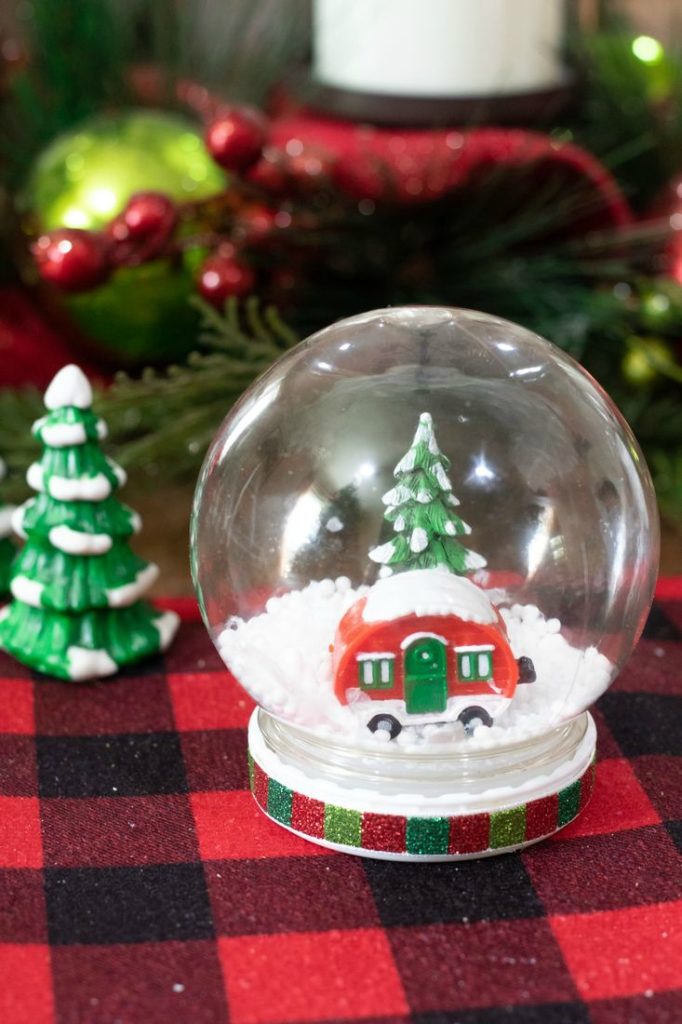
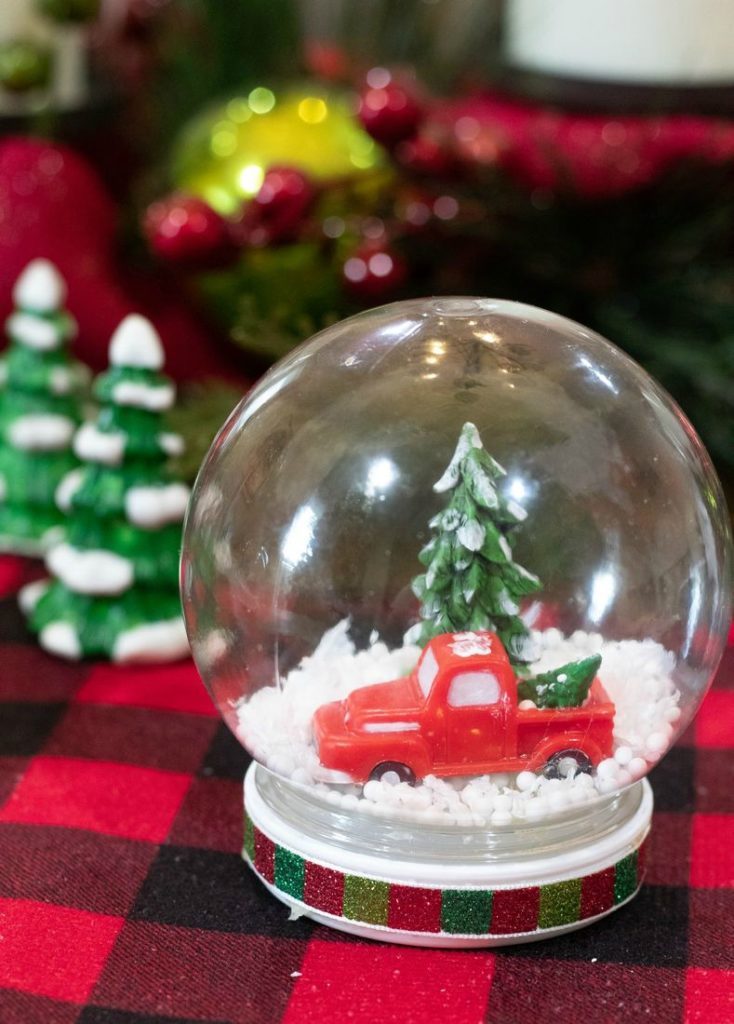
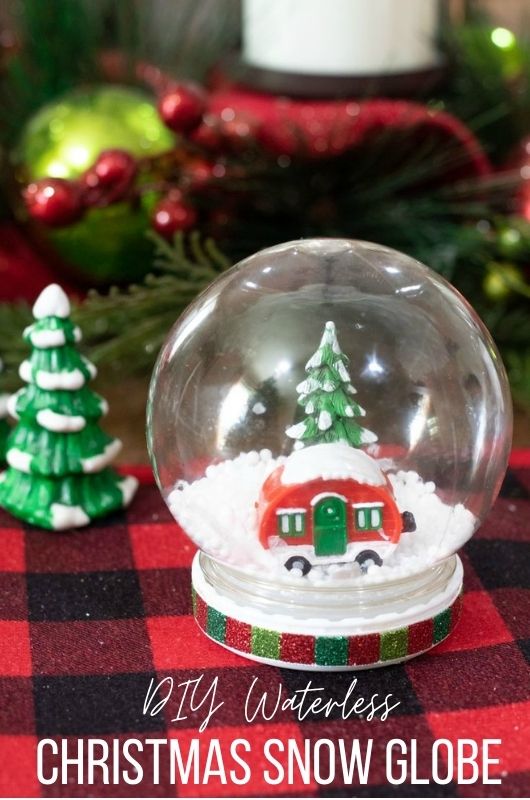
Isn’t the homemade snow globes beautiful? The best part about making this winter holiday craft is all the lovely memories you’ll make with your kids.
And of course, the smiles the kids will have on their faces when they see their snow globes finished!
Oh! Don’t forget the snow globe makes a great DIY Christmas gift!
Which snow globe is your favorite? The snow globe with the vintage red truck or the snow globe with the camper.
More Homemade Snow Globes
Pin the Diy Waterless Snow Globe
Pin Snow Globe With Red Truck
Leave a Reply