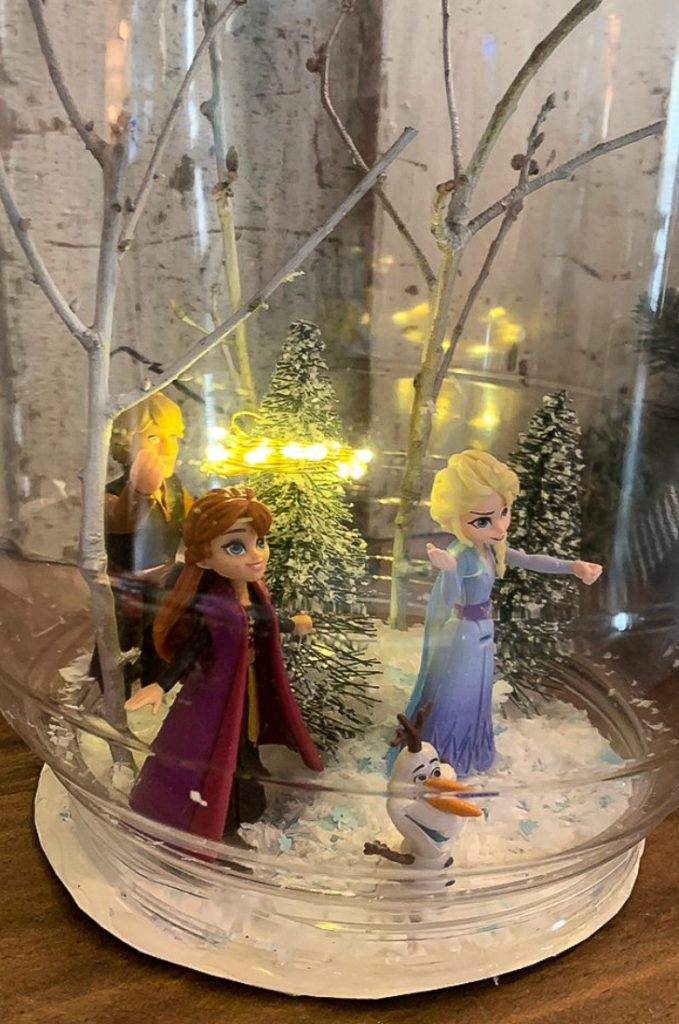
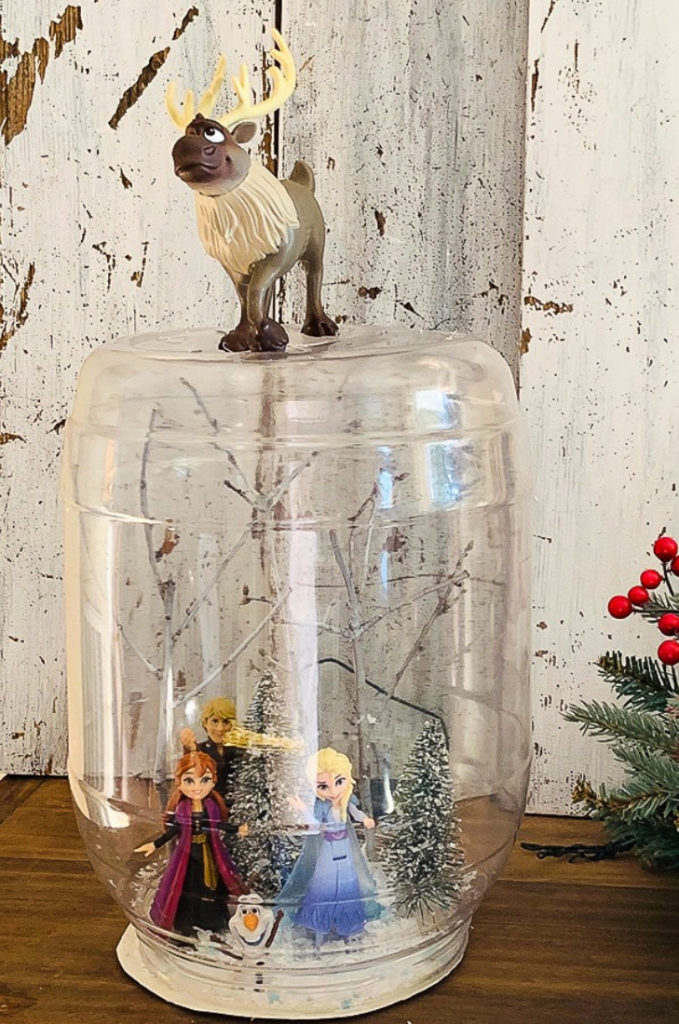
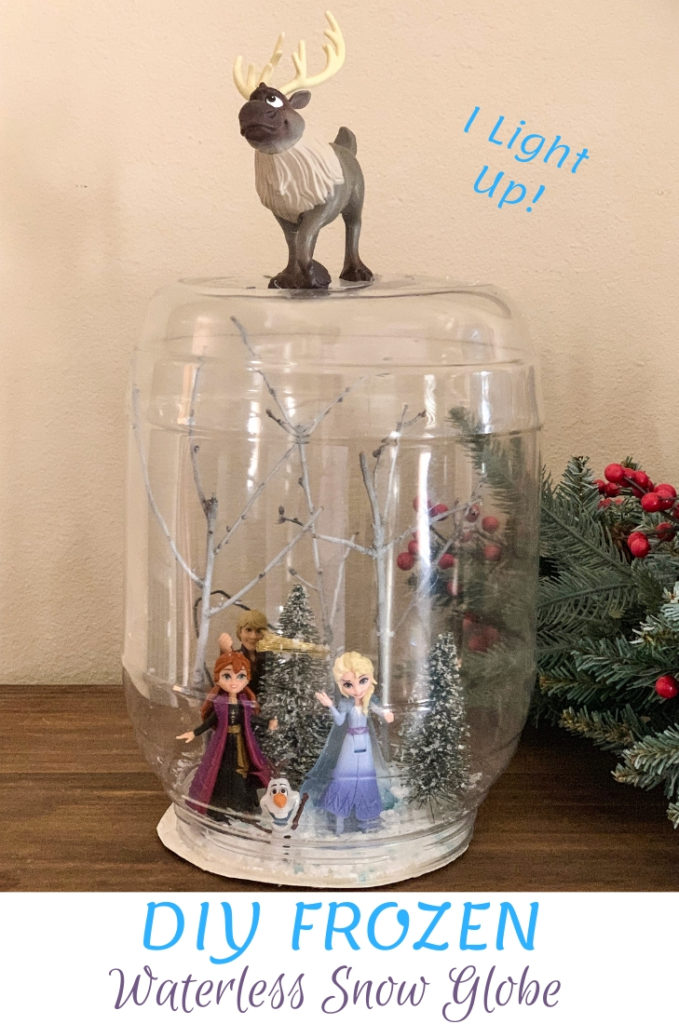
This DIY Frozen Waterless Snow Globe lights up and has Elsa, Anna, Kristoff, Olaf, and Sven in a snowy forest.
Frozen fans will love this snow globe inspired by the Frozen 2 movies.
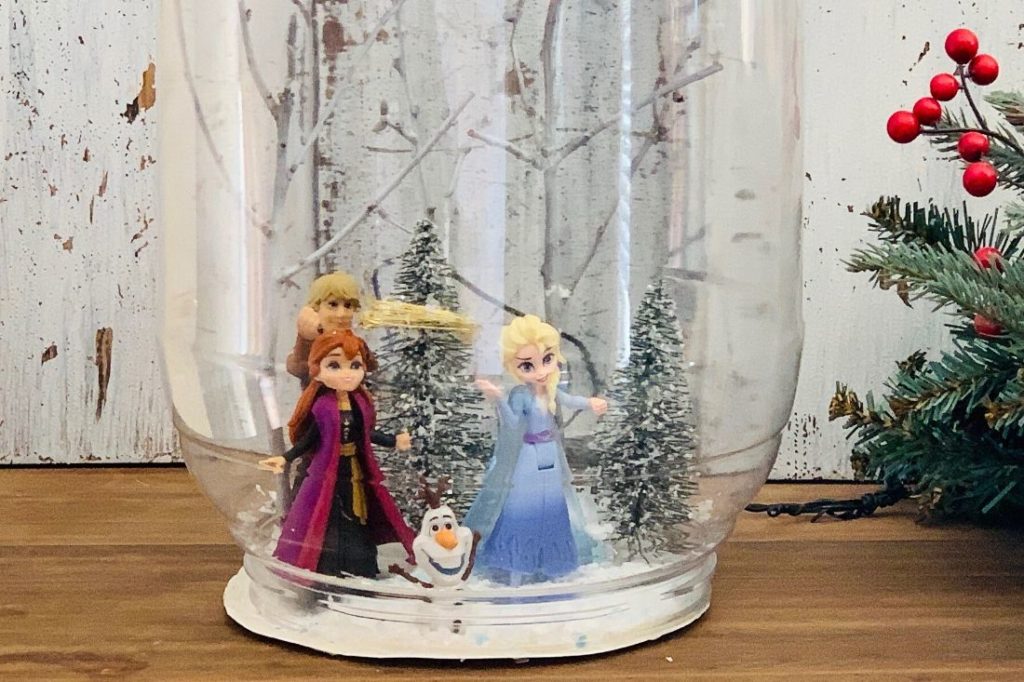
Of course, my family is excited about the holidays, especially watching the Frozen movies.
So I thought I would celebrate Queen Elsa and her warm-hearted sister by making a waterless snow globe with a scene of them leaving Arendelle for the enchanted forests.
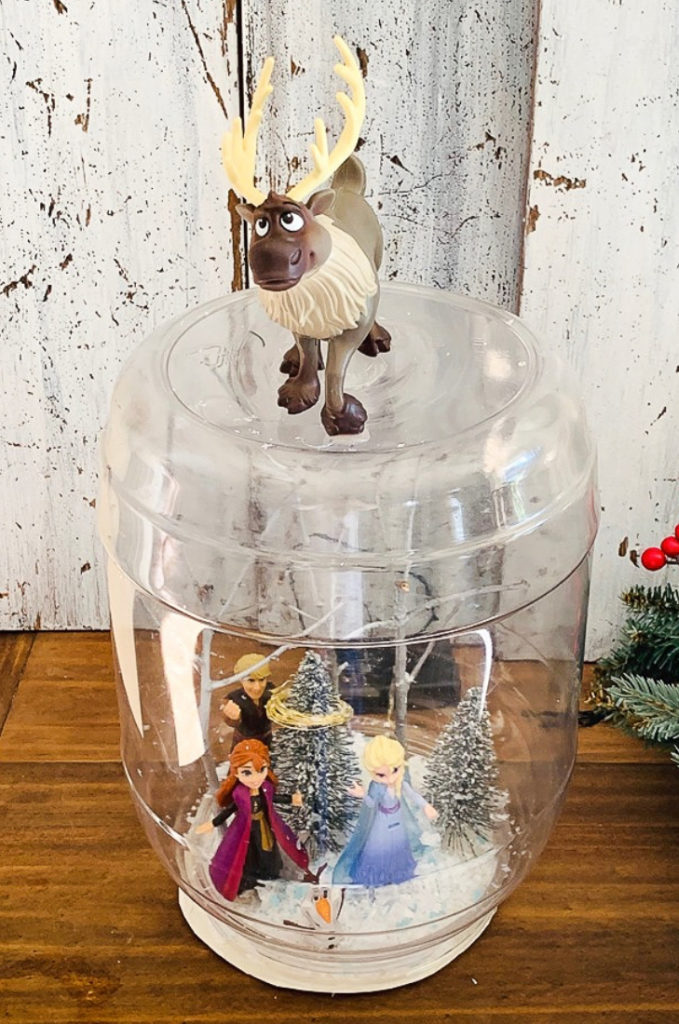
Nevertheless, I couldn’t leave out Kristoff and his trusted reindeer and best friend, Sven. And, no Frozen snow globe would be complete without Olaf.
Did you know Olaf was made from Elsa’s magic?
This DIY snow globe is also complete with fake snow, blue and white snowflakes, and snow-covered trees (painted trees).
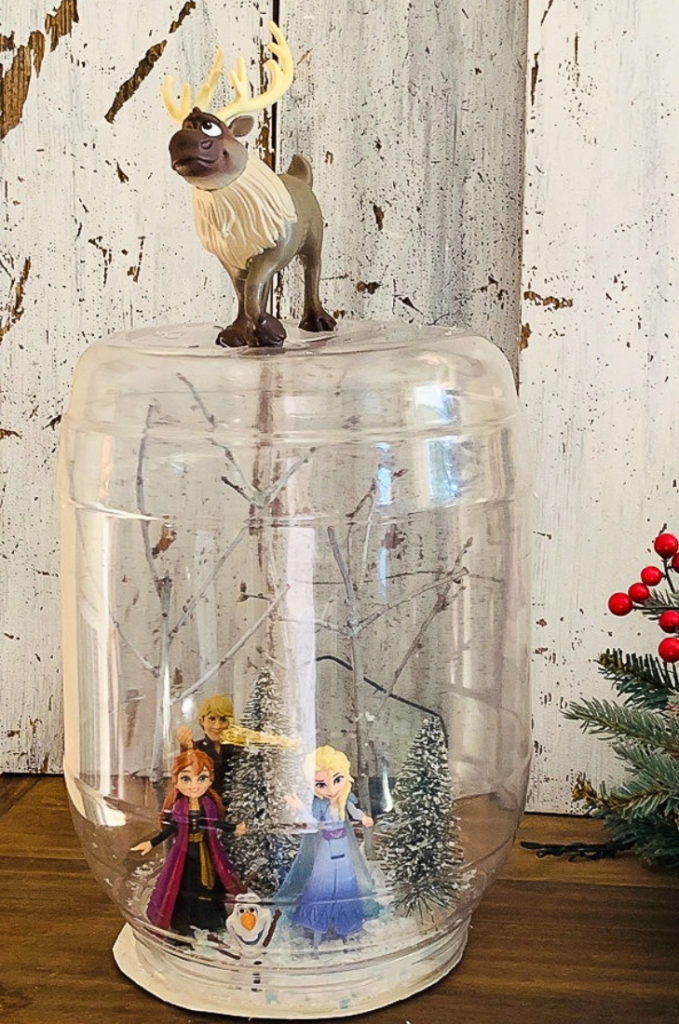
I knew when I started making the snow globe; I wanted to give it to my friend’s daughter Ayvah for her birthday. Ayvah is a huge Frozen fanatic!
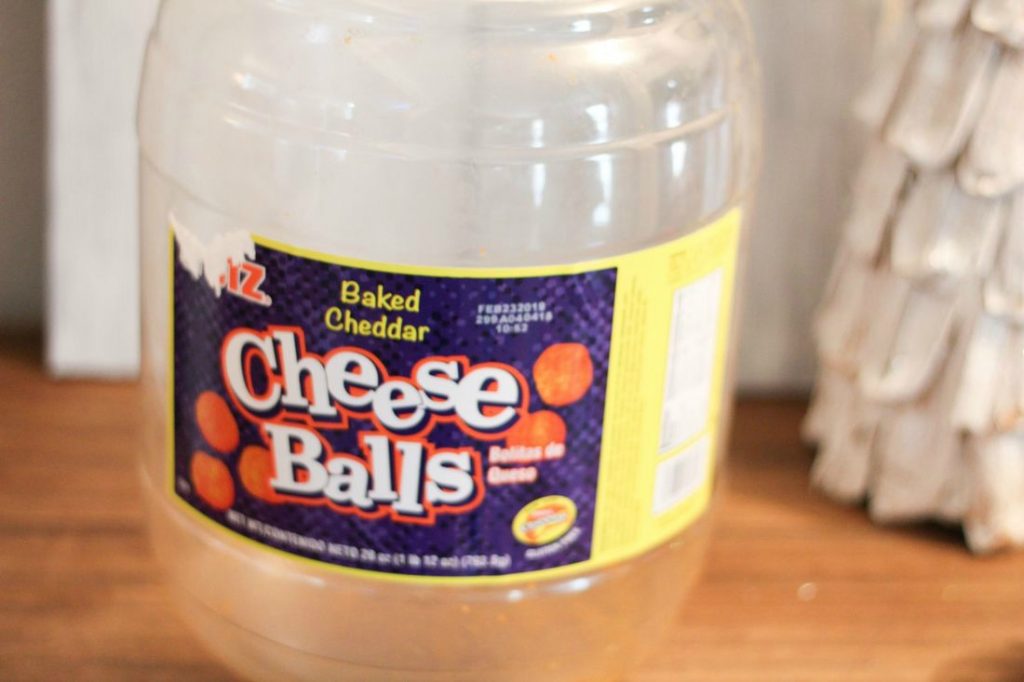
So, of course, I wanted to make the DIY Frozen Waterless Snow Globe durable. That’s how I came up with the idea to recycle a plastic UTZ Cheese Ball container into a snow globe.
As you can see the DIY snow globe also has a battery-operated light adorning one of the snow-covered trees in the forest. Which makes this waterless snow globe to be more of a decorative piece than a toy.
That’s the reason I made the frozen snow globe waterless. The snow globe is not attended to be played with or shaken.
Futhermore, the snow globe is made to sit on a bedside table and be admired and used as a night light during the winter months and throughout the Christmas holiday.
Supplies for a DIY Frozen Waterless Snow Globe
- Empty Large Container
- Cardboard
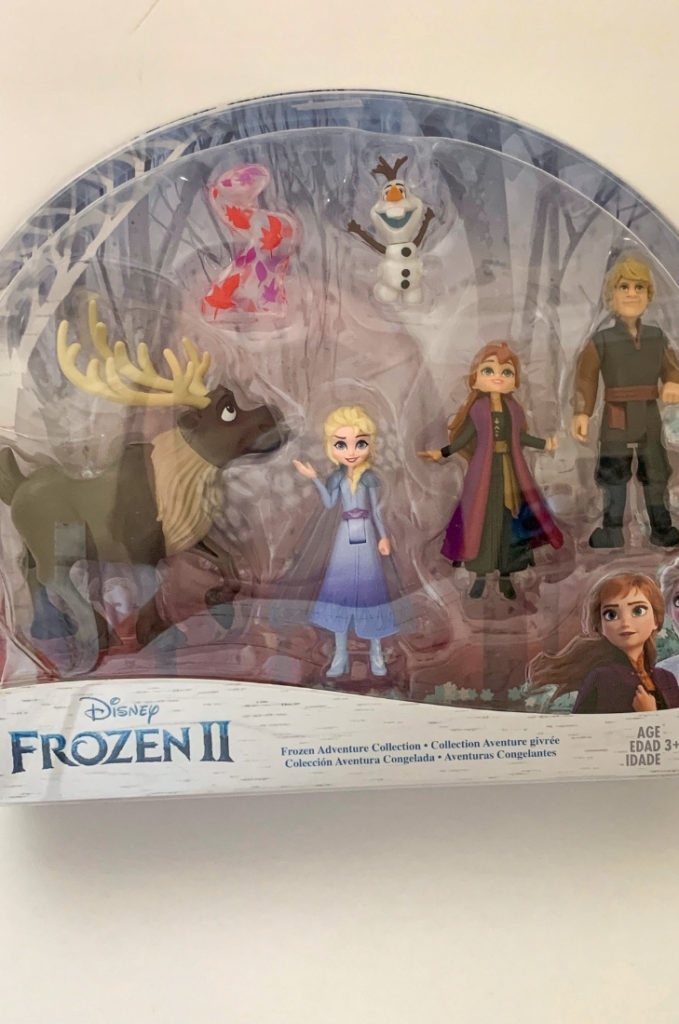
- Disney Frozen Figures (from Kohls)
- Fake Snow
- White Spray Paint
- Twigs
- Hot Glue
- Mini Battery Operated Lights
- Snowflakes
- 2 Mini Bottle Brush Trees
- Funnel
How to make A Disney Snow Globe
First, to make a Disney snow globe you’ll need to get three twigs and spray paint them white.
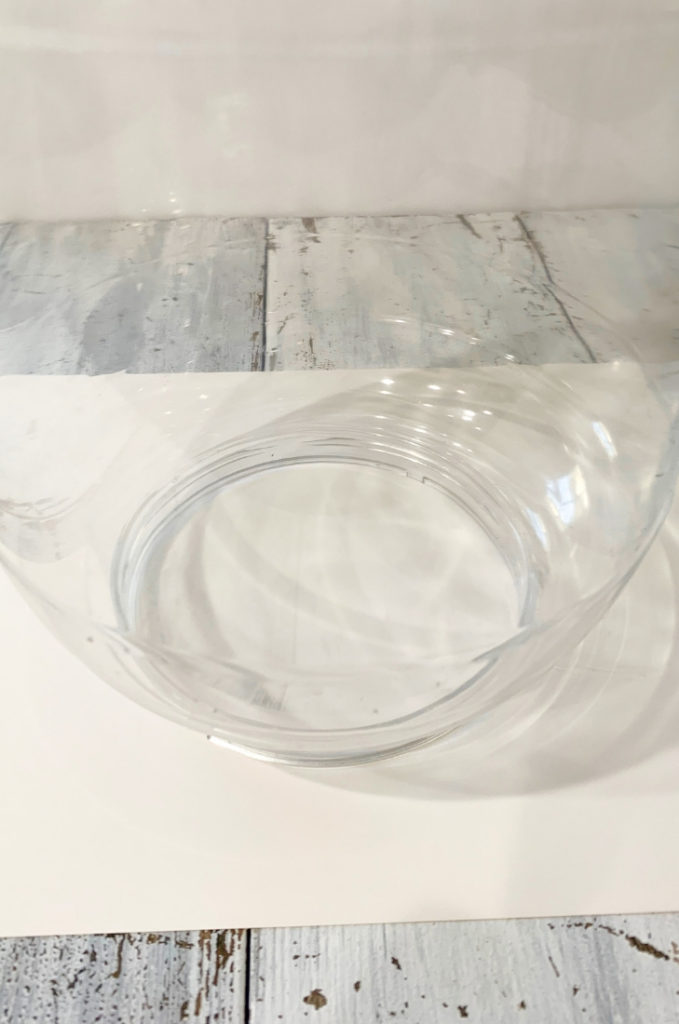
Second, clean and dry a large plastic container. Remove any labels if needed. We used an empty UTZ Cheese Ball container.
How to place the Container
Third, place your plastic container upside down on a piece of cardboard and trace around the mouth of the jar. Next, cut out the circle.
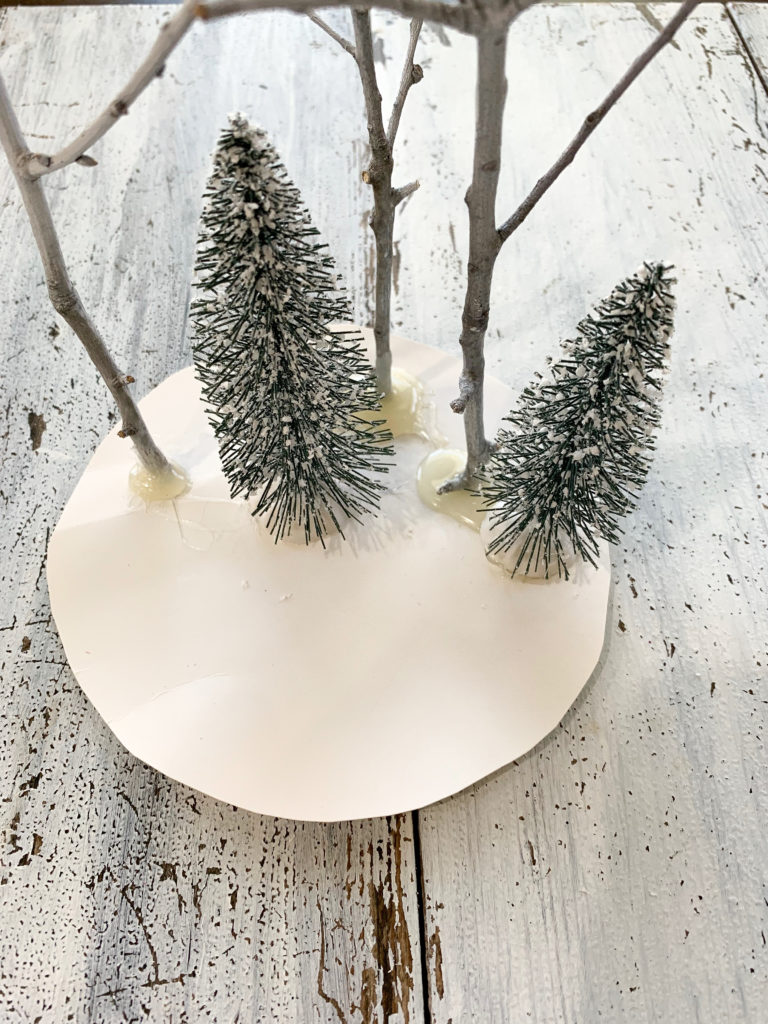
Fourth, use hot glue to glue your twigs (trees) on the cardboard. You’ll need to hold each tree down until the glue dries.
Next, glue on the bottle brush trees. Refer to my picture below to see where I placed my trees.
Fifth, glue each Disney character figure to the cardboard. Before gluing each frozen figure, have a place picked to place them.
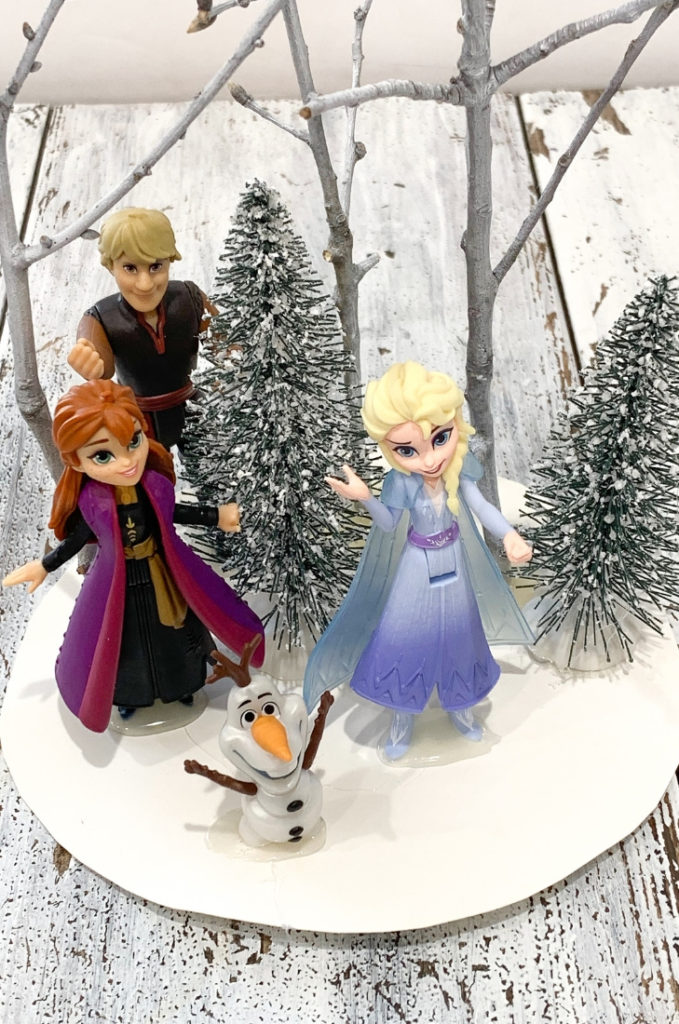
Sixth, place the miniature lights on one of the bottle brush trees. Do not uncoil the lights. Pull the battery pack off the cardboard facing the backside of the snow globe.
Seventh, make a hole in the top of the plastic container. We used a drill. Save the plastic piece you cut off to seal the hole with later or use another plastic piece from another container.
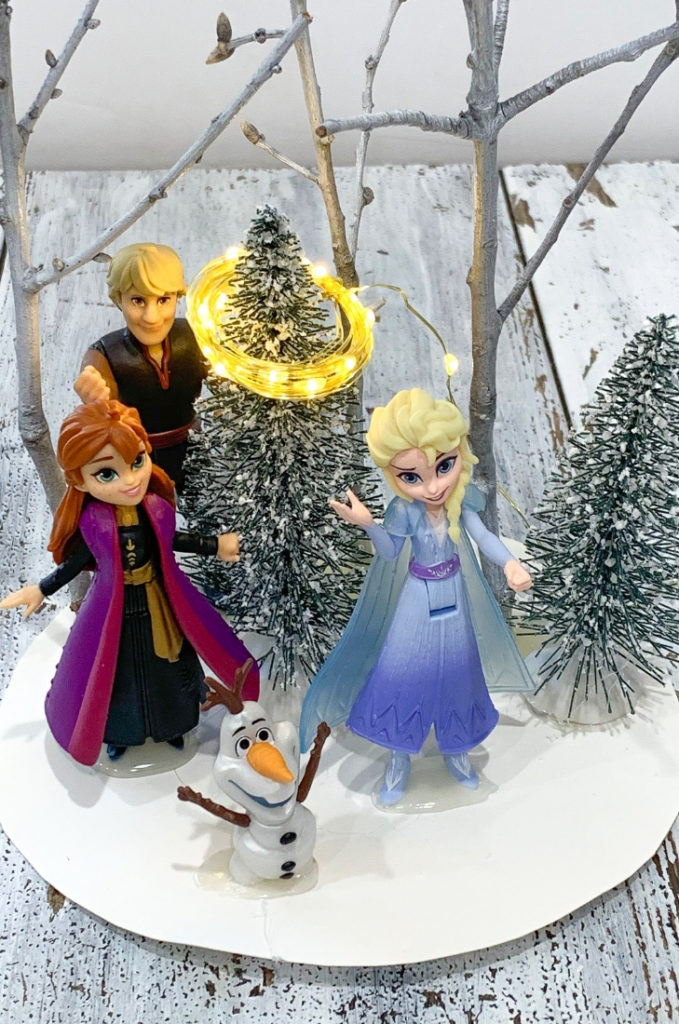
Eight, put some hot glue around the cardboard avoid the space where the wire sits for the lights. Do not get glue on the lights!
Next, set the container with the mouth of the jar down over the trees and scenery.
Ninth, place a funnel in the hole at the top of the container. Pour some snow and snowflakes into the snow globe (container). Next, seal up the hole with the plastic.
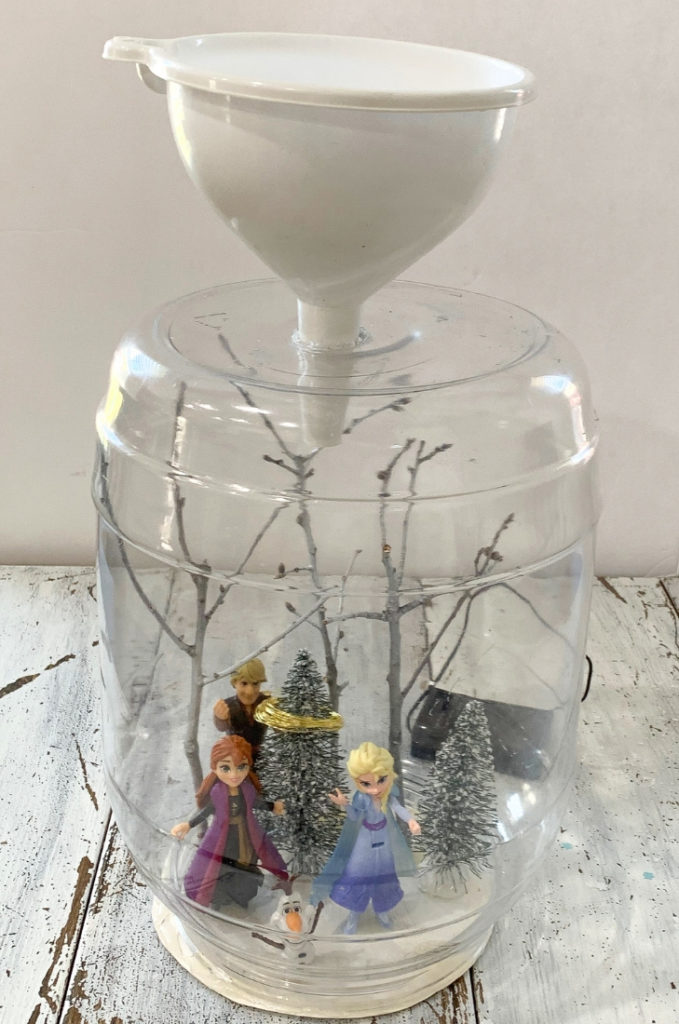
Our snowflakes came with our Frozen 2 Disney figure set. Don’t forget to glue Sven to the top of the DIY snow globe.
If you have a Silhouette or Cricut machine, you could put the child’s name on Sven or use a paint pen.
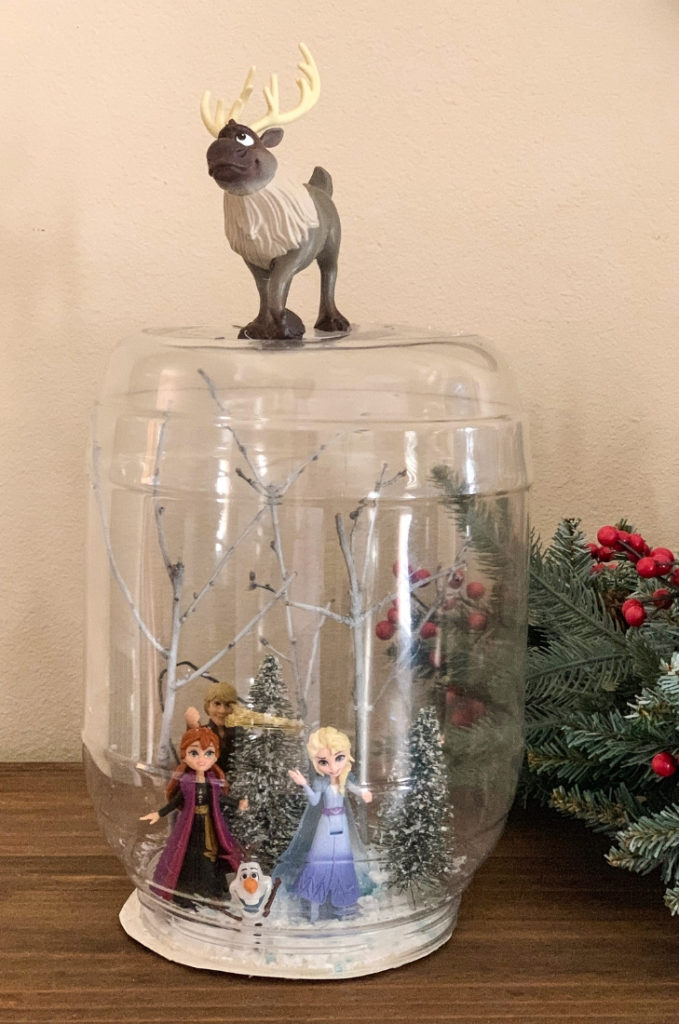
Now put batteries in the battery pack for the lights. Turn it on! Oops! Forgot to turn the lights on.
Doesn’t the frozen 2 snow globe look AMAZING? It makes such a great Disney Frozen birthday or Christmas present!
I purchased the Frozen figures from Kohls. You can buy them from Amazon too.
Kim’s Note- If you want you could put a sprinkle of snow at the top of the snow globe by Sven.
More Snow Globes
You might like my DIY Christmas Snow Globe .
Pin DIY Frozen Christmas Snow Globe
OR
Pin Me
Hiromi says
This is genius and so very adorable! So creative
Kim Seghers says
Thank you so much Hiromi! It was fun to make. Enjoy the holidays, Kim
Whitney Morrow says
That is such a good idea! I want to make it with my cousins at Thanksgiving.
Kim Seghers says
Thank you Whitney! Its so fun to make and McDonald has some Frozen characters in their Happy Meals currently and the Dollar Tree also has some Frozen figure keychains and etc you could use too. Have fun, Kim
B. says
I love this idea and it’s so cute and it would make a good night light. I bet your friends little
will love it.
Thanks
Kim Seghers says
Thank you so much for the kind words! My friends little girl loves the snow globe Frozen light! Have a nice day, Kim