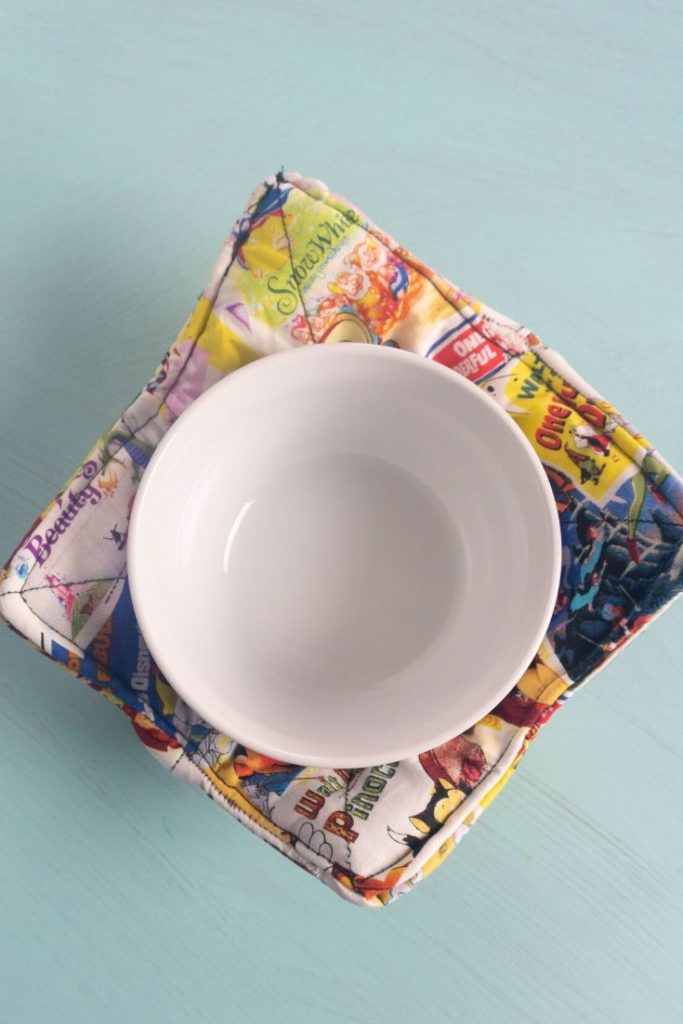
This Disney Soup Bowl Cozy Tutorial is perfect for people that love everything Disney. Not only is this cozy adorable, it’s microwaveable!
You’ll be able to use these simple soup bowl cozy instructions to sew your own cozy in no time!
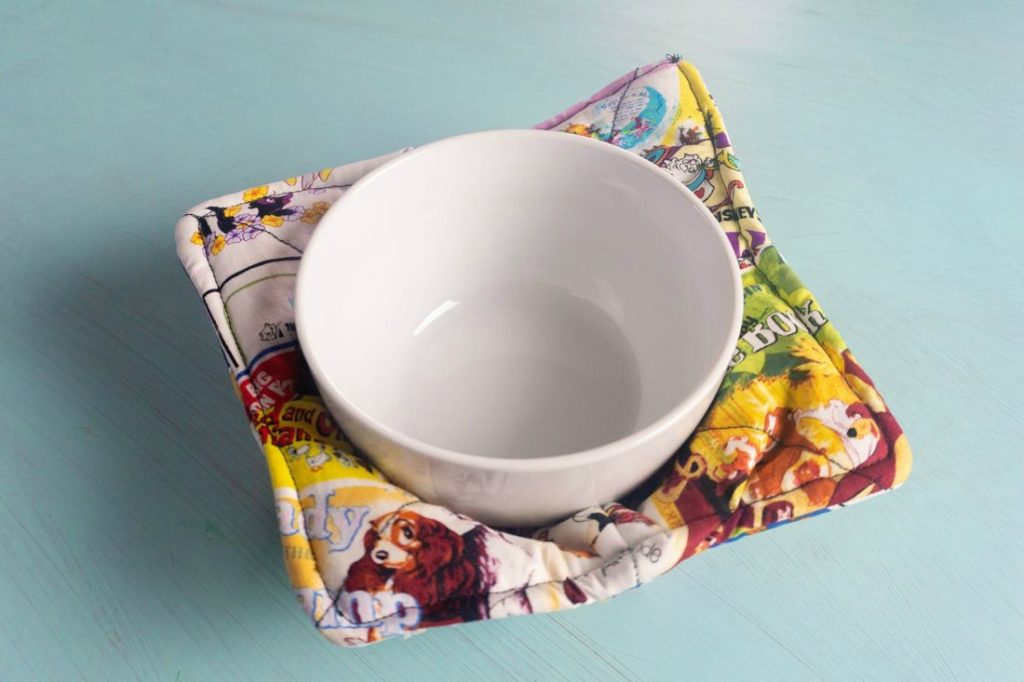
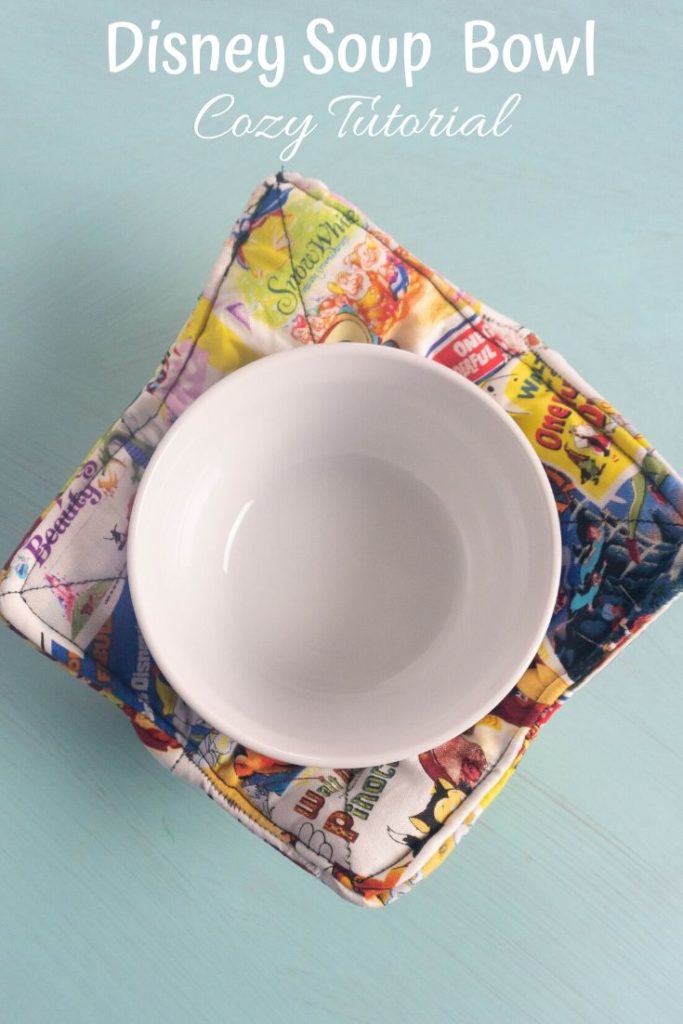
Say “GOODBYE” to burnt fingers. These AMAZING soup bowl cozies are perfect to place in the microwave.
Now when you warm up oatmeal, soups, stew, goulash, and even cheese dip in the microwave, you don’t have to worry about searching for potholders.

You can make several reversible soup bowl cozies with different Disney characters or different colors for each member of your family.
Heck! You could even make some to bring to work to share with your co-workers at the office.
The soup bowl cozy even makes great wedding gifts, birthday gifts, housewarming gifts, and even Mother’s Day gifts.
Dad even might like his own Star Wars themed microwavable soup bowl cozy for Father’s Day.
What kind of fabric would you use for your soup bowl cozy?

Supplies For A Soup Bowl Cozy
2 pieces of 10×10″ fabric (fabric from Jo-Ann Stores)
2 pieces of Pellon Wrap n’ Zap (#aff.)
Thread to match
Scissors
MICROWAVEable Disney Soup Bowl Cozy Tutorial
This Disney Soup Bowl Cozy Tutorial is perfect for those learning to sew.
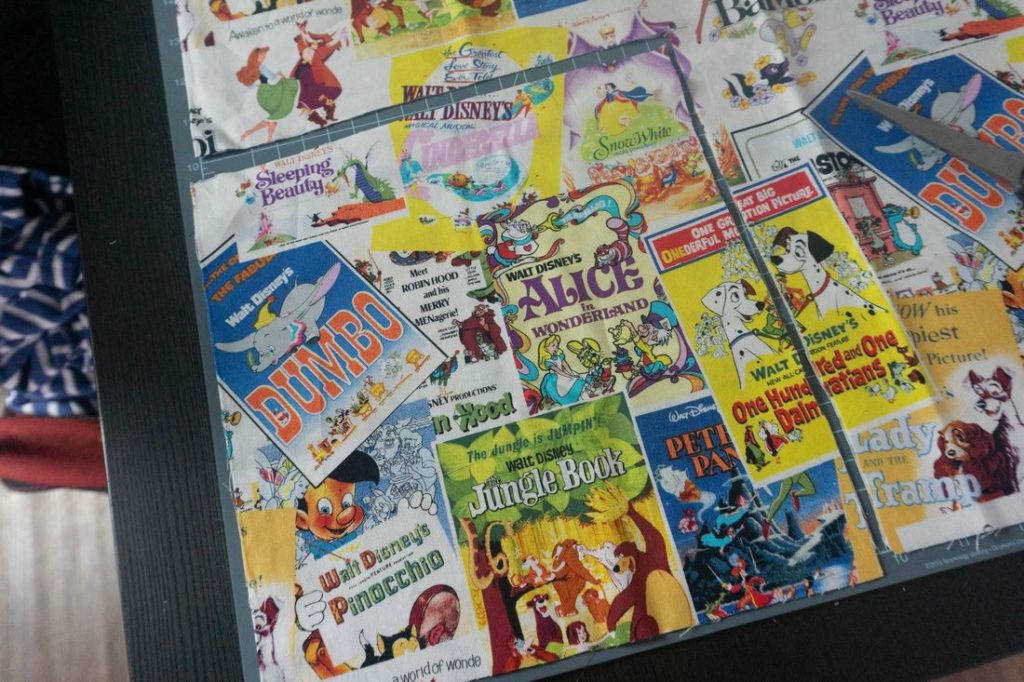
FIRST STEP: Lay fabric out flat and with a measuring tape or cutting board cut the fabric 10×10″.
You can do this with folded fabric or if you would like different sides then cut one piece of one fabric and one piece of another.
SECOND STEP: Lay out wrap n’ zap and then cut 10×10″ squares. I cut this folded as you need two pieces.
Next, Lay out the two pieces of wrap n’ zap and then place your fabric print side up on top.
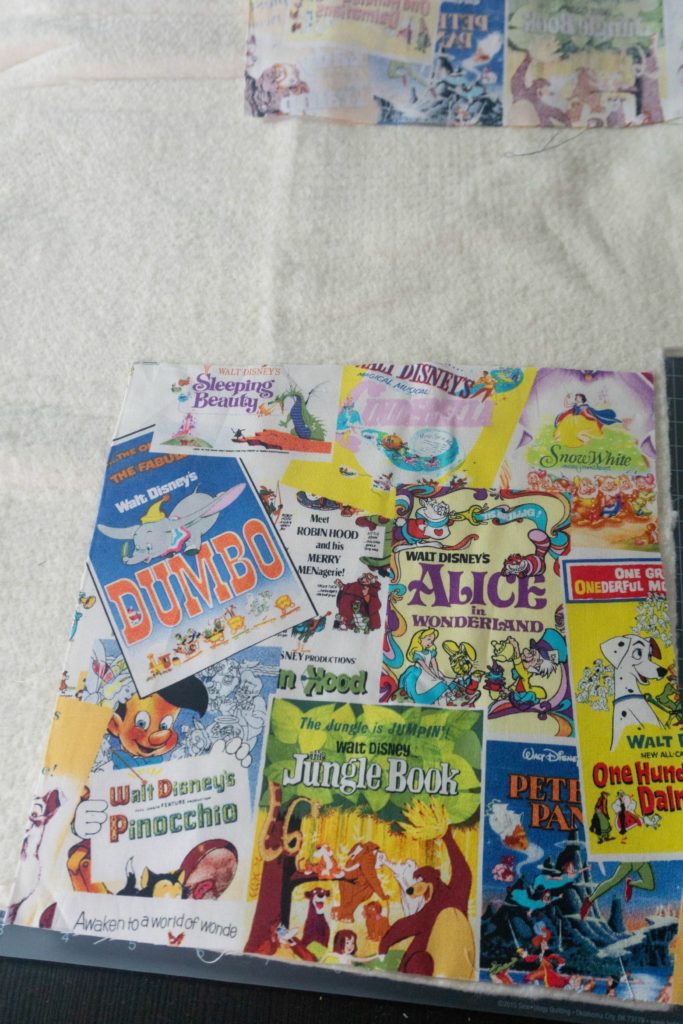
Run this through the machine caddy corner from corner to corner. Do this twice to make a cross across the fabric. Do this on each piece.
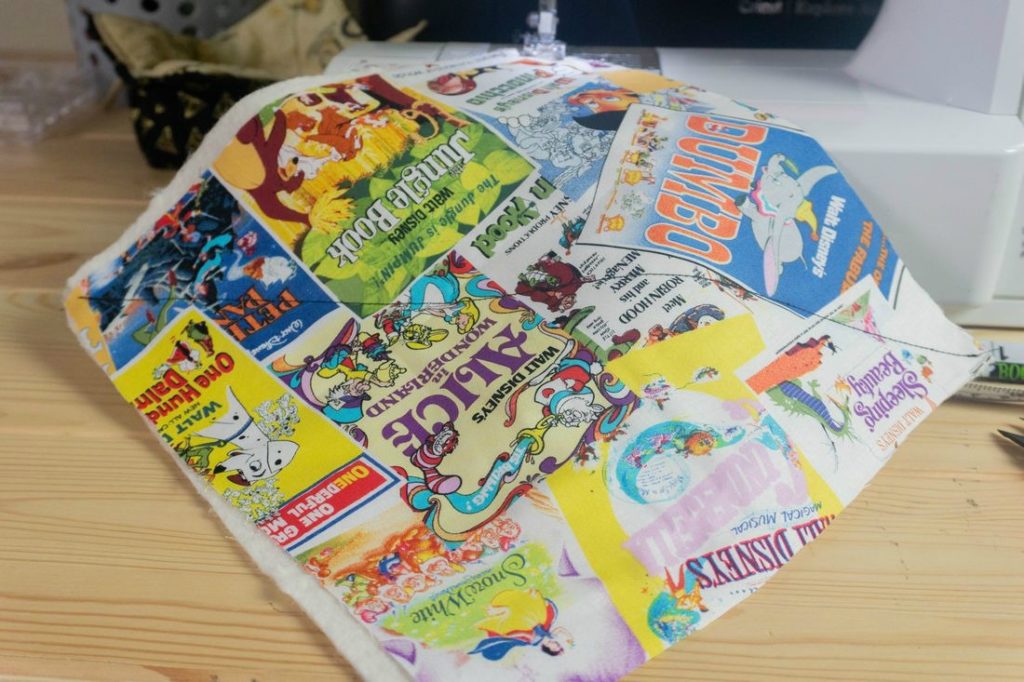
THIRD STEP: Place the square fabric side up and then fold from the bottom up. Measure 2″ on the long side and mark then 1″ on the short side and mark.
Do this on the bottom of each side. Then draw a line. You will then stitch along this line. Cut off excess.
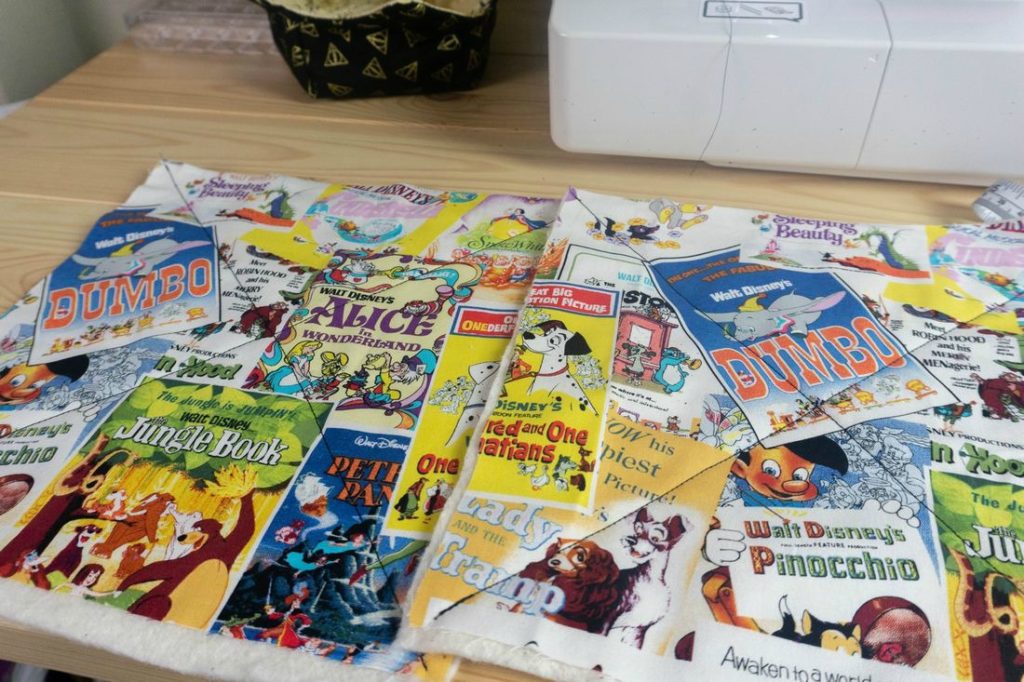
Repeat Process
Repeat this process on both squares. Once completed fold the fabric where the points meet. Repeat the above process of marking and stitching the ends. Trim off excess.
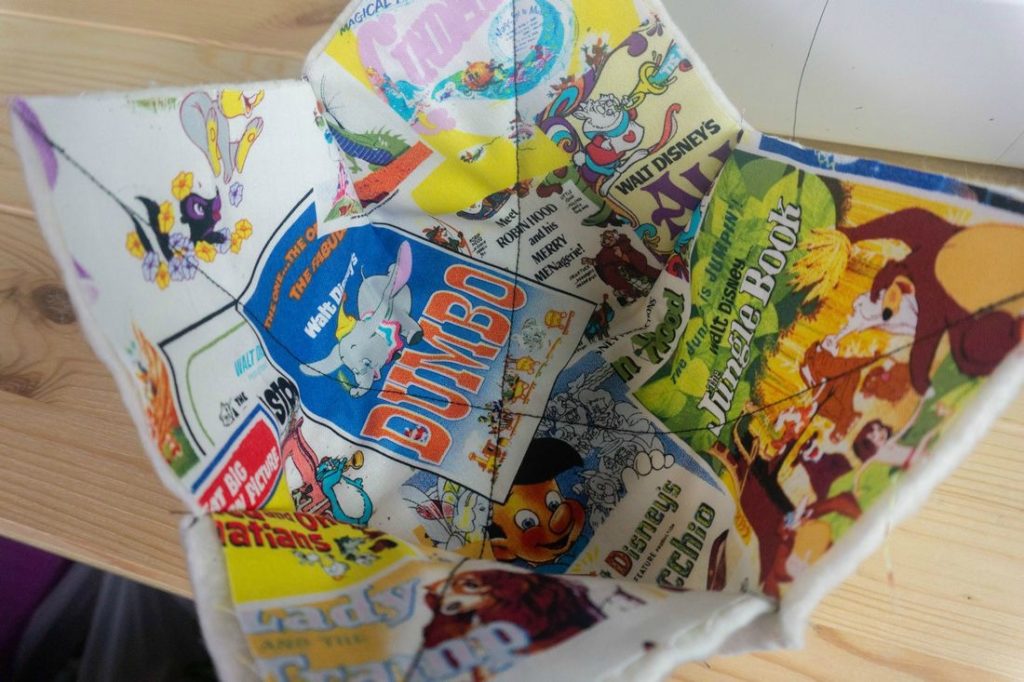
FOURTH STEP: Open the bowls up. Flip one to where the wrap n’zap is face outward and up. Align the points. Clip or pin them together.

Stitch around the outside of the bowl making sure to get fabric and stuffing. I usually do a 1/2 inch stitch to make sure that the fabric doesn’t get away from me when flipping right side in.
Furthermore, make sure when stitching to leave a 1 inch hole to flip your design right side in.
NEXT:: After flipping check to make sure you don’t see any of the wrap n’ zap. If you do flip it back inside out and stitch again.
Once you have it right side in and don’t see any of the wrap n’ zap then make sure your points are pushed out. Fold in the hole and top stitch around the outside.
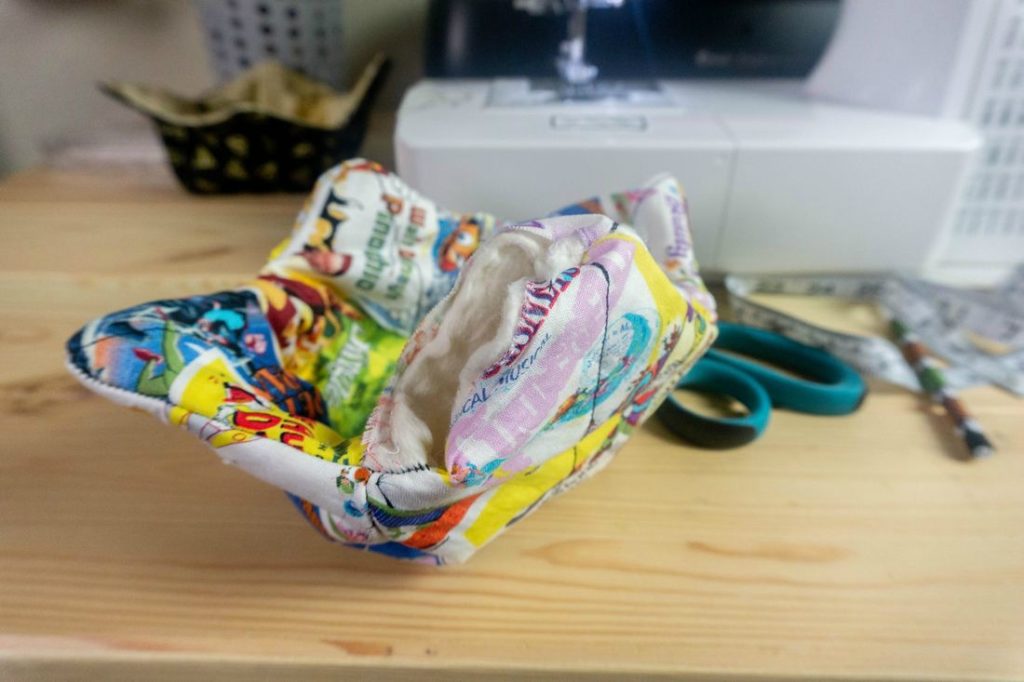
FIFTH and FINAL STEP: After top stitching push the bowl down and make sure the points are up. This will make the bowl shape. Now the bowl cozy is ready for serving.

Isn’t this hot pad for your soup bowl MAGICAL?
Who will be the lucky person who gets a Disney Vintage printed soup cozy from you?
More Disney Ideas
Pin Disney Soup Bowl Tutorial
Kim Seghers says
Thank you! I’m glad you like it. You should make yourself a few soup bowl cozies! Enjoy your week, Kim