Learn how to make a DIY No Sew Burlap Garden Flag. This easy and fun garden flag is the perfect flag to add a little personalized touch to any yard.
I can’t believe I made my own garden flag. No more being envious of all the Burlap Flags adorning the yards around my neighborhood.
I didn’t have to buy my Burlap Flag or beg someone to sew one for me. This Momma made her own no-sew Garden Flag!
And, the best part it doesn’t look like all the flags I see in my neighbors yards.
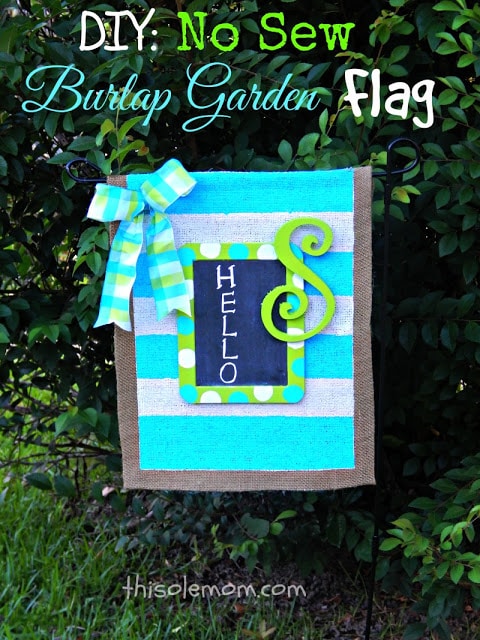
Do you have a Garden Flag? Well, I am going to show you how to make your very own no-sew Burlap Garden Flag.
This way you can become the envy of your neighborhood. People will be passing in front of your house wondering where you bought your Flag.
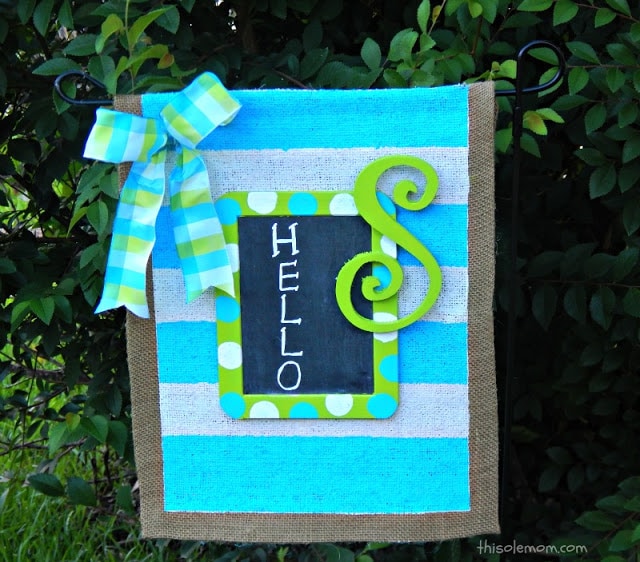
As you can see from the above picture I used a chalkboard and a monogram letter.
I love that I can change the message out on my chalkboard. And, the wooden letter adds a nice personalize touch to my Flag.
You can paint your Flag and chalkboard whatever colors you like.
If you want you can omit the wooden monogram, write your initial on the chalkboard. Either way, your Flag will be beautiful!
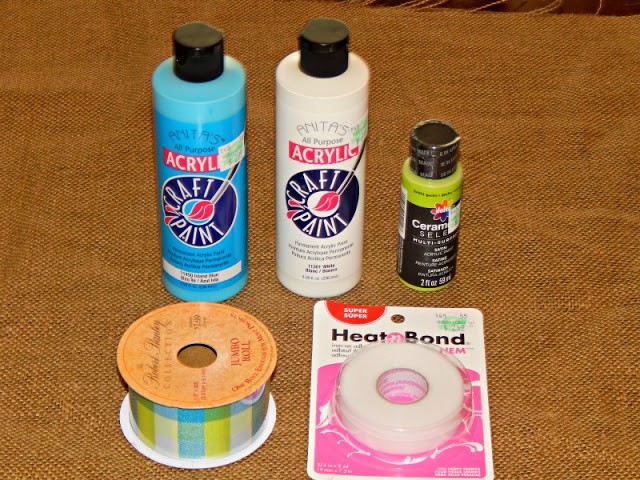
Supplies for DIY: No Sew Burlap Garden Flag
- 16″ x 20″ Burlap
- 1/4 inch Heat n Bond
- White Paint
- Island Blue Paint
- Gecko Paint
- Wide Wired Ribbon
- Small Chalkboard
- Wooden Monogram letter (Hobby Lobby)
- Foam Brushes
- Circle Stencil Foam Brush (small)
- Aleene’s Original Tacky Glue
- 1/4 inch Masking Tape
- 2 inch Masking Tape
- Iron/ Ironing Board
- Measuring Tape or Ruler
- Poster Board
- Painter’s Tape
- Chalkboard Marker (fine tip)
- Iron Garden Flag Pole
- Scissors
- optional – Minwax Fast-Drying polyurethane spray (clear coat)
The majority of the items above were purchased at Hobby Lobby.
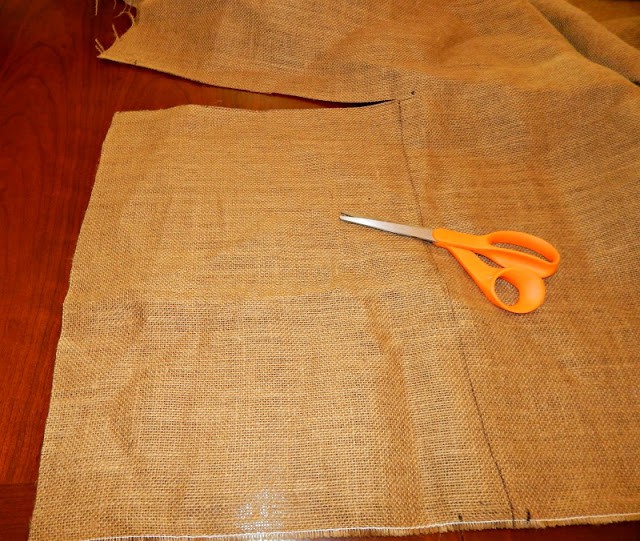
1. Iron Burlap on low setting. On flat surface cut and measure material to 16″ x 18″.
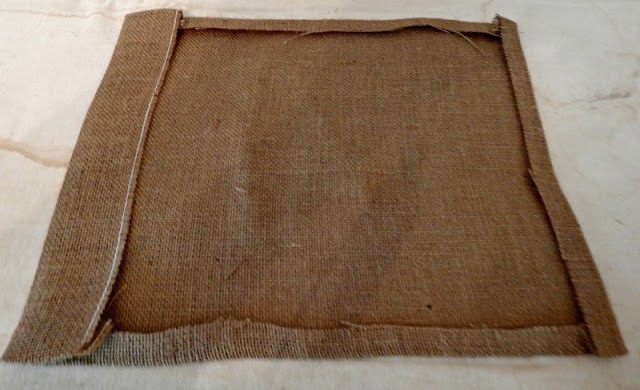
2. Fold and iron down 3 sides of the burlap panel 3/4 inches, then fold one short side down 2.75 inches (2 inches plus 3/4 inches) to make the hanging pocket.
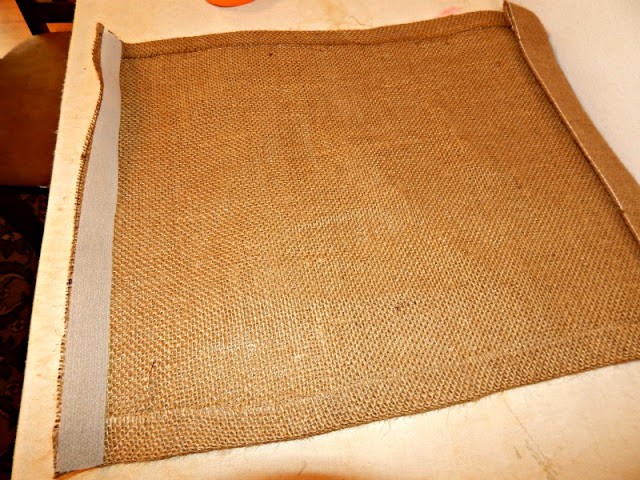
3. Lift each seam placing a strip of heat n bond on each.
Follow directions on the package to adhere the heat n bond to the burlap. Each seam should be iron closed except the top large pocket.
Place heat n bond at the bottom of the 2.75-inch seam to adhere to burlap.
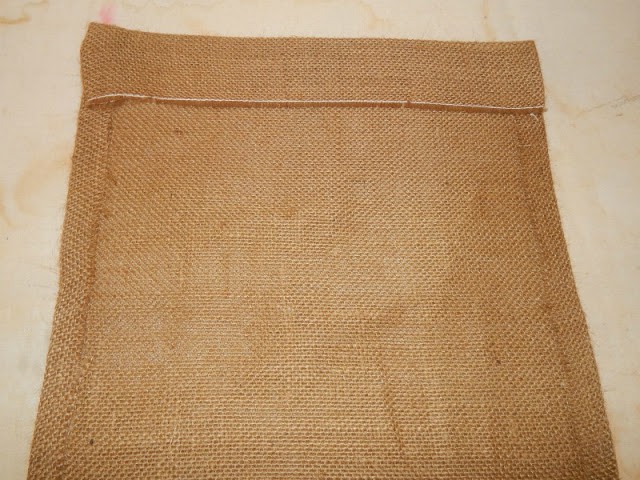
This is what it should look like.
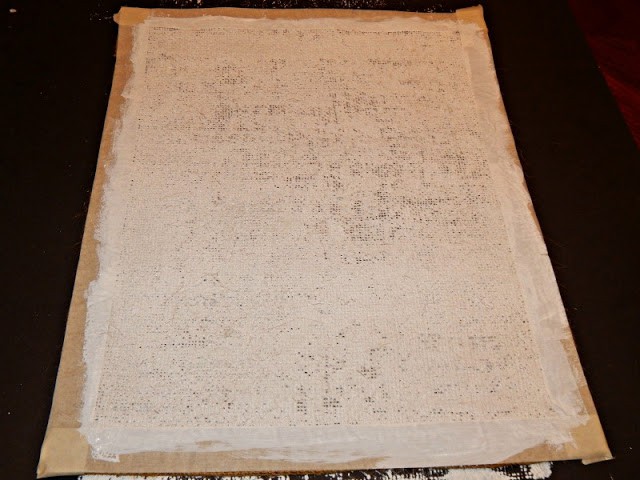
4. Position flag face up on poster board. Mask off 3/4 ” border around flag edge using the 3/4 inch masking tape.
Paint flag white with a foam brush; let dry.
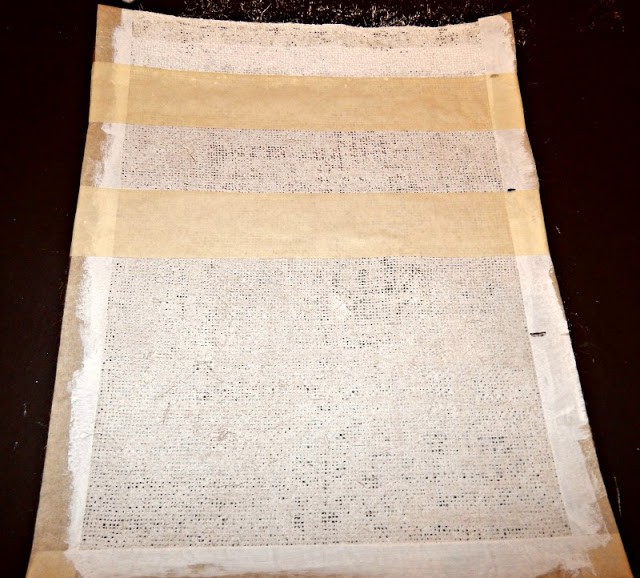
5. Remove the masking tape only on the top by the 2.75-inch pocket, make sure to press down the masking tape on the sides making sure they are sticking. Mark off 2″ stripes using the 2-inch masking tape.
Paint stripes Island Blue; let dry. Make sure to check flag doesn’t stick to work surface.
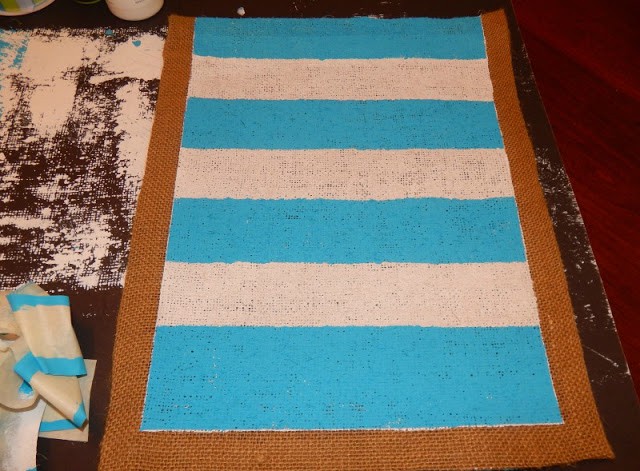
6. Remove the masking tape.
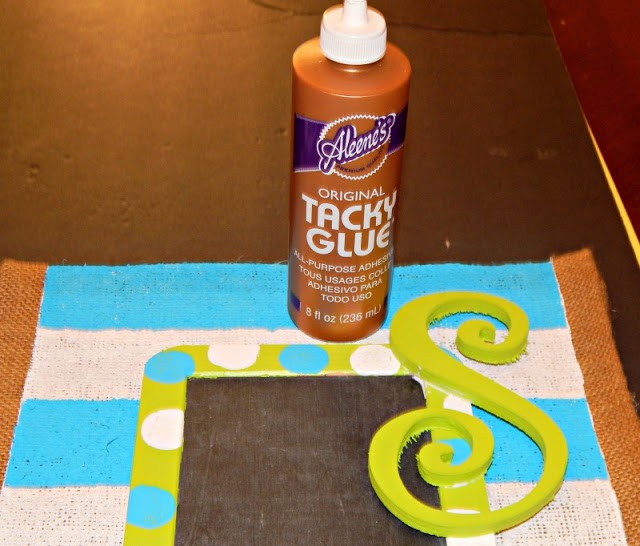
7. Place the chalkboard on work area using painter’s tape to cover the middle section.
Paint the sides of the chalkboard with the Gecko Paint; let dry remove tape.
Using the small circle foam brush make dots using the Island Blue and White paints on top of the painted sides of the chalkboard. Paint the monogram letter Gecko; let dry.
Once the monogram is dry use the glue to adhere it to the chalkboard.
Next glue the chalkboard onto the flag. Let chalkboard dry. Make sure flag doesn’t stick to work surface.
Then write a message on your chalkboard. Also, you can spray your chalkboard/ monogram letter before you remove the painter’s tape with Minwax Fast-Drying Polyurethane clear coat to protect it from the weather.
*Hint – I used a Q-tip to wipe the glue up around the monogram letter.
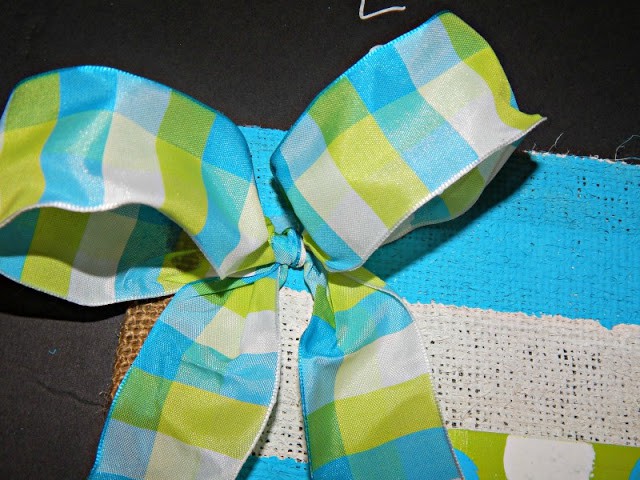
8. Make a bow with the ribbon and trim the ends. Next, use the heat n bond to adhere the ribbon to the corner of the burlap flag.
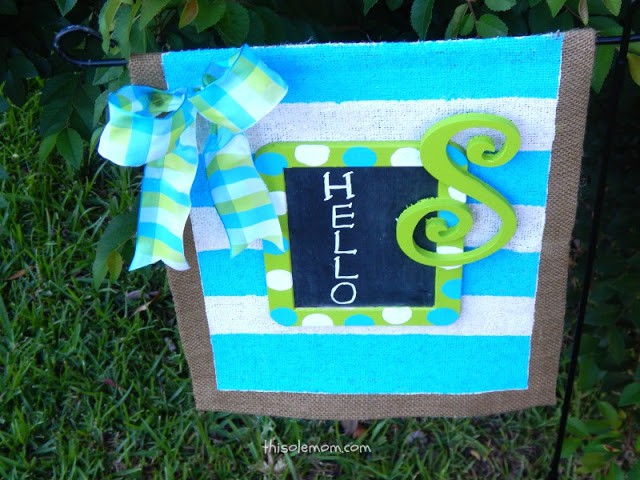
9. Slip the flag onto your Garden Flagpole. Place in your Garden and enjoy!
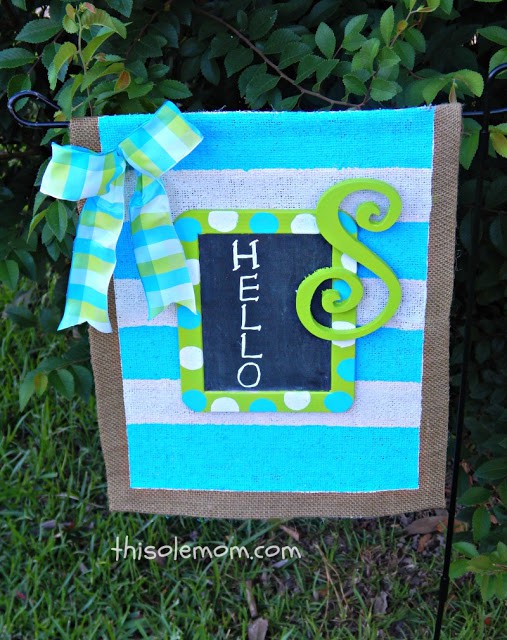
What do you think about my no-sew flag?
Now before I start getting questions how this flag will hold up in the weather, let me just say if the heat n bond can hold up in the washer machine I think it will be able to hold up in the rain.
That’s just my opinion. I use heat n bond all the time to hem the bottom of my pants. But time will tell. Make sure to check out my St. Patricks Day Flag too.
Nicole O'Dell says
I am a huge fan of no sew projects! I can actually do them haha. Love this one, very pretty!
KimSeghers says
Hi AJ, I can't sew either! I wish I could but just can't figure it out. I love any chance to create a no sew project. Thanks for hosting Talented Tuesday Link Party. Kim
KimSeghers says
Thank you so much, Gina! It was really fun to make. You could really get creative with making your own flag. I actually took a pair of pliers after I slipped my flag into the pole and closed the top part down so my flag couldn't slip off. If you can buy a garden pole from the Dollar General for $3 and bend the top piece a bit. You should definitely try making a flag. Have a lovely weekend, Kim
Gina Young says
This flag is really cute! I would say that if it last for 1 season it is doing just as well as the ones you buy– which either fade or blow away!! I had not thought of making a replacement flag, but such a great idea– and burlap would have to be relatively inexpensive too! Pinned!
Shannon Peterson says
This is such a fun and bright way to spruce up a space!
KimSeghers says
Thank you Shannon! It's definitely bright. Now all I need is a matching door wreath. Enjoy the rest of your week, Kim
KimSeghers says
Thank you so much Yanique for the kind words , you made my night. This project was fun to make. I love that I was able to be creative making this flag. Thank you for pinning! Have a lovely night, Kim
yanique says
Wow Kim this looks amazing. I can't believe you made this from burlap. I love the color combination and the chalkboard idea is genius. I love that you can change the message. I'm certainly pinning this 🙂
Amanda {Planning It All} says
Very cute! Let us know how it holds up in the weather!
KimSeghers says
Thank you Amanda! I will definetly let you know how it holds up in the rain. I was wondering if it would mildew. I guess I'll find out. Have a great night, Kim
Nikki says
Super cute, I love it! The monogram and chalkboard give it a unique look.
KimSeghers says
Thank you so much, Nikki! I am very proud of it and it took me a few days to complete between having to run my son to soccer and everything else. You made my night! Thank you for stopping over. Kim