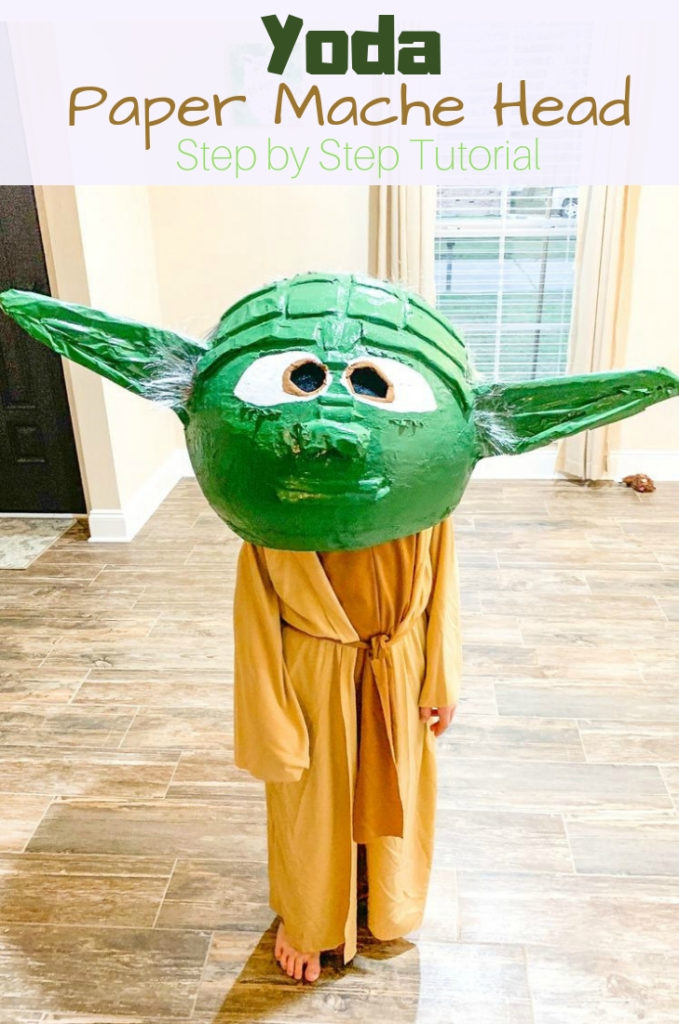
Learn how to make a Yoda Paper Mache Head using newspaper, flour, and water. The step by step tutorial will have you wearing the DIY Yoda Head in no time!
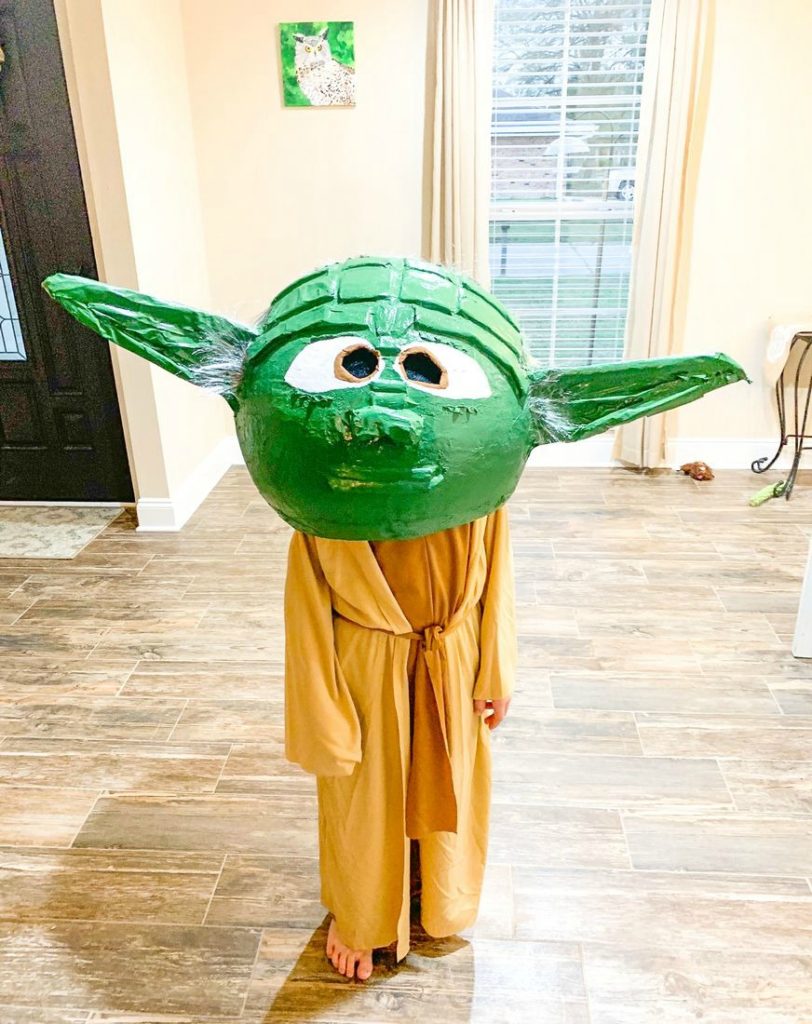
Star Wars fans will enjoy making this large Yoda Head of their favorite Jedi Master.
It’s the perfect mask for kids or adults to wear for Halloween and to show off at Comic-Con or Fan Expo.
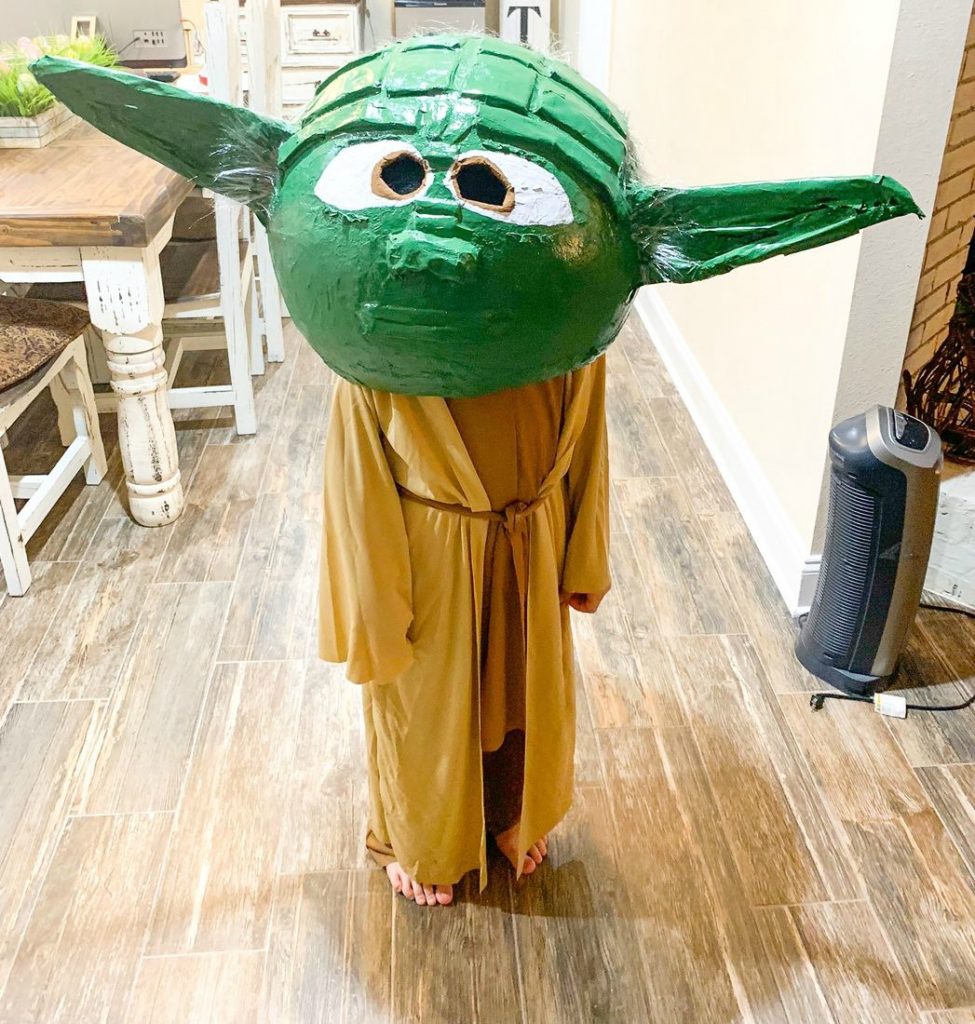
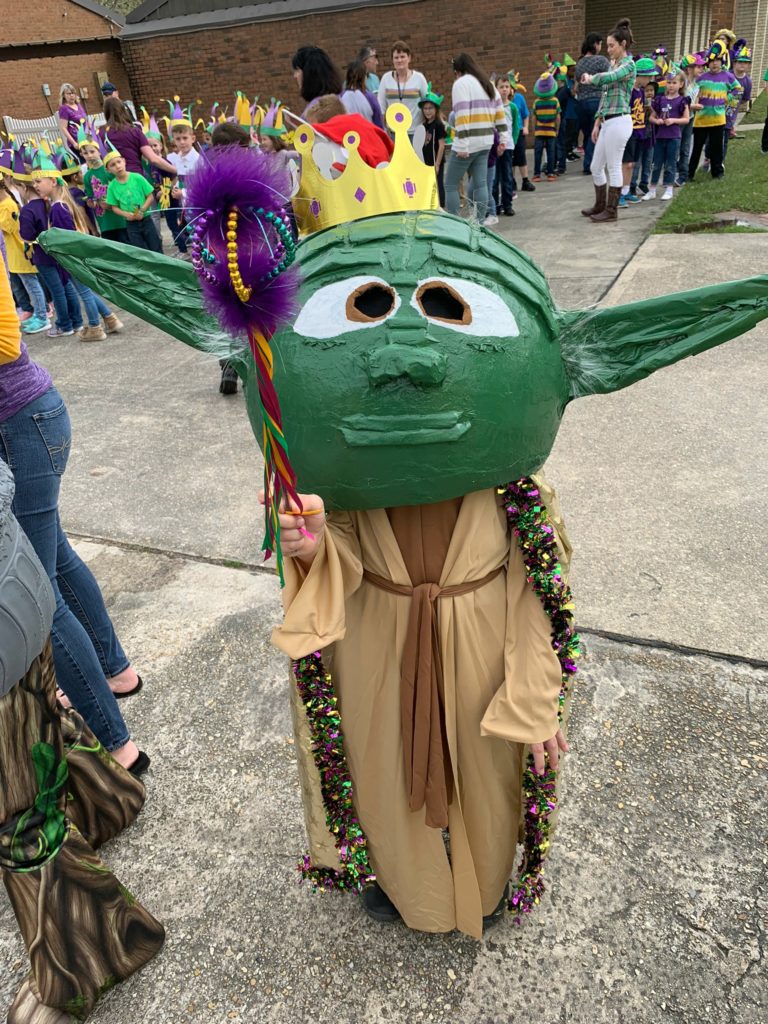
Additionally, the paper mache mask is also excellent to wear for Mardi Gras.
My son and I made this giant Yoda head for him to wear during his school’s head parade.
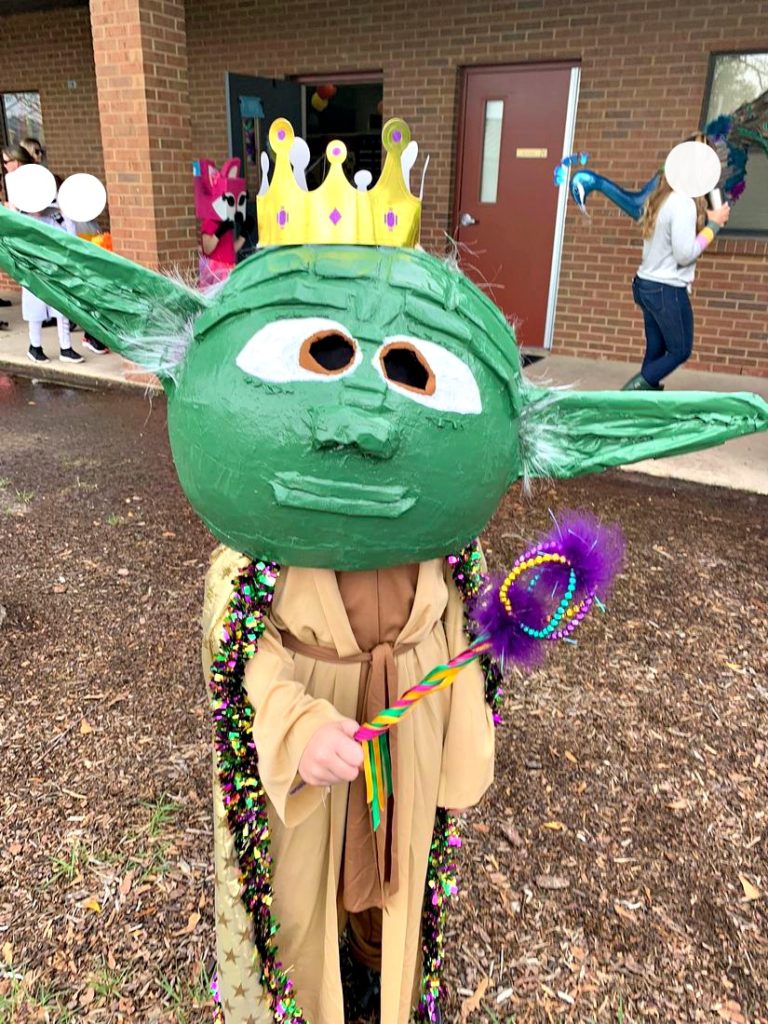
Every year before Mardi Gras break the third graders at my son’s school parade around the school parking lot.
They wear giant paper mache heads made with help from their parents.
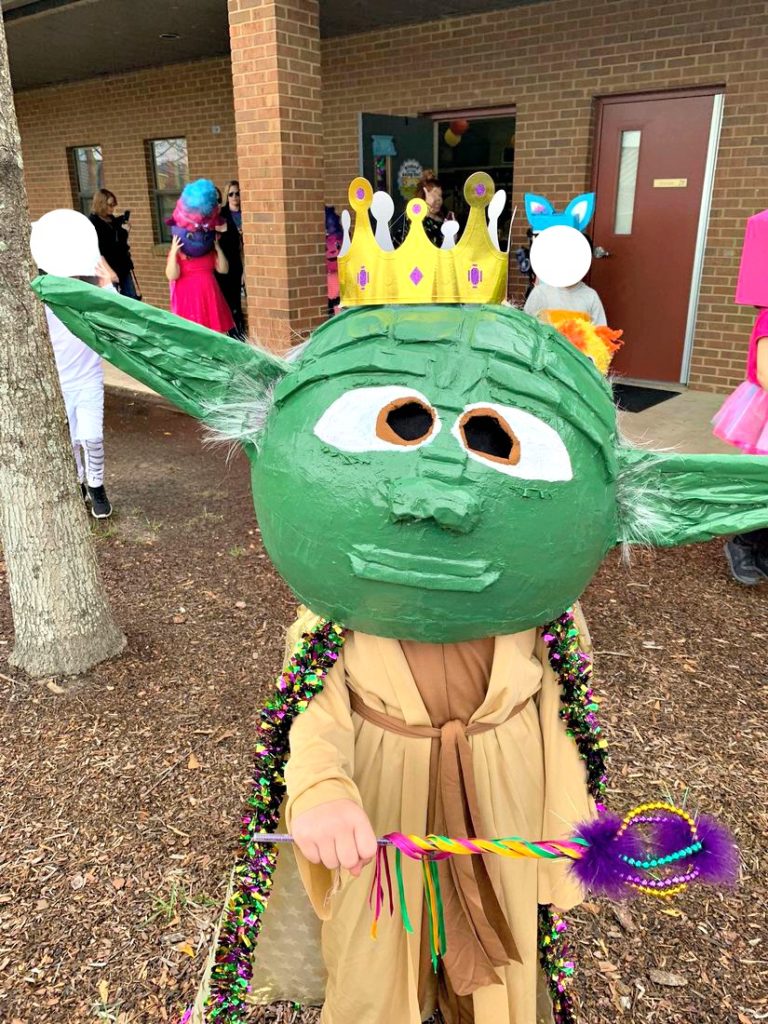
When my son decided to make Yoda for the parade, he knew he wanted to save the giant head to wear for Halloween.
Of course Yoda will have a Lightsaber for Halloween.
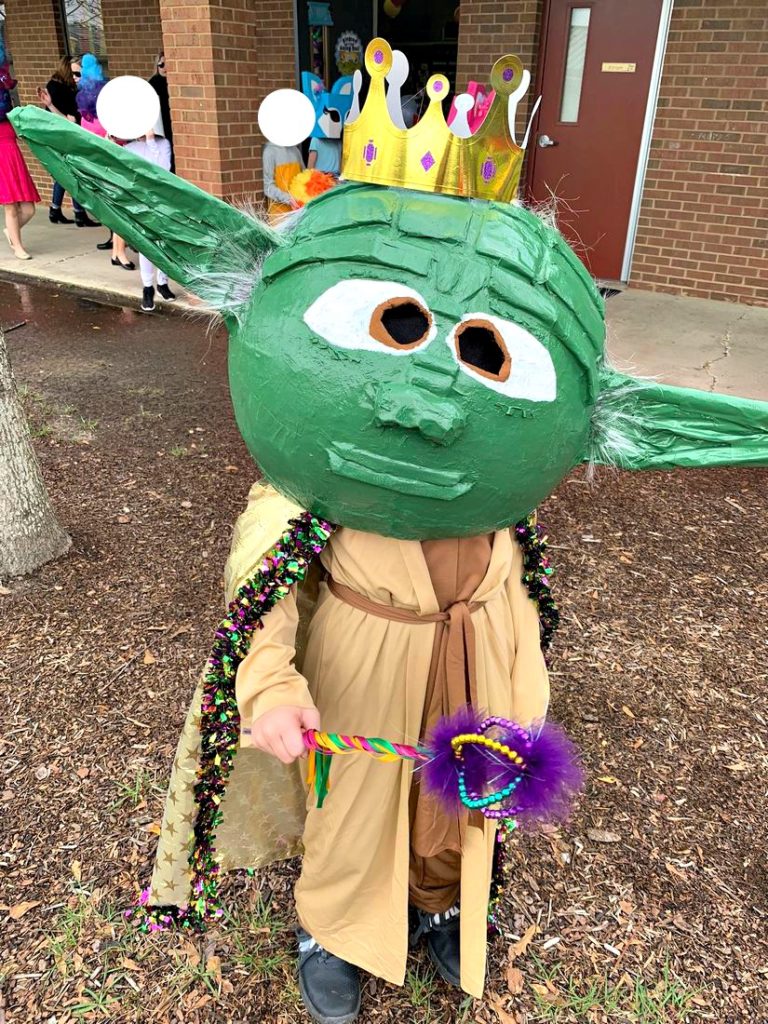
If you know how to make a pinata, then this paper mache Yoda mask will be a cinch for you to make.
Even if you’re not an expert at paper mache or pintas, this tutorial will help you feel confident enough to make this Star Wars Jedi Master paper mache mask.
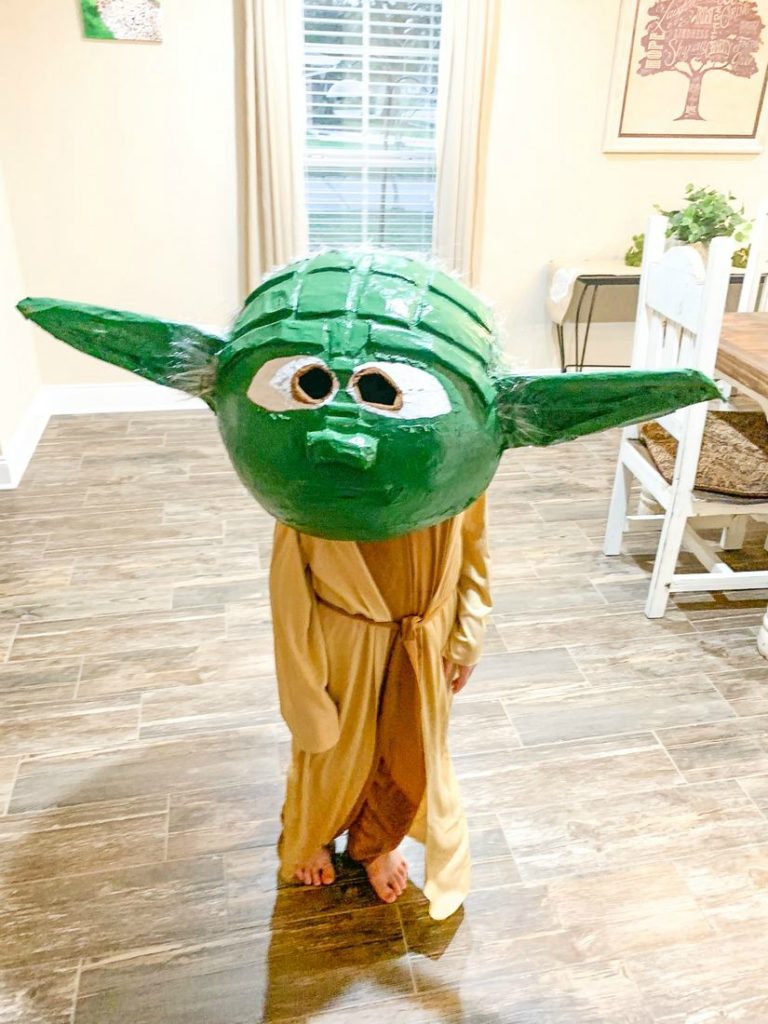
What you need for the Yoda Mask:
- extra large play ball or beach ball
- cling wrap
- newspaper torn in long strips
- extra newspaper
- white copy paper torn in long strips
- paper mache glue with flour and water (see instructions below)
- masking tape
- hot glue gun
- Hot glue gun finger silicone caps
- cardboard (empty cereal boxes)
- gray wig for kids (Yoda’s hair)
- q tips
- E6000 Industrial Strength adhesive
- paper bowls
- primer
- 2 cans green spray paint
- white acrylic paint
- brown acrylic paint
- paint brush
- black tulle
- plaster wrap
- plastic tablecloth (Dollar Tree) or old shower curtain
- Optional: Yoda Star Wars Costume
How to Make Paper Mache Glue
Making the paper mache glue is simple with ingredients you probably already have in your kitchen pantry.
We used only water and flour to make the non-cook paper mache glue, which is very inexpensive and a little messy.
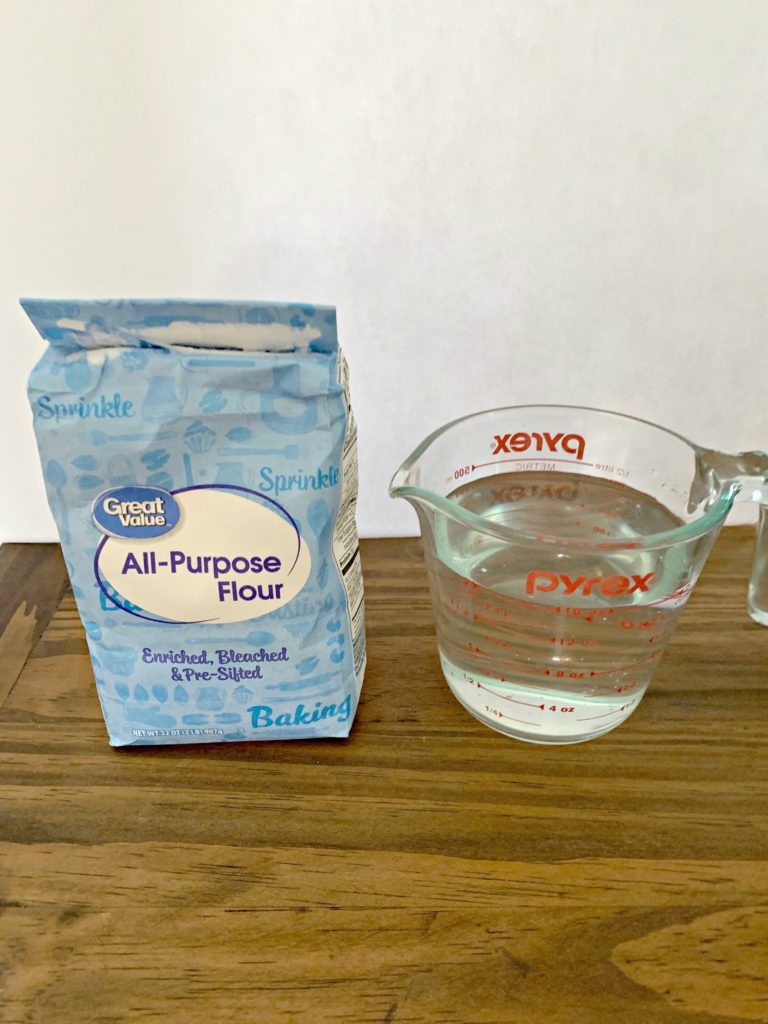
- You will need 1 cup flour and 2 cups water.
- Salt (1/2 tbsp) to keep the mask from mildewing.
- Large mixing bowl.
- Spoon or whisk for mixing the ingredients together.
- Mix the flour, water, and salt together until most of the lumps are gone.
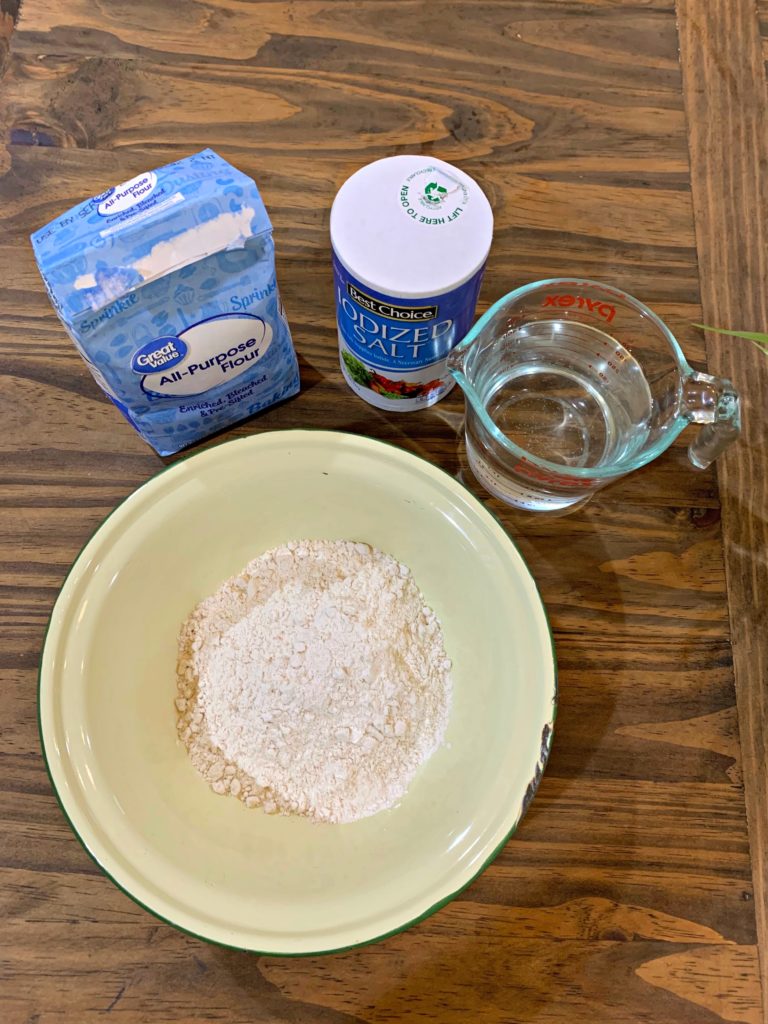
We started off using 2 cups of flour, 4 cups of water, and salt. Then we made more paper Mache glue as needed.
Add more flour or water as needed. The paper mache glue should be the consistency of pancake mixture or thinner.
How to Make a Yoda Paper Mache Head
First you will need an extra large playball. The one we used was 54 inches around. We found the ball at Walmart. You could also use a beach ball.
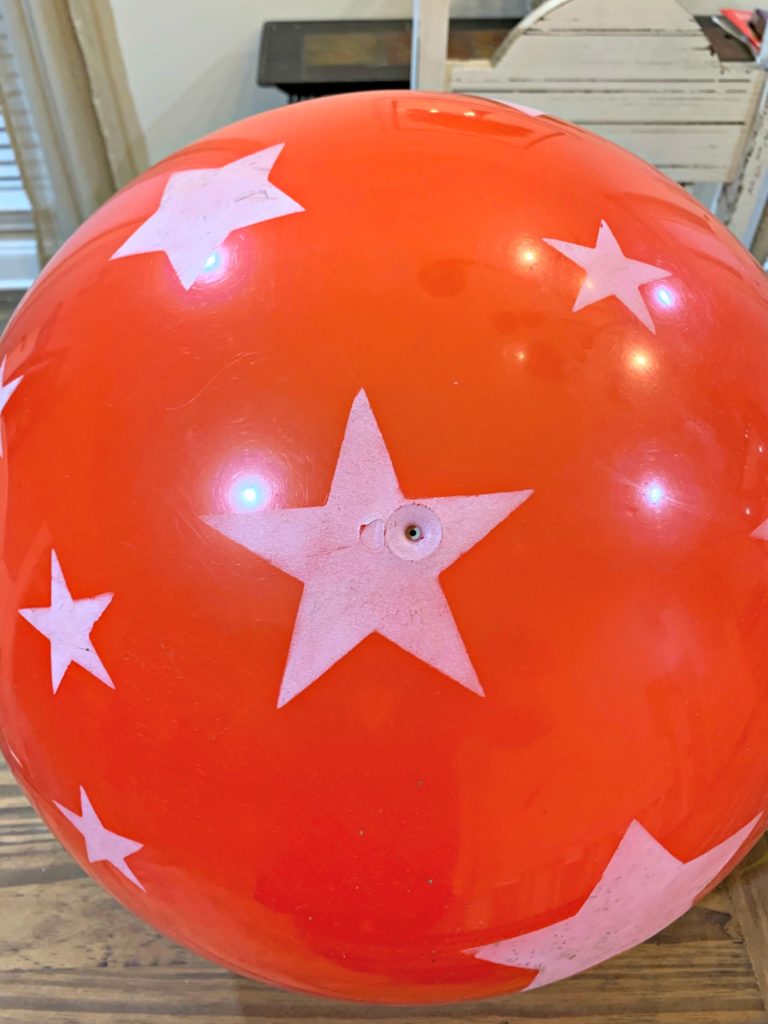
The next step is to prepare the ball. This step is crucial do not SKIP this step.
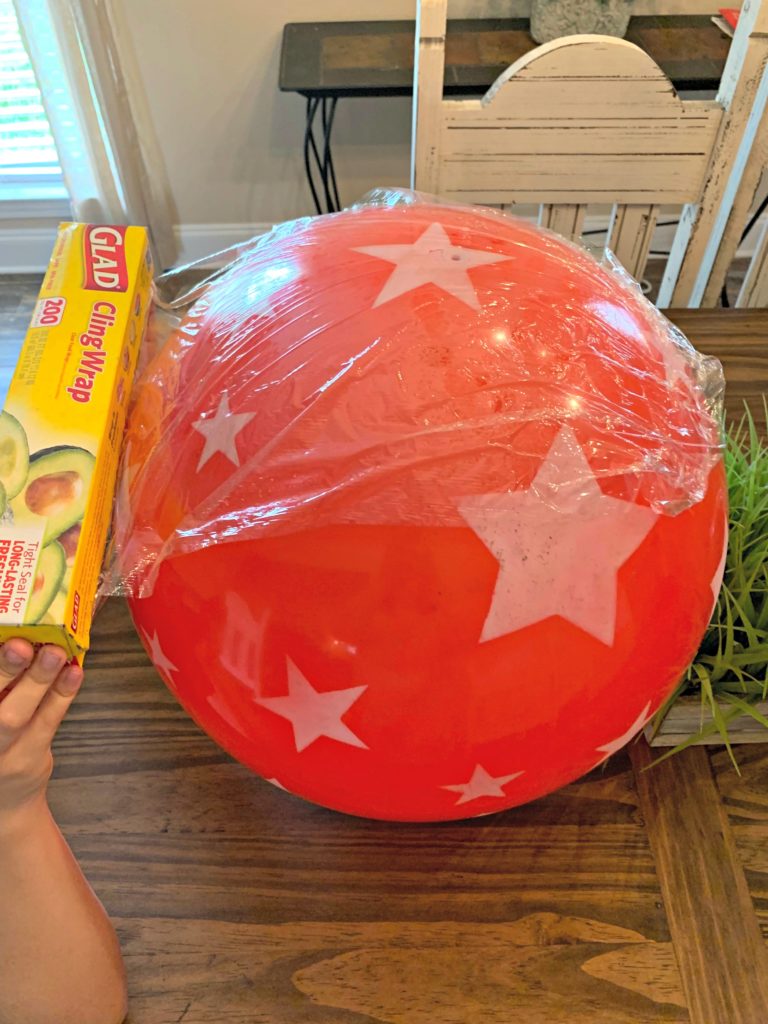
Using cling wrap, cover the entire ball with 3-4 layers. You can use your hand to smooth out the saran wrap as you go.
Saran wrap will prevent the paper mache from sticking to the ball. This step is VERY important.
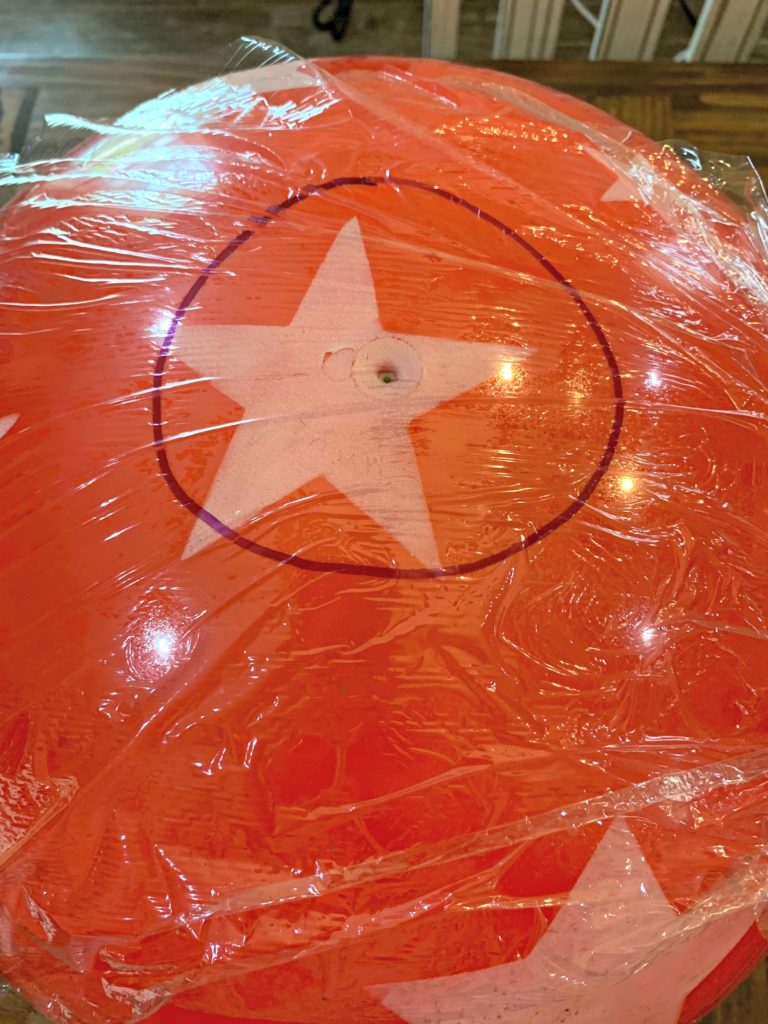
Next, find the air hole on the ball, draw a circle around it. The air hole will be the top.
This spot will be where you will deflate the ball later after you finish the Yoda mask.
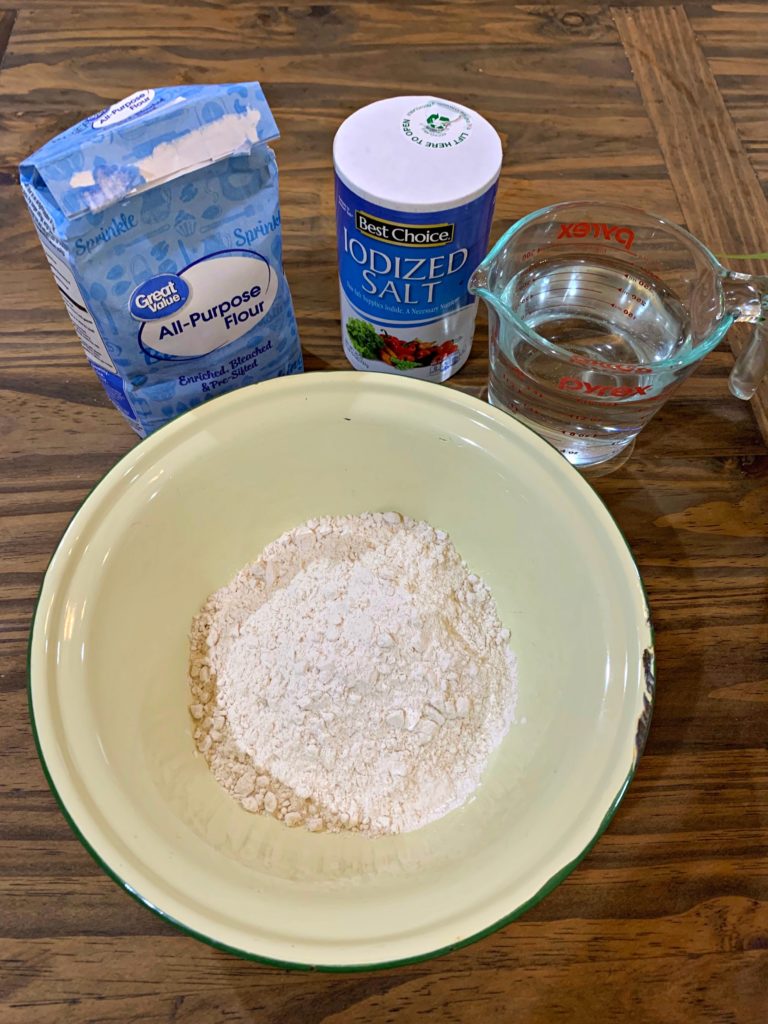
The second step for making the Yoda Head is making paper mache glue. Use the directions from above for the Paper Mache glue.
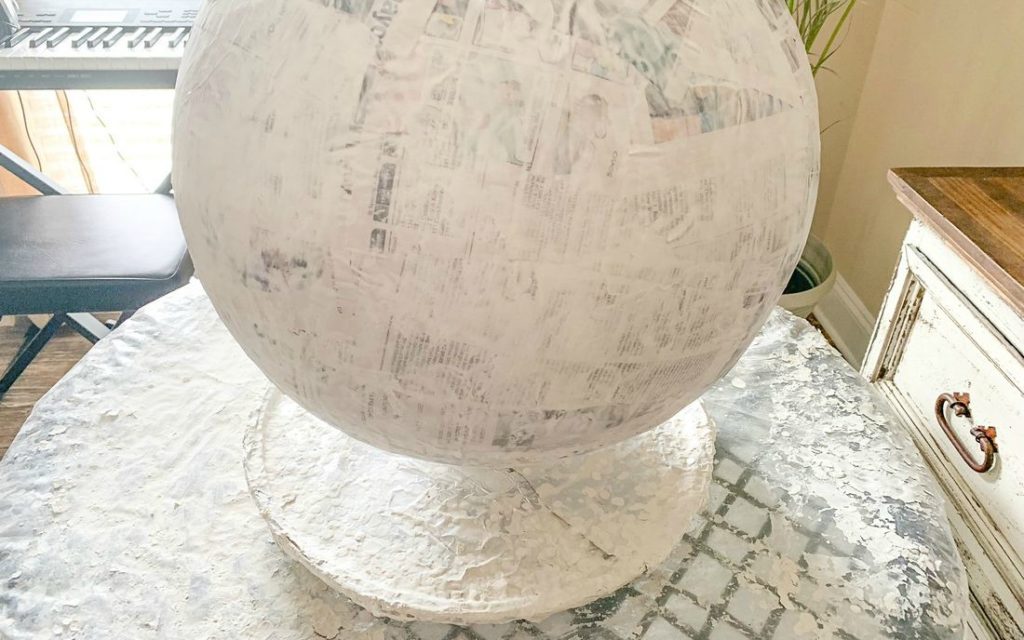
Third, cover your work surface. Next, if you have a lazy susan turntable cover it with foil.
Then place your ball on a paper bowl on top of the turntable or on your work surface.
Fourth, dip a strip of newspaper in the paper mache glue. Place strips of dipped newspaper on the ball.
Make sure not to cover the circle with the air hole. Continue placing strips of paper on the ball until it’s completely covered.
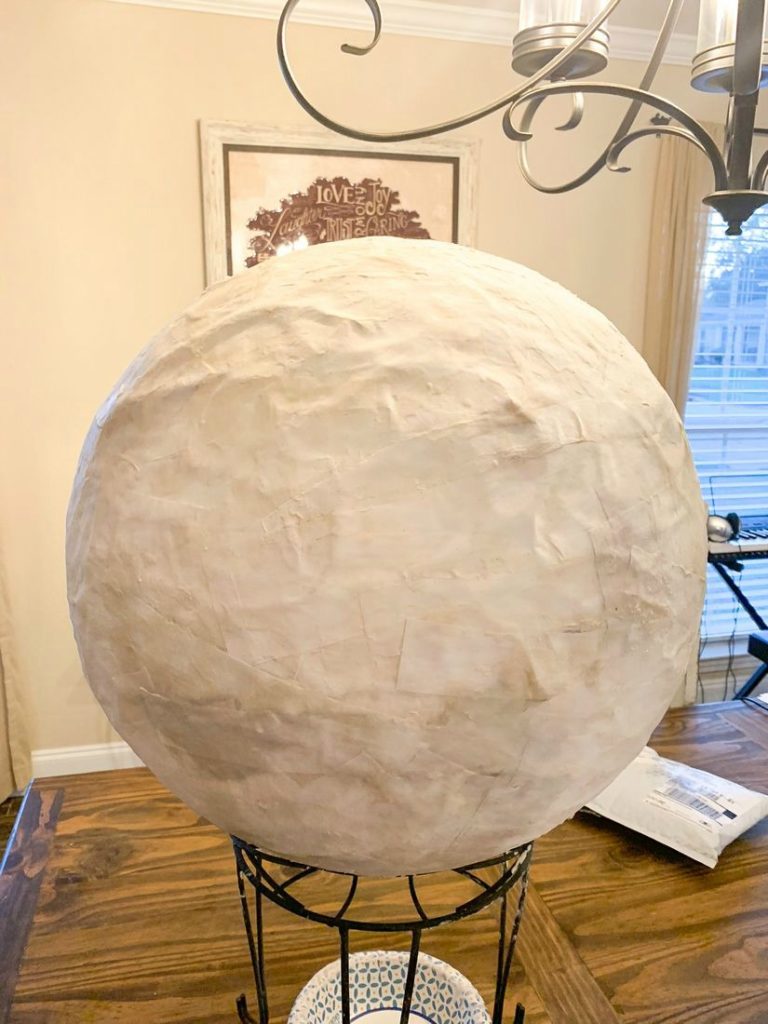
Fifth, use your hands to smooth the paper as you place the strips on the ball. Be careful not to move the paper.
Let each layer completely dry before you start another layer. You need at least 6 layers. I used several layers of newspaper and layers of copy paper.
How to Dry the Paper Mache Head
The best place to let your paper mache ball dry is outside in the sun or overnight indoors. I used a wire flower pot stand to hold my paper mache ball while it was drying.
Additionally, you can also use a heater indoors to dry the paper mache head. Never leave the heater unattended. And, turn the paper mache head several times.
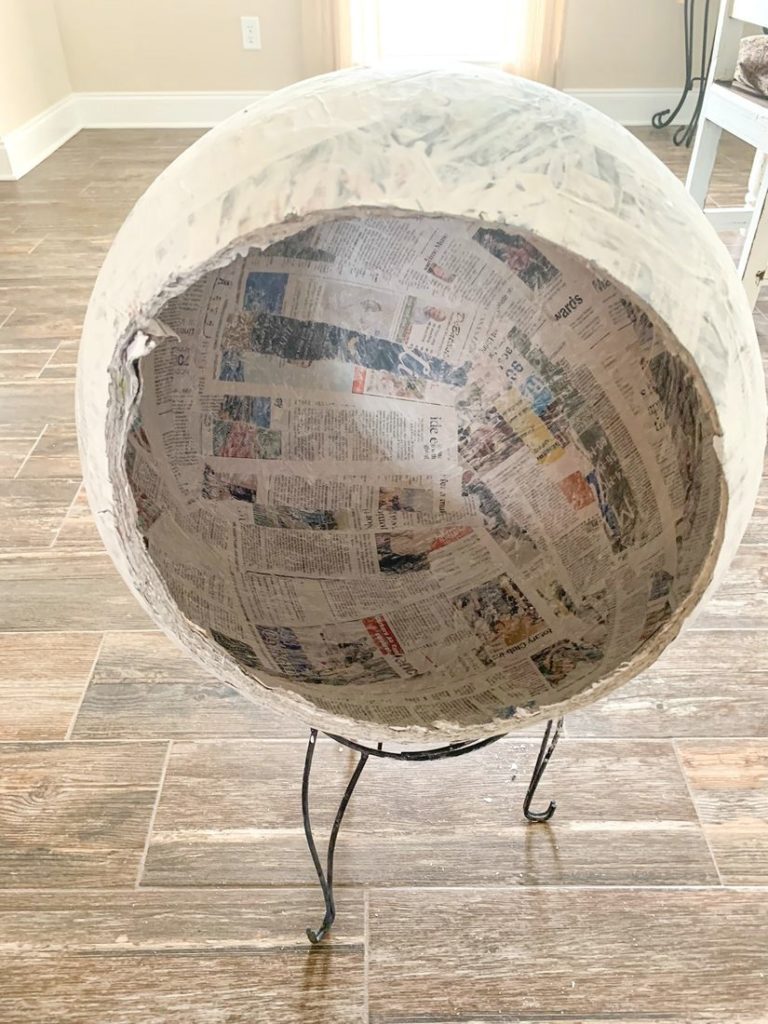
Sixth, once the layers are completed and dry, deflate the ball. Cut the hole size you want so the paper mache head fits over the head of the person who will be wearing it.
We cut our paper mache head so it could rest on my son’s shoulders.
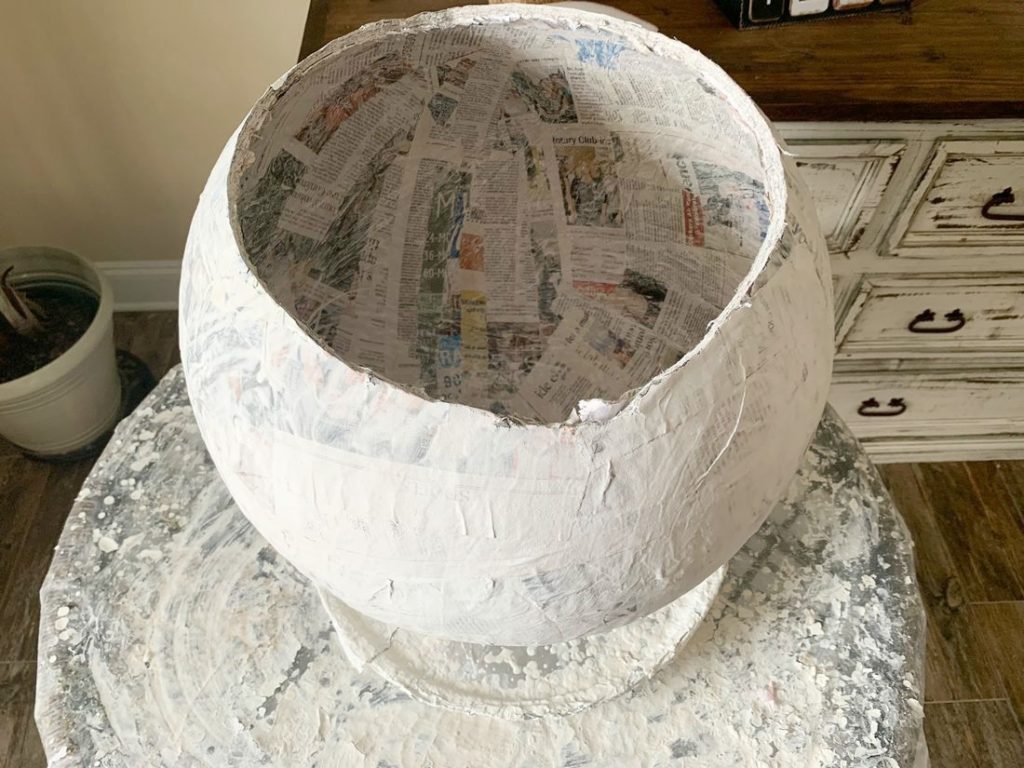
Pull the cling wrap and deflated ball from the inside of the paper mache head. Then let the inside of the head dry completely.
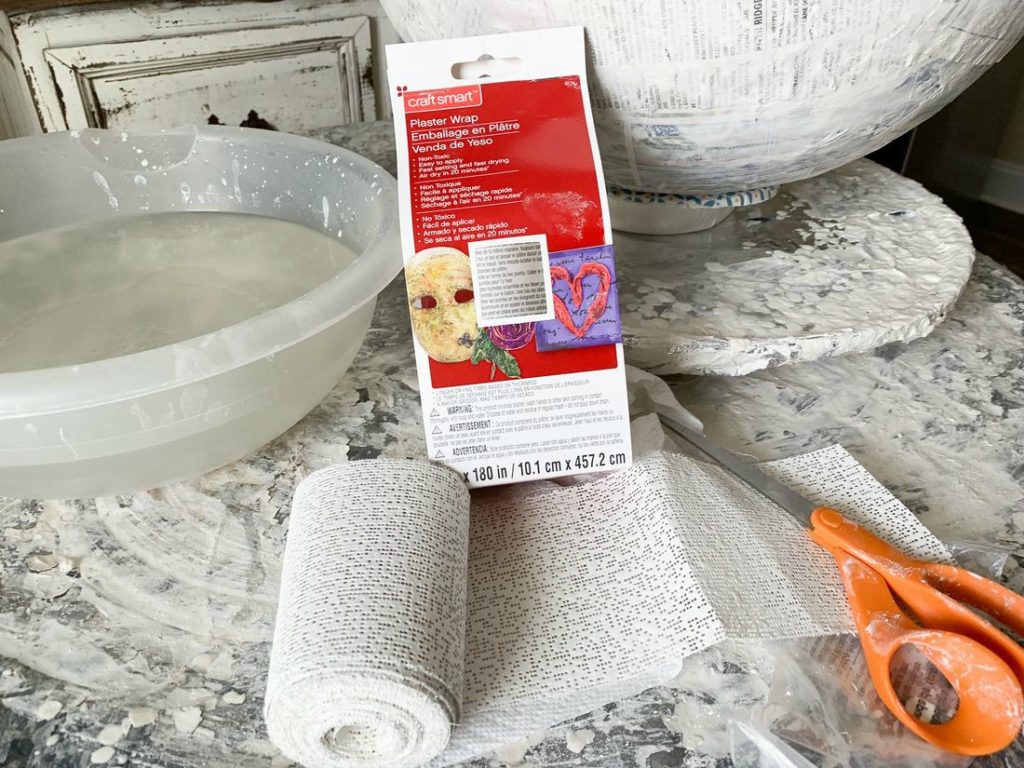
For the seventh step, use several layers of plaster wrap around the inside and outside edge of the paper mache head.
Follow the directions on how to use the plaster wrap on the the packaging.
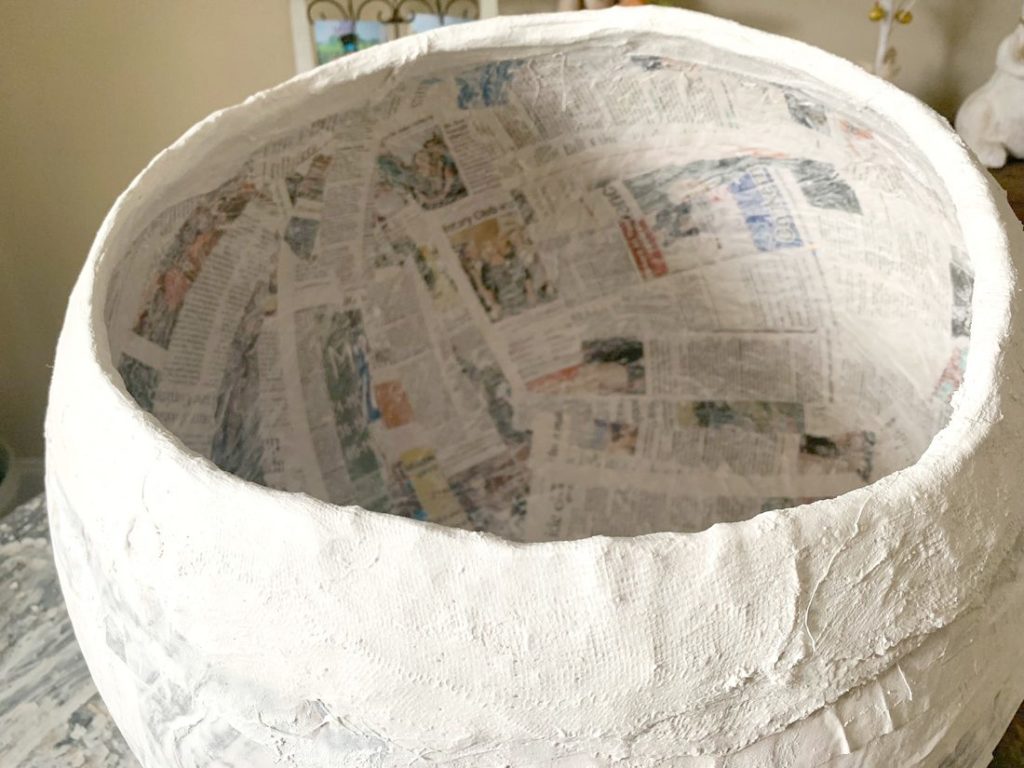
Use your fingers to smooth the plaster wrap over the top of the paper mache head.
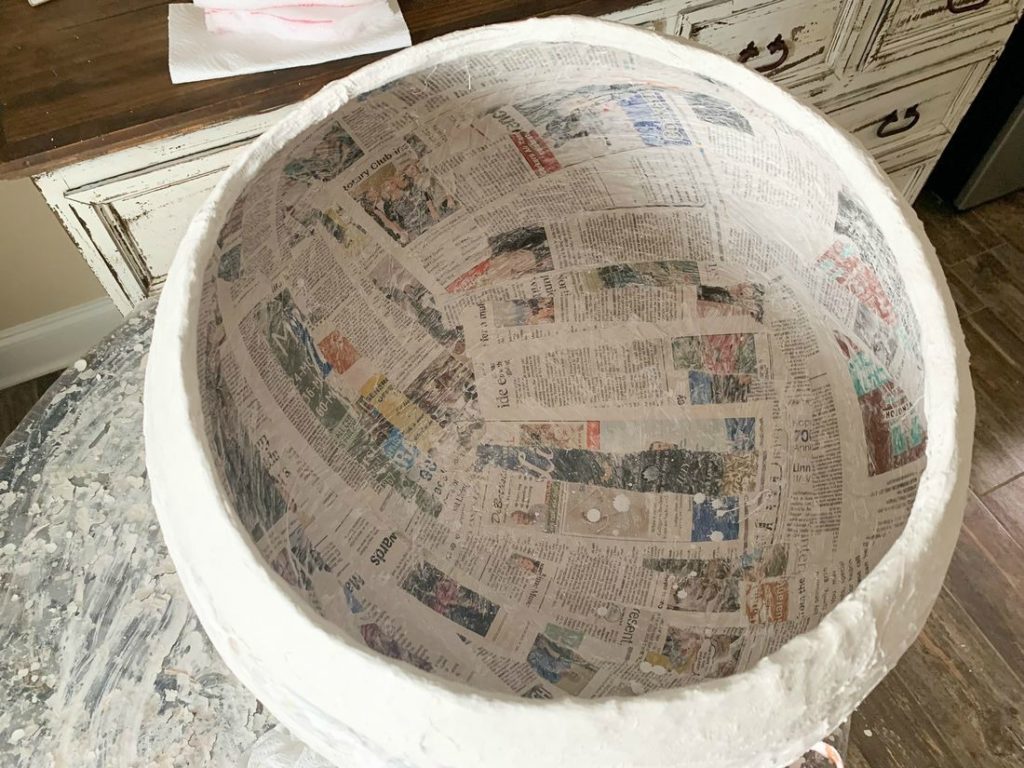
The plaster wrap will prevent the paper edges from shredding and make the paper mache head more durable.
Do not start the next step until the plaster wrap dries completely.
Drawing Yoda’s Face and Ears
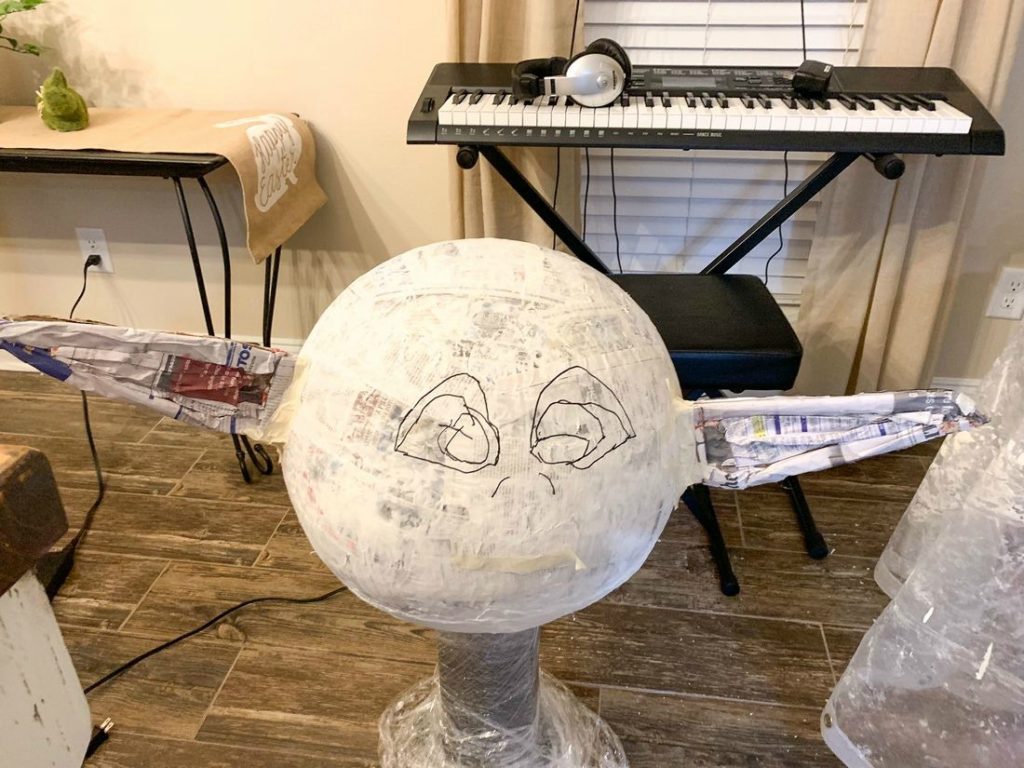
Once the plaster wrap dries flip the head over. For the eighth step, we used a stand-up fan wrapped in cling wrap as a base for our paper mache head.
Have the person who will be wearing the mask put it on. Use markers and tape to mark where you want the eyes, nose, and mouth.
Draw Yoda’s ears on a piece of cardboard. See photo above. Also, I used this picture as a reference while I was making Yoda.
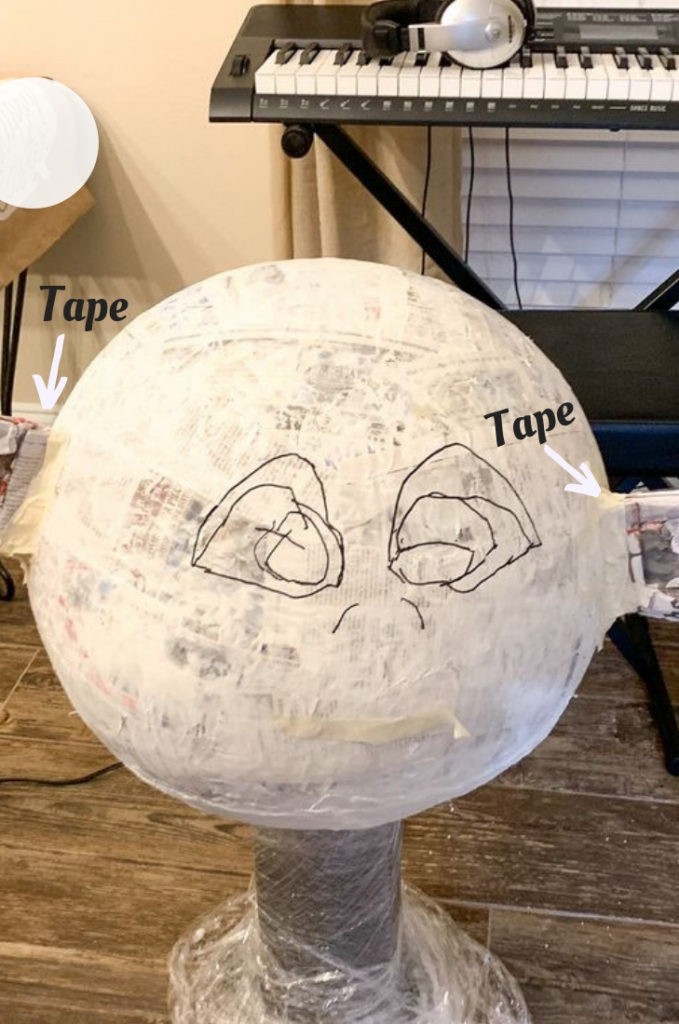
Draw and cut out the ears. Roll newspaper and glue it around the edges of the cutout ears. Crumbled up a piece of paper for each ear and glue the paper inside the ears.
Glue Yoda’s ears on the head using a glue gun. Make sure to wear glue gun finger caps. Use masking tape on the front and back of the ears as needed.
How to Make Yoda’s Facial Features
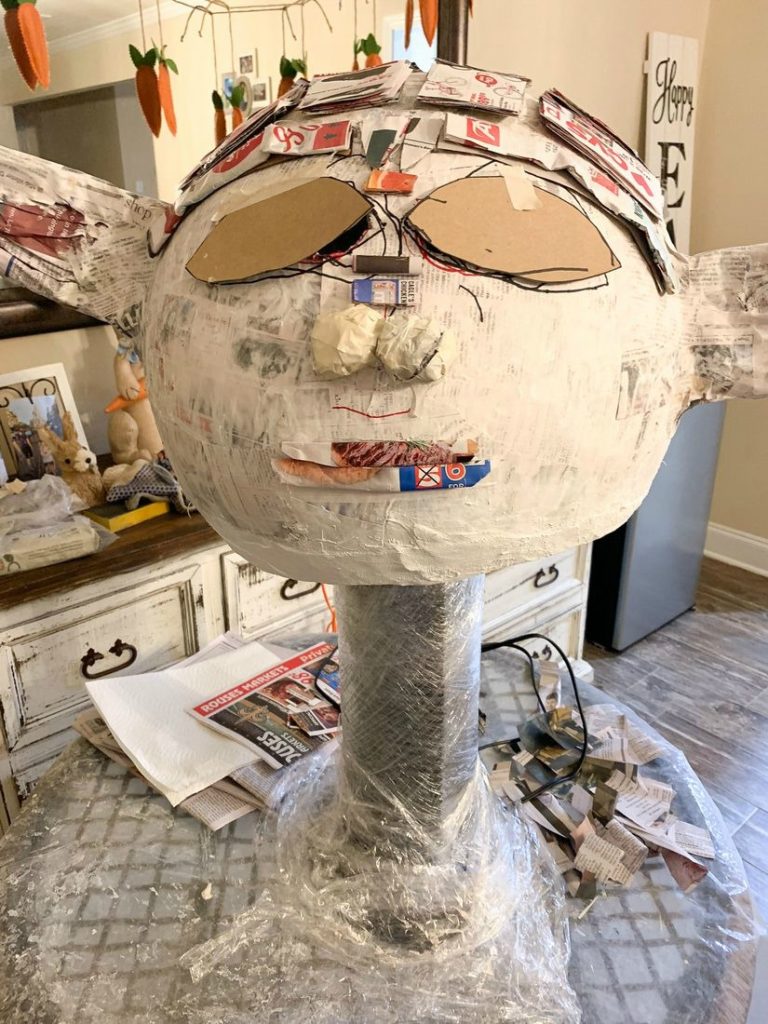
When you’re ready to do the ninth step, make sure to refer to the photo above.
Cut out cardboard lips, and glue newspaper to the lips. Attach the lips where you want them using a hot glue gun.
Next, ball up paper. Use masking tape to form two balls to make the nose. Tape the nose above the lips. Refer to photo above.
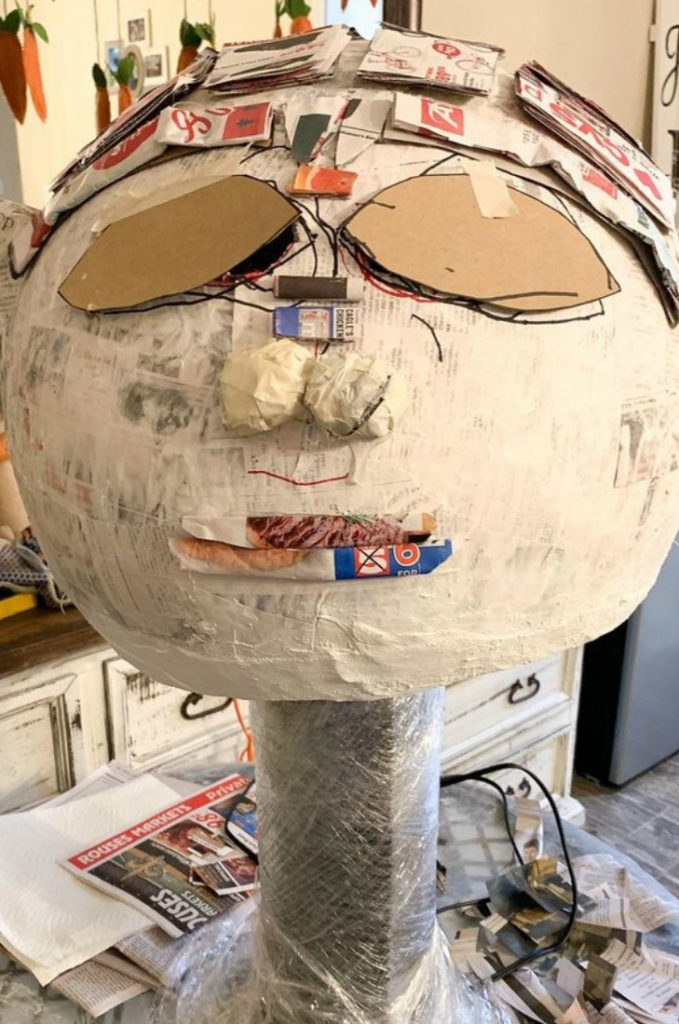
Don’t forget to cut out eye holes. Make larger eyes with cardboard. Cut large cardboard eyes out and tape them over the small eye holes.
Trace the large cardboard eyes onto the face, then discard the cardboard.
Make two small rectangles with the newspaper glue above the nose. See photo above.
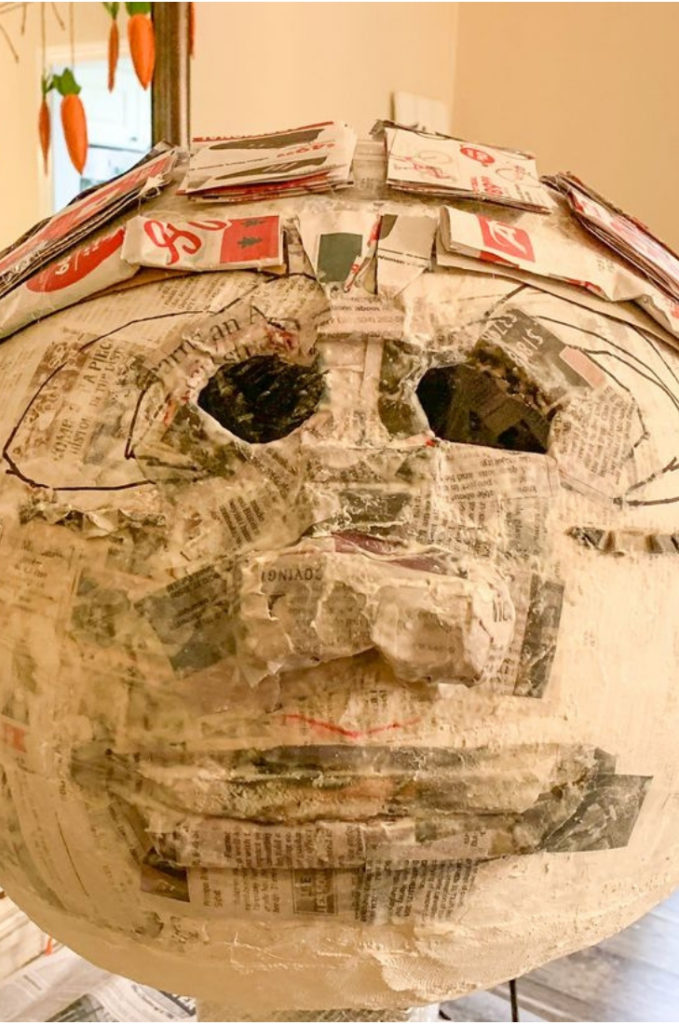
Furthermore, make wrinkles by gluing small crumpled paper below each eye. Then glue a piece of small rectangle paper in the center of the eyes.
Finally, glue a long strip of folded newspaper on each side of the face.
Next, glue two pieces of triangle shaped paper in the middle of the long strips of paper.
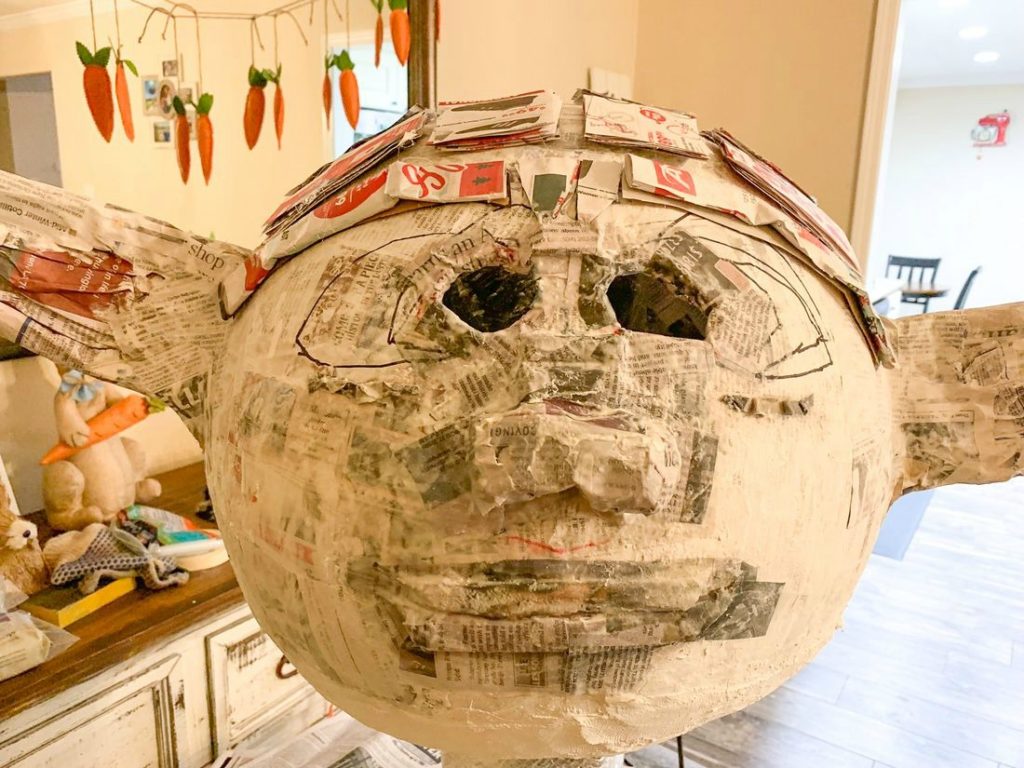
On the top of the head, you will make two rows of four squares by gluing several pieces of paper together to form thick squares.
After the squares are completed glue them to the paper mache head with the hot glue gun.
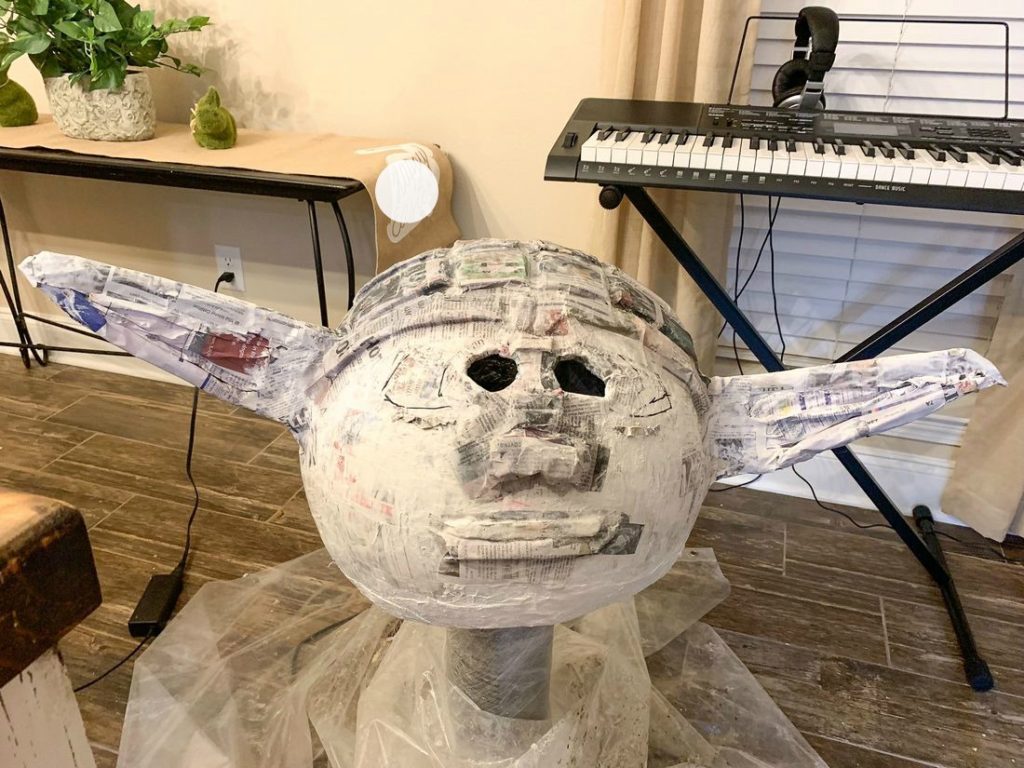
So for the tenth step, make some paper mache glue. Use small strips of newspaper dipped in the paste.
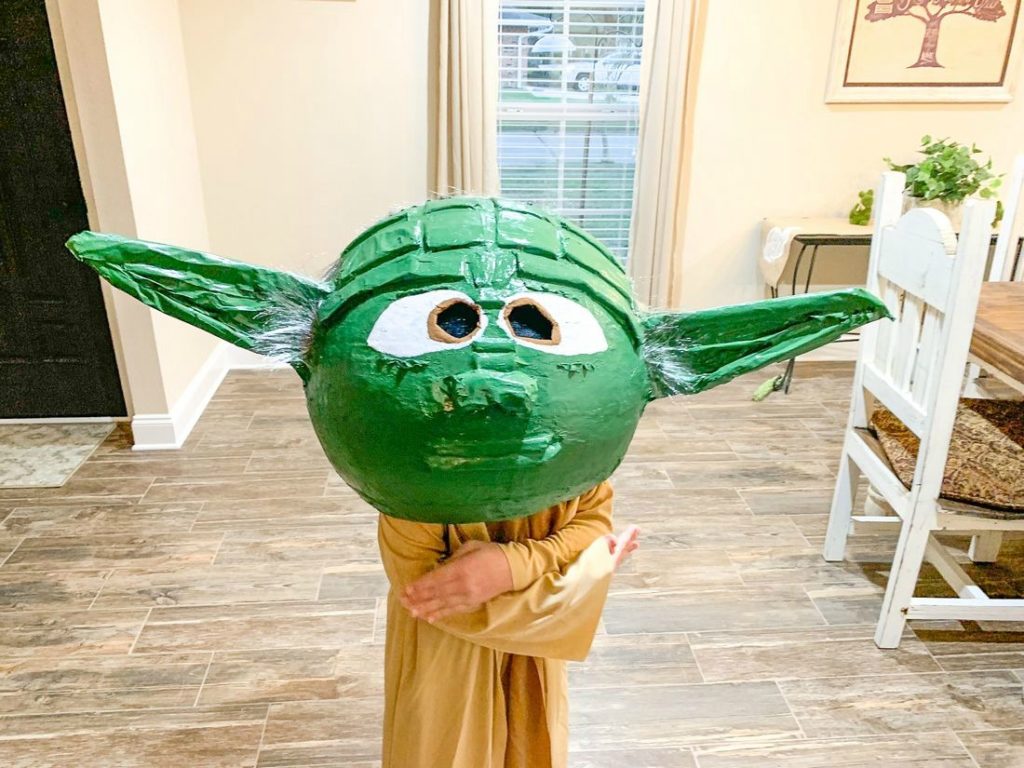
Next, cover all the facial features, around the eye holes, edges of the ears, back of the ears, and the pieces on the head. See photo above.
Make sure to use your fingers to mold the paper on the face, ears, and top of the head.
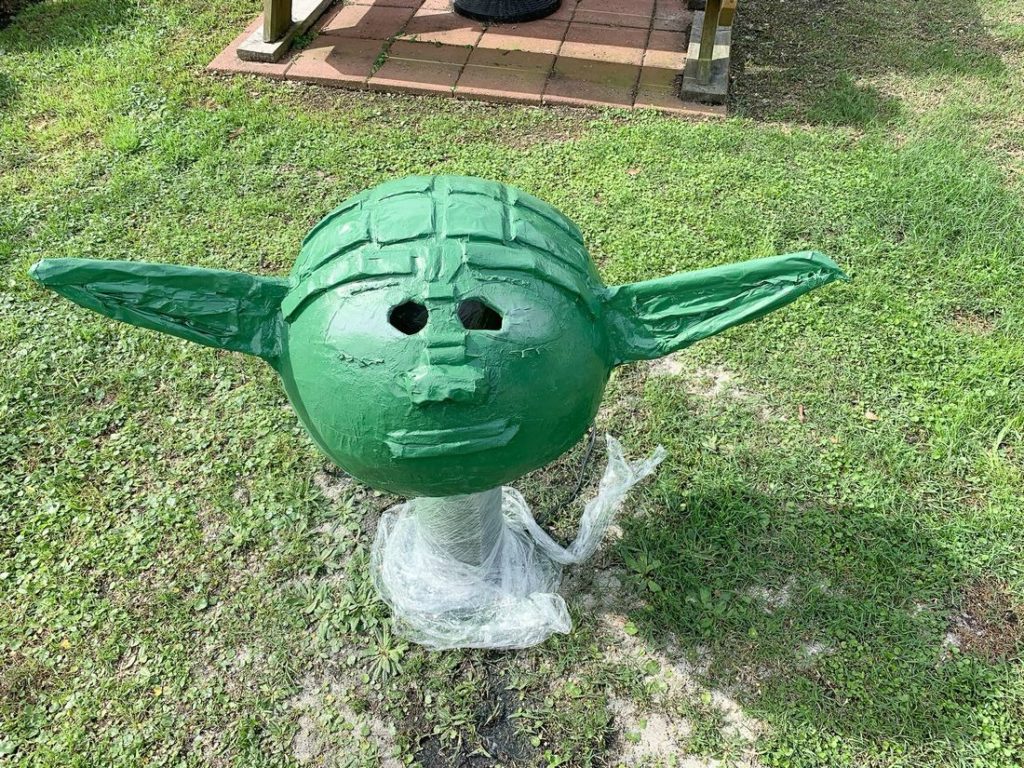
Now there’s just a few steps left before the paper mache craft is finished.
Once the Yoda Head is completely dry, take it outside and spray it with the primer.
After the primer is dry, paint the paper mache head several times with the green-colored spray paint. Make sure to do at least 2-3 coats of paint. Next, let the paint dry.
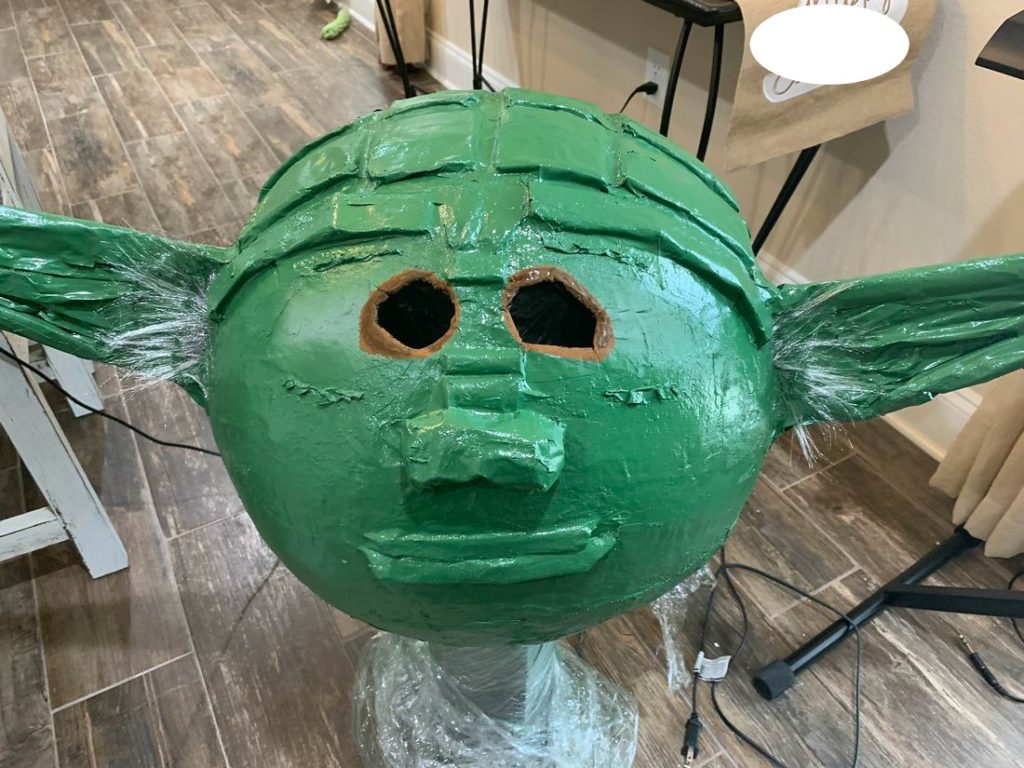
Finally, paint around the eye holes with the brown paint. Next, glue the black tulle inside of the head by the eye holes.
Now you can start gluing on the hair. Cut pieces of the gray wig and glue it around the front and back of the ears. Use the E6000 adhesive and q tips.
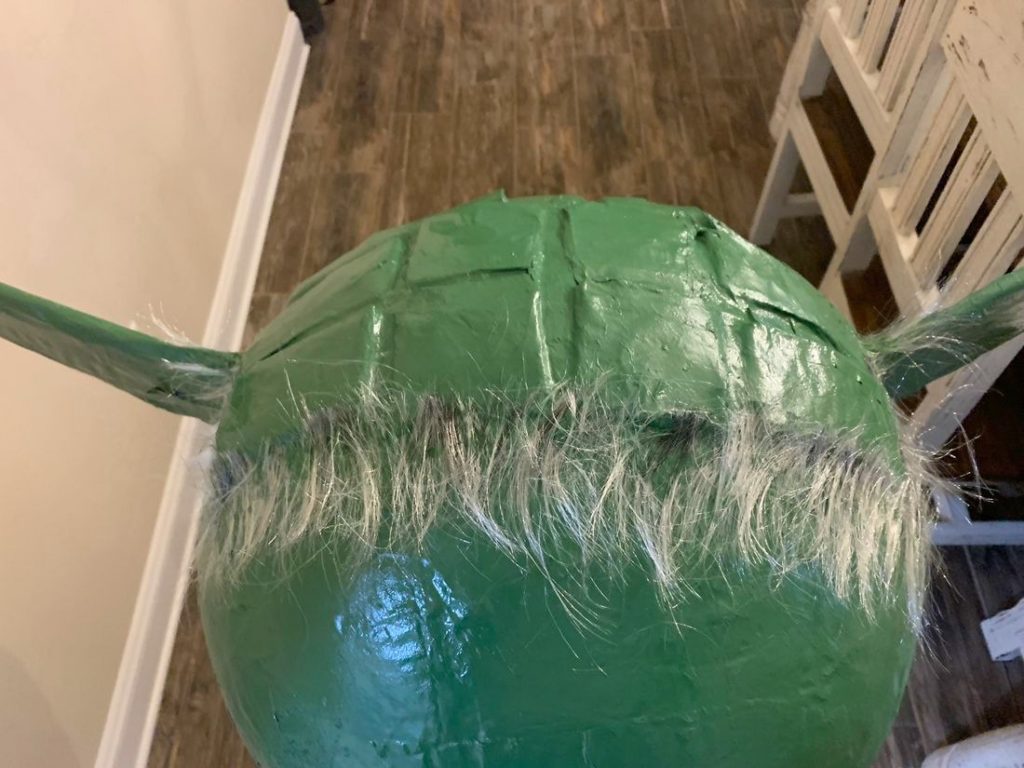
Make sure to glue hair to the back of the Jedi Master’s head. Gluing the hair to the paper mache head takes lots of q tips. See photos above for reference.
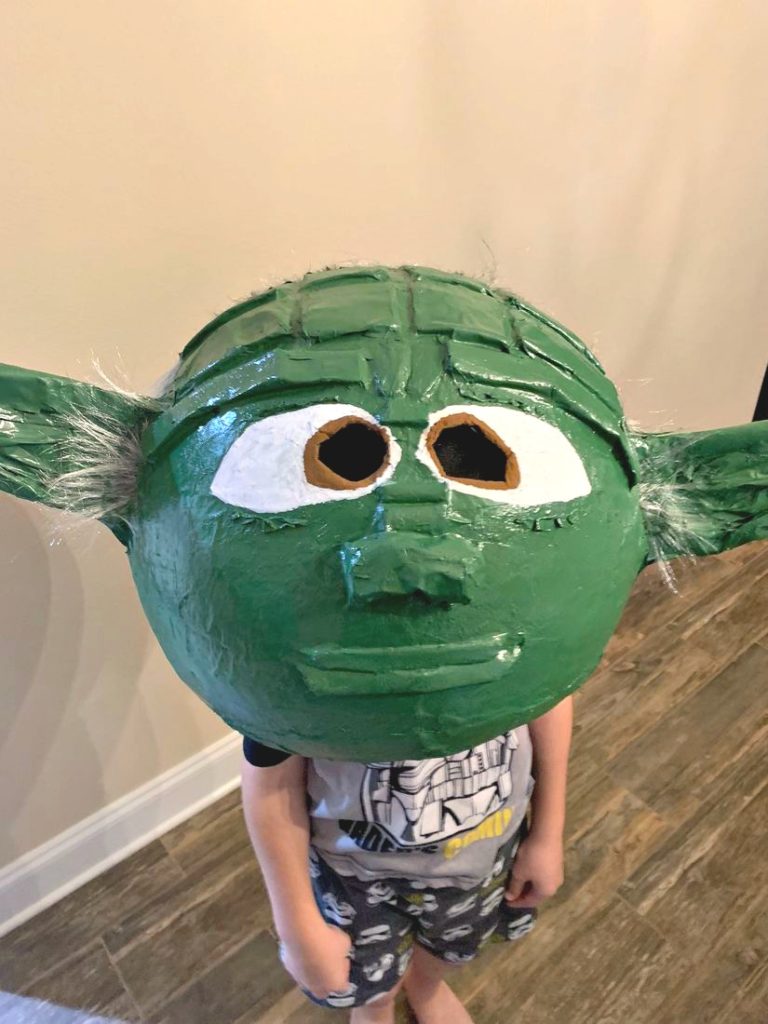
Final step! Don’t forget to paint the eyes white. We did 2-3 coats of the white paint.
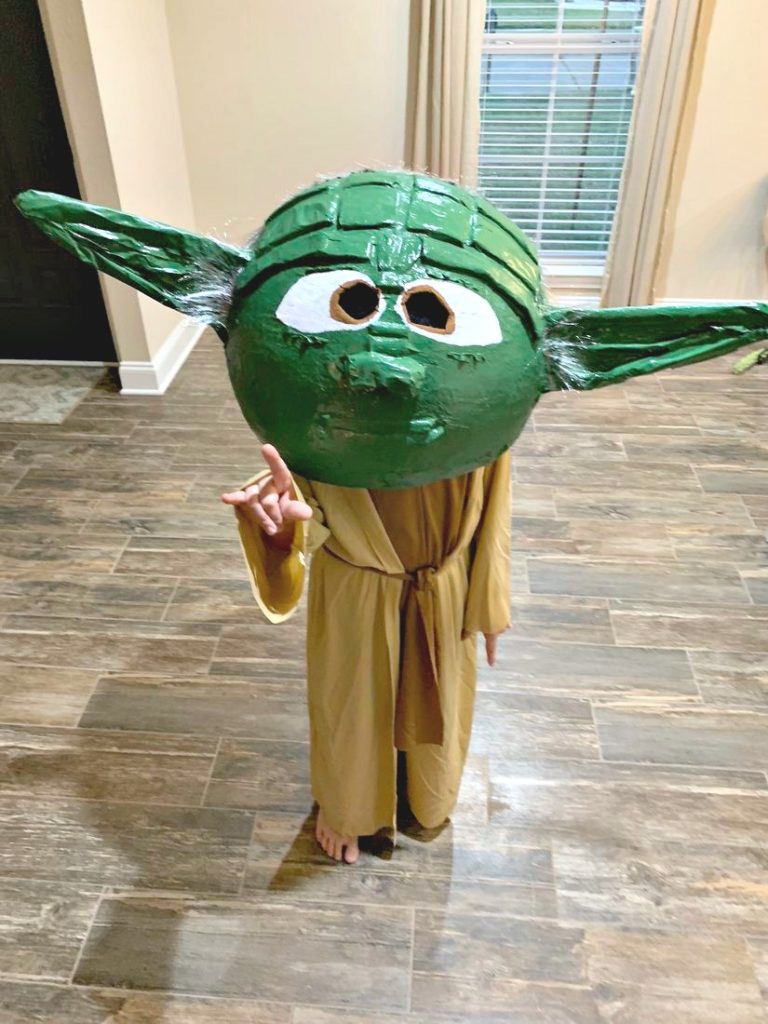
What do you think about our Star Wars Yoda Paper Mache Mask?
The paper mache mask took approximately three weeks to make from start to finish.
Disney Star Wars fans will love wearing this fun DIY Yoda Head for Halloween.
Pair it with a Yoda costume and lightsaber, and you’re ready to help fight the darkside.
B. says
Wow that’s a lot of hard work you put into this project for your son . I hope you got lots of extra hugs and kisses
from him for this.Looks very cute.
B.
Kim Seghers says
Thank you so much! Yes my son loved the Yoda Paper Mache head. And, he did give me extra hugs and kisses…LOL! Thank you for leaving a comment. Have a great weekend, Kim